Geschützt: Jahresrückblick 2024
How to let a forest sparkle
Tl;dr: this is about an art project i conceived at The Borderland 2023 and set up at The Borderland 2024 for the first time. If you don’t know what The Borderland is, what Burns are or what any of this means, worry not. It’s not that hard to google.
The Idea
At The Borderland 2023, just as many others, I wandered around the forests, inspired by the many lights illuminating them. Two things struck me though: one, that they always relied on some form of physical connection, be it electricity or just the properties of being an LED strip.
This limits the light project. I immediately thought „i want _vast_“. So i came up with the following criteria to build my own project
- The lights should be able to light up on their own. Battery powered.
- The lights should be still able to synchronize themselves and blink in a coordinated manner
- The lights should be bright
- The batteries should last for the whole week, blinking every night
- I wanted a way for the lights to know their spatial position
- The whole project should be extendable with additional hardware.
- I want a one page instruction set for anybody to set the entire thing up.
First steps
At Chaos Communication Camp 2023 i talked to a lot of folks who know things about hardware, radio frequencies and all the other stuff. We debated LoRa (too expensive) vs RF24 (maybe) vs ESP Now (yes), we debated whether to do the spatial position recognition via Wifi or Bluetooth triangulation (too complex) vs GPS (not in a forest, also imprecise), vs Audio based (actually doable?). We debated whether to build our own hardware (quite an effort, but scalable) or rather stick some existing components together (at scale much more of an effort).
So after some more research, there were a few really clear tasks to be done:
- Implement a time synchronization mechanism between ESP NOW devices
- See, if with that time sync we can estimate the distance of a sound source to the device
Both worked, sort of.
First prototype
Learning KiCad was quite a ride. But i have a good friend who helped me through this. I learned about ground pulls and plane fills, about the necessity of a voltage regulator and a charging ic with deep discharge protection. In the end there was a prototype that sort-of worked. It had an ESP32-S2 on board, two high power 3w LEDs, some MOSFETs to drive them, a MEMS microphone and an amplifier.
There were a bunch of faults
- The voltage regulator wasn’t powerful enough and shut down the system upon peaks (especially when sending esp_now messages.
- Turns out, i had to desolder the LEDs and place some Kapton tape underneath, as the middle part actually was mislabeled in the datasheet
- I had a great idea for charging: instead of using USB i wanted to just stick all devices on a model railway. This is kinda cool but highly impractical, so while i left it in for historical reasons i didn’t use it anymore.
- Leaving out the USB port and using the UART pins instead turned out to be way more annoying than anticipated
- Leaving out boot / rst buttons and adding pins instead also turned out to be super annoying
- Somehow we had misread the datasheet and assumed the microphone would have a pre-amp inside. It didn’t and therefore was useless.
- I also noticed that implementing the entire audio-out-thing, getting the amp running (it didn’t, immediately), implementing something cool, thinking about a design for the casings that would include a speaker, would eat up too much time. So i decided to drop it for now and just add some pin headers for GPIOs in the next version
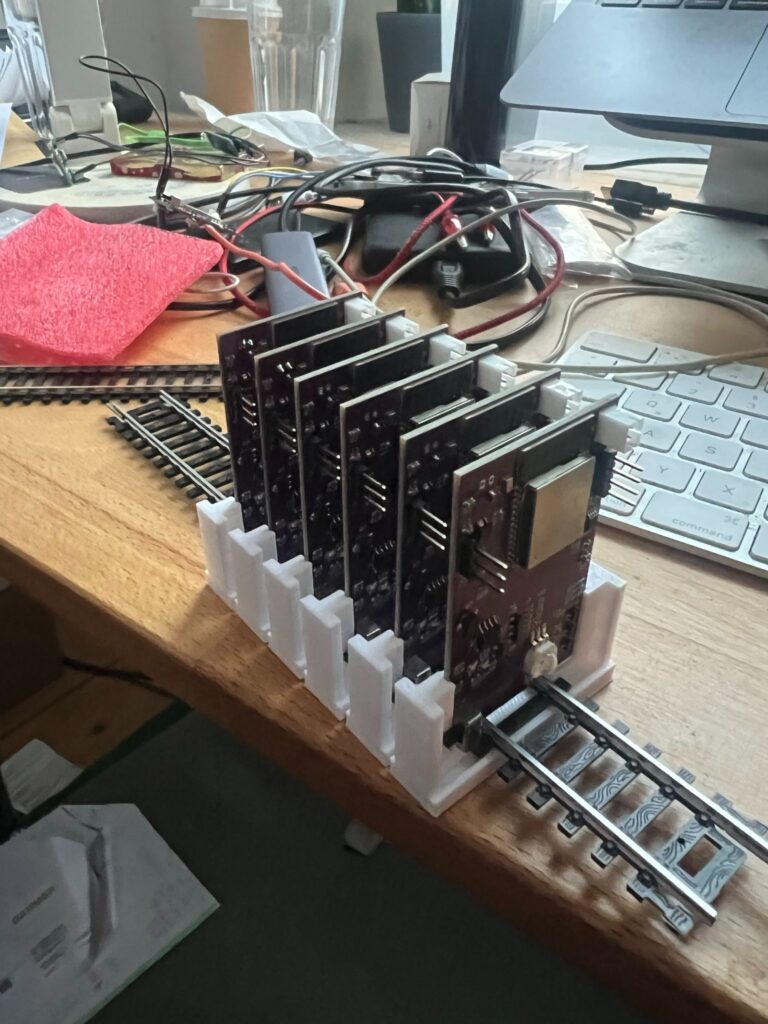
Second Prototype
By now it was about January and I mainly worked on the second prototype, fixing these issues. Adding a pre-amp for the microphone (and switching to an electret mic), rewiring the LEDs, adding some capacitors, adding a USB plug, replacing the switch and also accomodating for a different casing.
I had originally thought about a „push in and twist“ mechanism for the boards, but it became clearer that i wanted to keep the entire thing together. Yes, screws, but also more stability, which the original design just didn’t have. Also it turned out to be quite finnicky and i wanted something that others could use as well.
I also noticed that the original design had the hanging wire „built in“ and figured it would be better to make it removable. Smart choice, it turned out, transport wise.
So, by end of March i had this design ready and prototype 2 in my Mailbox.
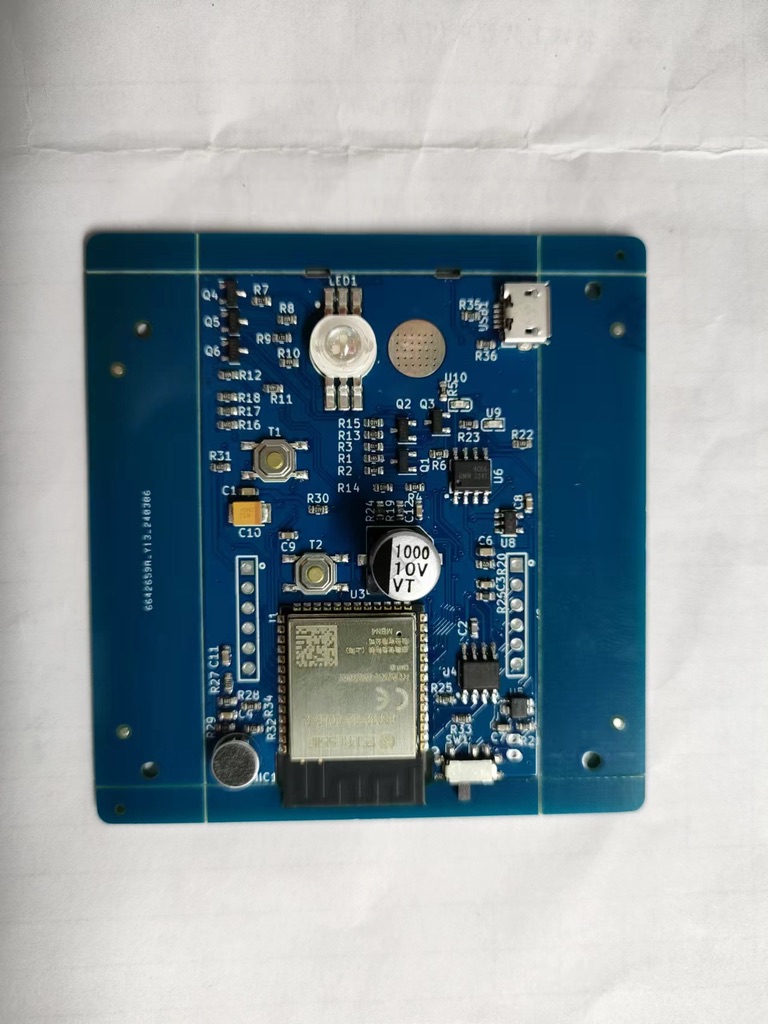
I now had made the decision, to put a stricter deadline on myself. Instead of Borderland (last week of July), i would put up my project at Kiezburn, third week of June. Why? Well, first of all to actually test the stuff. Second, because funding. I was running way over my initial 3000 Euro Budget, running close to 5000 and that wasn’t including the microcontrollers, which i was getting gifted.
So i applied for dream grants, and luckily got them. I also received 500 Euros in grants from Mauersegler e.V. for the prototypes. Thank you!
There were only a few mistakes left. I had decided to go with two battery ports. there was a huge mixup in the importing of the materials list that caused about ten resistors to be just wrong. And in my complete overwhelm i was enternally grateful for Bruno to help me out on this, so i shipped my boards to Sweden, he resoldered them and sent them back. Phew.
I also wanted to have some more stability, so i included two more layers in the PCB for proper GND / VDD access, and I finally decided to go „two-sided“, just because of arrangement issues. The ESP32, the USB port, the switch _and_ the microphone all needed to go on the bottom edge which i wanted to keep as slim as possible.
I also decided that for proper sleep mode i wanted a proper time-giver so i added a 32khz crystal. To the wrong Pins, as it turned out later, but that’s a story for chapter four.
With this being done, i decided to go for prototype 3.
Third Prototype
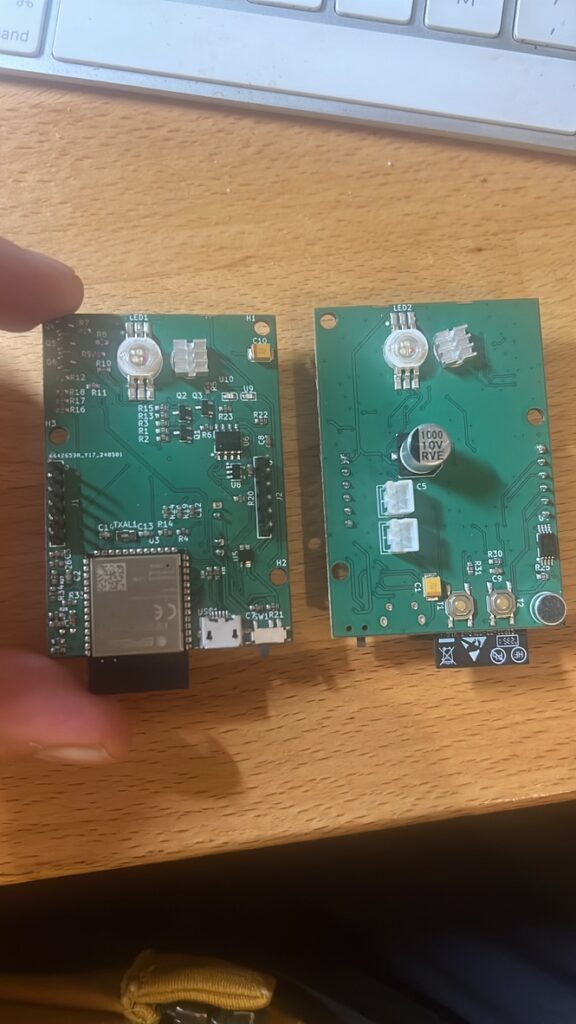
Some of my friends at the Chaos Communciation Camp Badge Project still had a bunch of ESP32 lying around, which i was able to donate. Thank you so much! So Prototype 3 was supposed to also test those. And what a fuckup i had when i found out that i had botched the order.
So in an absolute crazy last minute effort Felix picked up a board, stripped an ESP32 S3 from a dev board and soldered it on to mine. Which i couldn’t have done, lacking tools and skills. Thank you, Felix!
With that working I decided to place the order. Only to find out that JLCPCB (the company manufacturing the PCBs) had run out of the right LEDs. In a night of panic i tried to source the LEDs from other places, then got told by JLC that in fact only the order number had changed. Still, i lost two valuable days. And when i then found out, after placing the order, that my pins for the Crystal were wrong, i pulled the entire order and re-placed it, losing another four days.
Deadlines
Time was ticking. I had placed the order for the batteries mid April, but they were nowhere to be seen. Due to disruption in the shipping world (Houthi Rebels shooting rockets at ships in the red sea) and other screw-ups in communication, i wouldn’t receive the batteries in time. So i luckily found a guy in Hamburg who strips 18650 batteries from old e-bike battery packs and he could help me with at least a few. The final PCBs wouldn’t come either. In fact, the delays and some chinese holidays meant, they would eventually show up on my doorstep on friday of Kiezburn.
I decided to go anyway, and while a lot of things failed, and programming (see different chapter) dragged along, i managed to set up ten lamps, blinking, on friday night. And it was beautiful.
With three weeks to go to The Borderland I now had to assemble everything. Which brings me to…
The Casing
These are pictures of the casing. Essentially the following criterias drove me to the final design:
- Design needed to be rain proof
- The outer shell needed to be printable as fast as possible. Hence the ellipse (faster than round), hence the thickness (or lack thereof)
- The same goes for „fitting as many casings as possible on one print bed“. Round would have meant „only four“, elliptical: six.
- I didn’t want to print anything with supports
- The battery casing needed to be replaceable in itself, in case cables would rip or other things would happen
- The batteries shoudn’t block out any light
- Accessability to the board (usb, switch, reboot/bootloader buttons) mandatory
- Removability of the hook part.
So essentially every casing consisted of five parts. A base, a top, a screw with a hole and two battery holders. Which i inserted connectors into and soldered wires on.
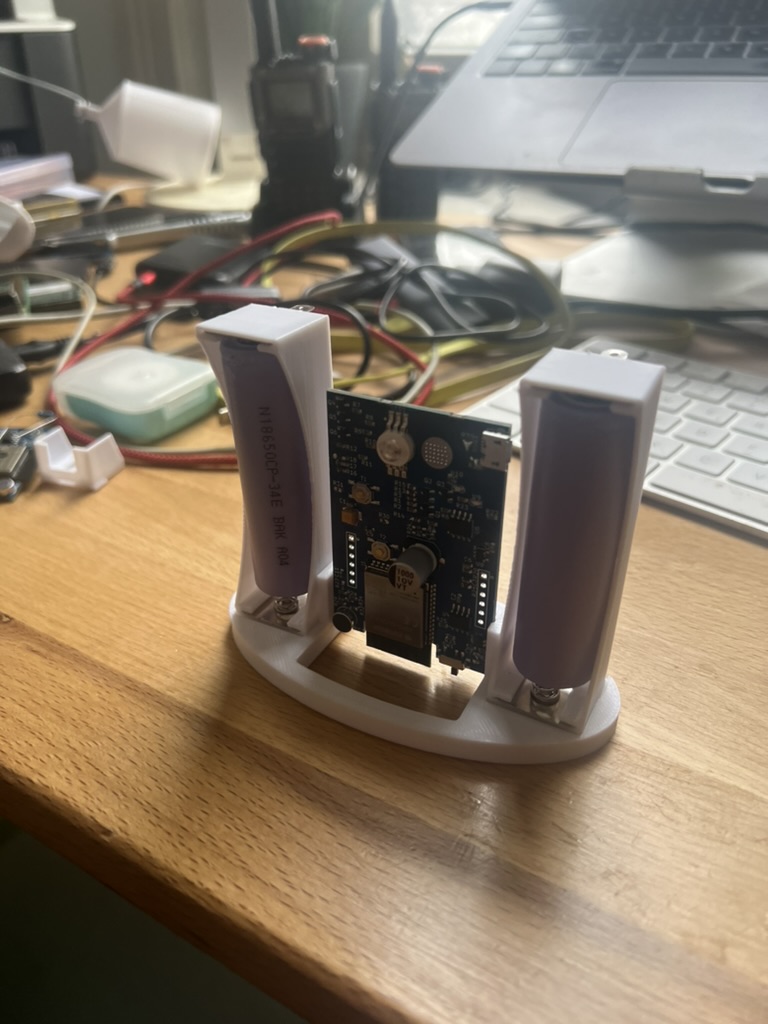
This all works quite well and during multiple rain storms none of them has caused failures. However, they break easily, so i’m considering doing a better outer casing. I also added some screws on the inside to keep the boards in place.
The entire design is done in OpenSCAD, so it’s very modular.
Simulator
My original plan was „well, if i want to code animations, i can hardly do that while sitting in a forest, so i want a simulator“. Some really nice person helped me a little in Godot, but it didn’t really do the trick. Then Tomek (thanks!) built me something in Unity. Which at least produced a really nice demo. But i didn’t end up using it much. I might, though, in the future.
Code
So much code. So many fuckups along the way. This was also a journey of me coding the first real software project in 15 years, since i had chosen to do project management and then becoming a CTO rather than coding after i had completed university. And ESP32 is incredibly badly documented. I also chose the hard way in terms of programming language, using C++ rather than micropython.
My very undocumented, insanely chaotic code is here. https://github.com/hdsjulian/sparkles – i will tidy it up later.
In the future i intend to clean up the state machine, clean up the messaging. Then move everything to FreeRTOS tasks. Make sure timer interrupts and wifi stuff don’t mess with each other (which they won’t, due to FreeRTOS). Possibly add a „hardware check“ routine when starting up the device to make sure, that i’m not hanging up faulty devices. I also need to make sure that if a device fails it is removed from the system. which means notifying every device that this is happening.
ESP NOW has a really weird limitation in that you can only add 20 peers. Which means if you are using a master device and a huge number of clients, you can either use broadcast and never get an ACK or maintain the device list with adding devices to the peer list before send and removing them afterwards. Every message draws power, so it is quite important to somehow household a little.
Calibration
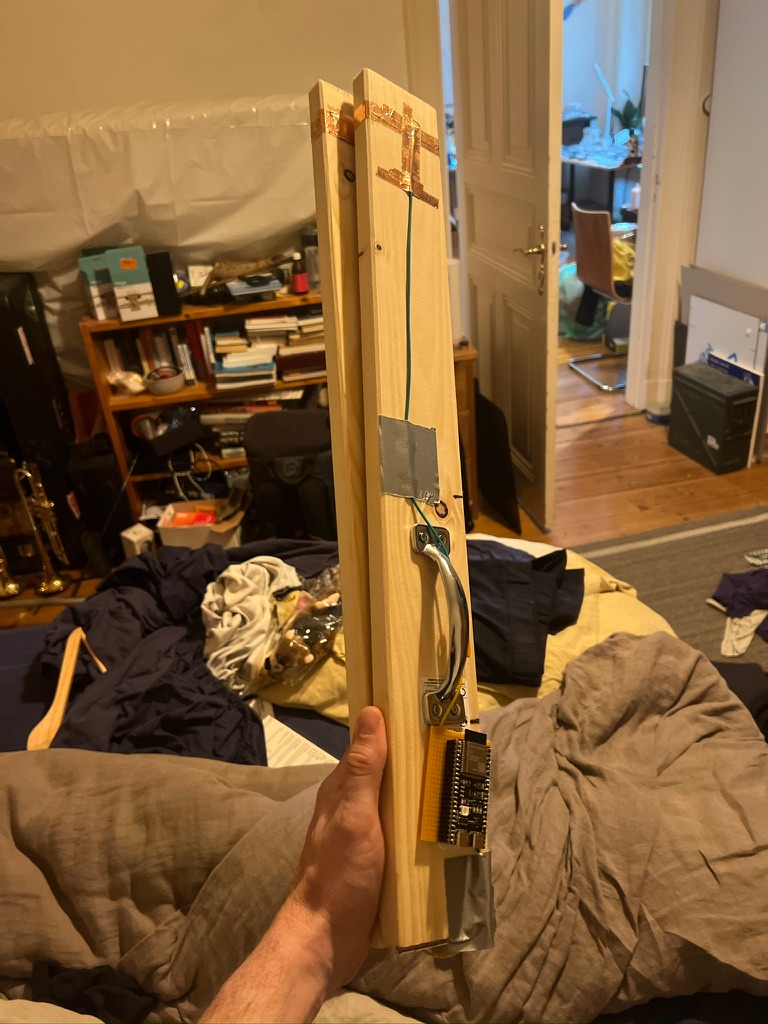
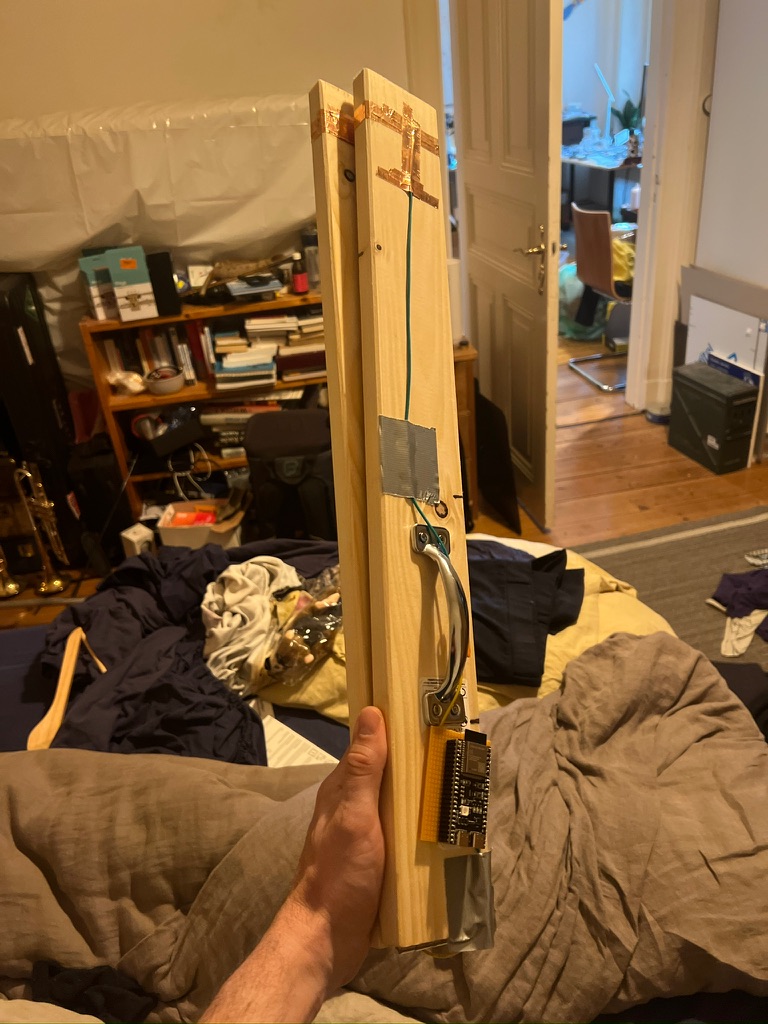
To make use of the microphone my friend Danny and I built this clapping device. It registers when closed, sends a message to all devices saying „hey, i clapped“, then the devices know that when they register a clap on their microphone, it must be a signal and not noise. Thanks to the timer i know when the clap occurred and therefore can tell the distance. I set the point of clapping in a web interface and measure the distance from one point to the other with a laser distance measurement device. It sort-of all works, but i haven’t really tested it „in action“ yet, as when i finally wanted to test it at the event, sound stages were already pumping bass and causing interferences.
The laser distance measurement device is also sort of „not perfect“, given that a) you can’t really see the laser pointer during daylight and b) trees aren’t put up in straight lines, so it’s kinda hard to measure their positions without doing too much calculations. Still, i have ideas for this and it will work.
One big task for the future is to, instead of doing „real time clap detection“ rather play a modulated frequency on a boombox, record a second or two of sound on each devices and then analyse that sound snippet to determine the „sound arrival time“.
Time Sync
To make sure lights can blink at the same time, but also in order to get the calibration via audio right, it was important to know the more or less exact time of the master device. Unfortunately esp now is unreliable with most messages taking about 1.5ms to send but some taking up to 10ms So i did the following:
–
- Using a timer interrupt master sends out a „this is my exact time in microseconds“ message every 500 milliseconds
- Using the esp now „onDataSent“ callback functionality i determine the round trip it took to send a message and have it acknowledged
- This round trip is sent with the next message.
- If the interval between two messages is more or less exactly 500ms (give or take a few hundred microseconds) the message is considered „valid“. This means that there was no unnecessary delay and i can assume that i now know the master’s more or less exact system time in microseconds
- After doing this for a few time i can create an average between the delays as well as the offsets for additional accuracy.
This works pretty well, with about an accuracy of 1ms. good enough!
The Borderland 2024
Everything was sort of right on time. I finished the last casings just in time to pack, i finished most of the code just in time to leave for Sweden. In the end I had to do some overtime in the Barn of the Borderland, just to get things done, but after a small test run, a huge amount of desparation and a literally last minute Bugfix, i was sitting in the Forest with my Friends Binni, Nilz, Joe and Jan, hanging up lights.
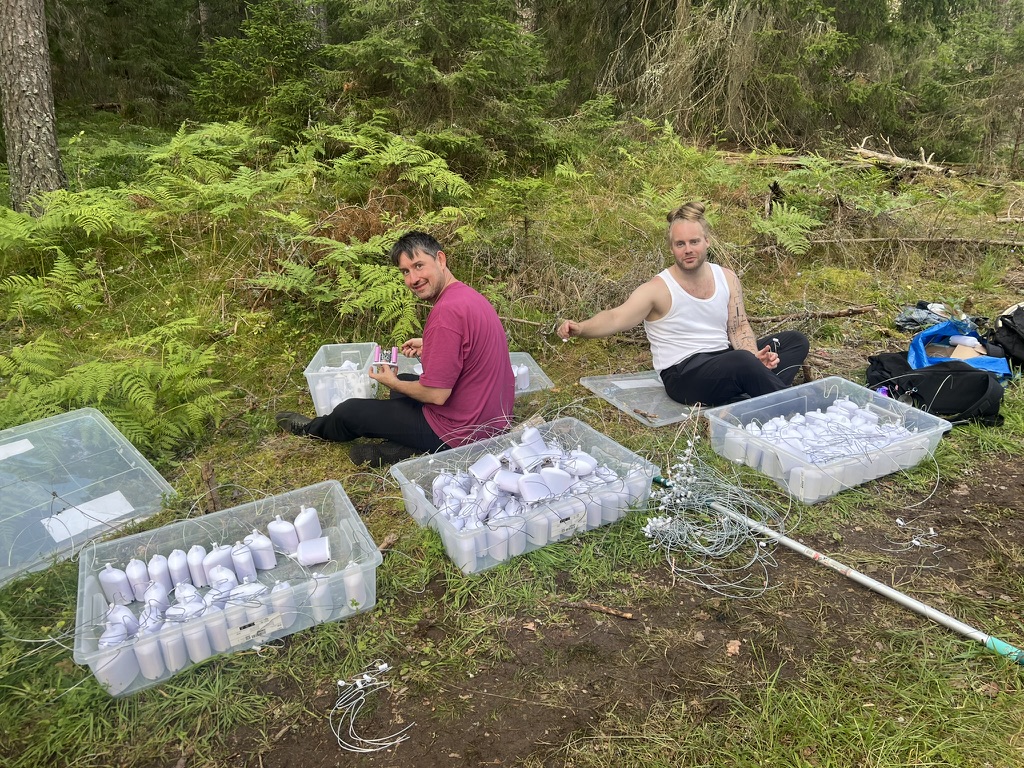
By the time we had hung them up, by the time it got dark, i was exhausted. And then… Nothing worked. The lights were just rebooting themselves.
I was desolated. So i was told to let it go. Either it would work or it wouldn’t, i wouldn’t get to hang down 160 lights at night anyway. So i went on to see a DJ set of a friend, check out the Borderland, just ignore the fact that i had spent the last 12 months for mostly nothing.
And then this happened:
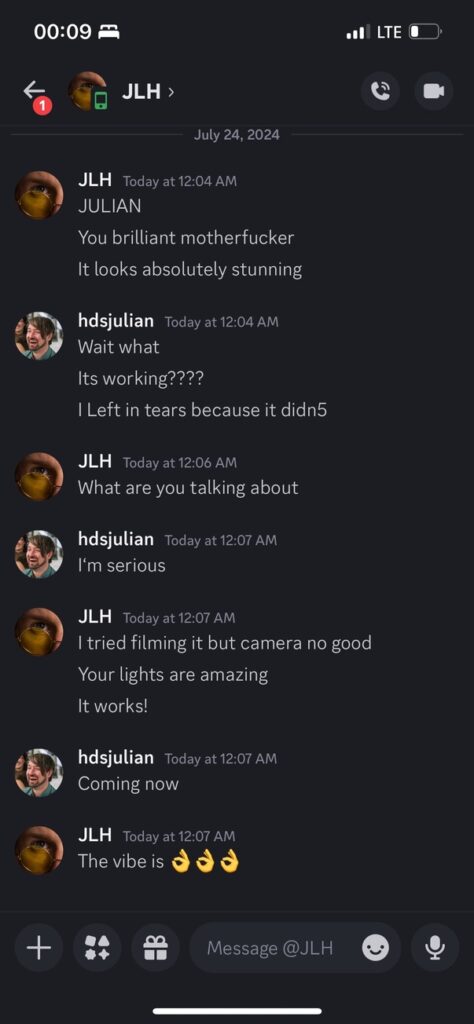
And what a beauty it was. Hanging there. Illuminating the Forest.
The sleep mode didn’t work, so it only hung for two nights, but those two nights were quite some magic that is hard to capture in a video. Here’s my best attempt:
I also set it up in a smaller space afterwards, but: no videos of that. Still i learned a lot. Setting up takes about 60-90 seconds per light. Taking the lamps down and storing them, takes about 30 seconds per light. For 2025 i aim to have a system that can be set up by anyone using a one A4 page instruction sheet.
Hamburn & Midi
For Hamburn I added a Midi Piano and honestly this might be the final form. It just works so well, adding BTMidi to my code and mapping it to keys was _very_ simple and There’s a bunch of more ideas. Most importantly, playing the piano and seeing the lights blink sparks immense joy and people absolutely loved it.
Outlook
Oh dear, there’s _so_ much to do. Beat Detection for surrounding music stages. Pitch detection for instruments being played into a microphone. Spatial Animations. Using the PCB and creating a Boombox for Spatial Audio… And we’re just getting started. The Animations can do some rework too. It could look better, it could work with less hassle.
I’m also wondering about a different kind of casing. especially the „opening mechanism“. Being able to take the batteries out without having to pull screws would be amazing. We’ll see what the future brings. Collaborators are always welcome and if you don’t know how to reach me just leave a comment.
Geschützt: Mein persönliches Jahr 2020 / Teil 1
Restaurante Leo, Bogotá
„Wenn du in Bogota bist, und es dir irgendwie leisten kannst, geh zu Leo Espinosa“. So ein ehemaliger Food-Journalist, der jetzt ein Hostel in der Sierra Nevada de Santa Marta betreibt, als ich ihn frage, wo man denn nett in Medellin oder Bogota essen gehen kann. „Ich bin überzeugt davon, dass die Küche Kolumbiens gerade das durchmacht, was Peru vor einigen Jahren vorgelebt hat. Erst kommen die Spitzen-Gastronomen und dann der Rest. Kolumbien wird zu DER Trendküche der Welt werden.“ Er ist begeistert und ich neugierig. „Leo Espinosa ist ganz vorne mit dabei. Kolumbien ist das biodiverseste Land der Welt. Sie bringt diese Biodiversität auf den Teller. Jedes Gericht zelebriert eine Region, mit Zutaten die du nie wieder woanders essen wirst. Und nimm die Weinbegleitung, du wirst schon sehen warum.“ Das ist eine Ansage. Ich muss also da hin und reserviere mir einen Tisch, so als Abschluss einer siebenwöchigen Reise.
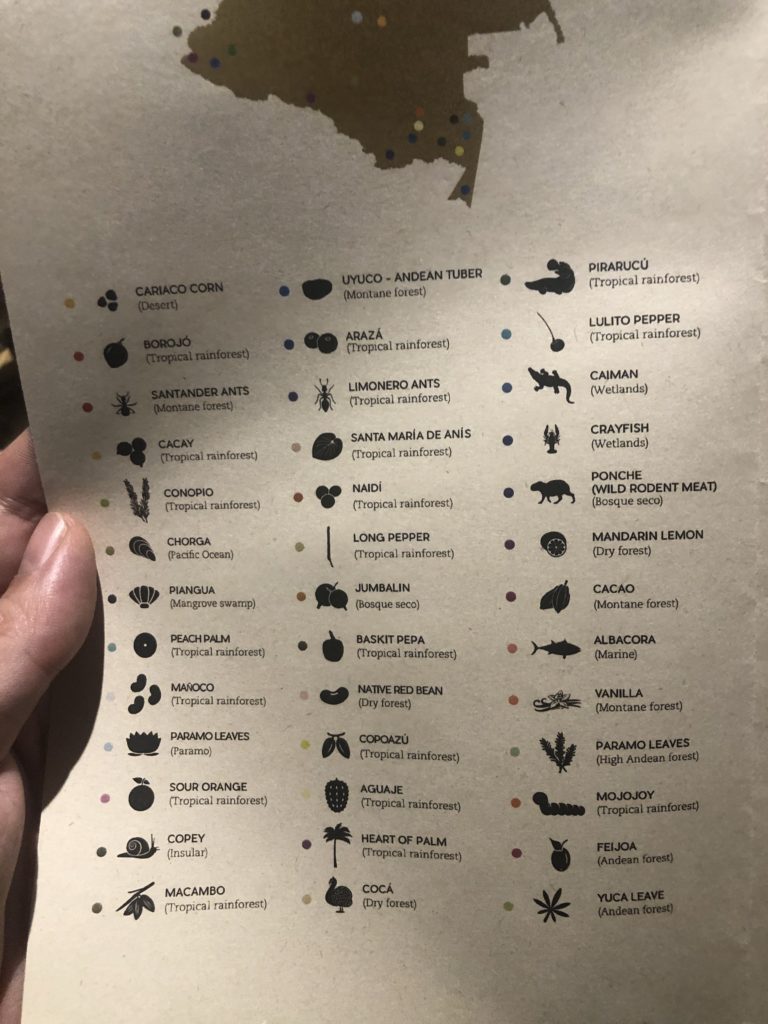
Die Weinbegleitung fängt vergleichsweise simpel an. Ein Cava. Dazu vier Gerichte, die in Reihenfolge gegessen werden sollen.

Bestehend aus:


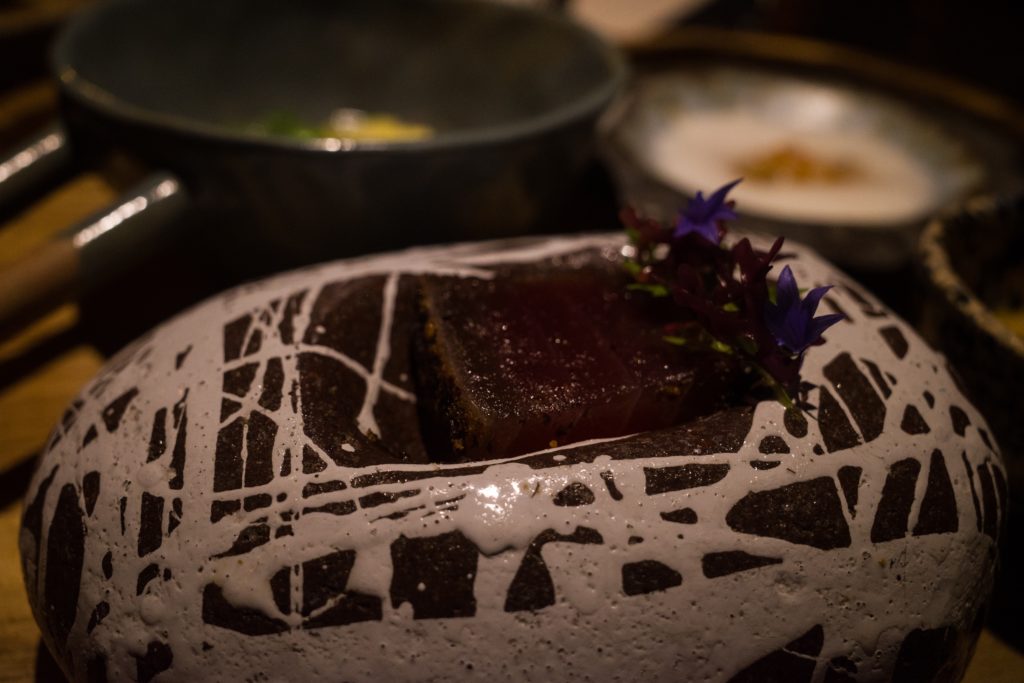
Beeindruckend. Ich weiss gar nicht wohin mit dem Einordnen komplett unbekannter und dennoch irre leckerer Geschmäcker.
Getränkebegleitung 2 ist schon um Lichtjahre interessanter. Fermentierte Kokablätter.

Dazu wieder vier, in Reihenfolge zu essende Gerichte:


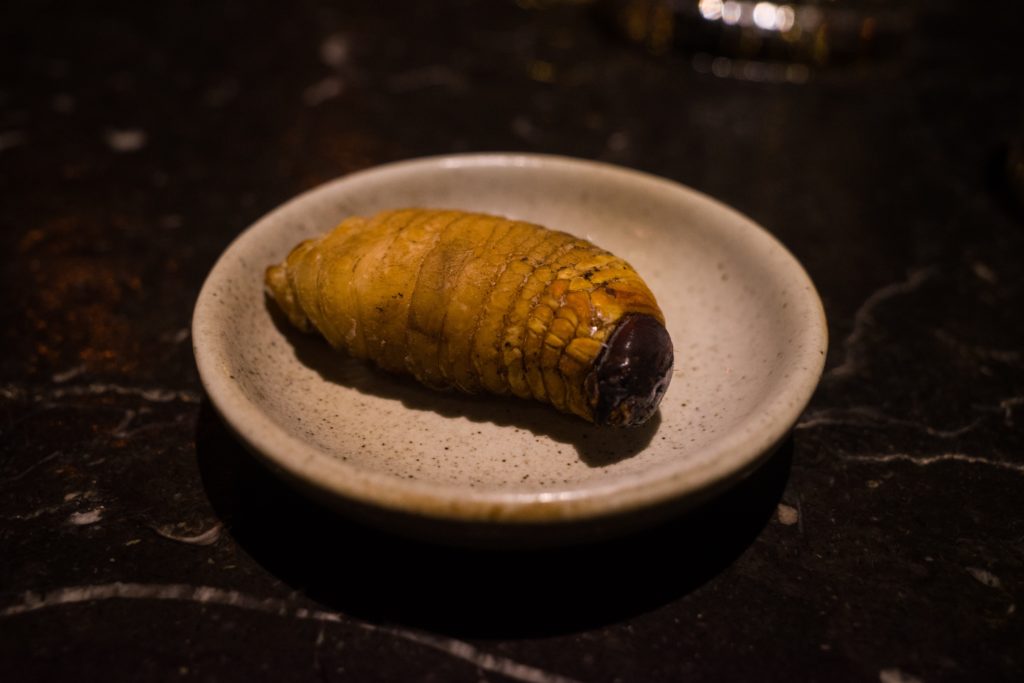


Keine dieser Zutat kommt von ungefähr. Sie werden alle seit Jahrhunderten oder Jahrtausenden von der Indigenen Bevölkerung verwendet. Haben eine Bedeutung und eine Geschichte. Leo Espinosa schafft es auf vermutlich einzigartige Weise, diese Kultur und Geschichte in moderne Küche zu bringen, sich vor der Natur wie auch dem Erbe dieses Landes zu verneigen.
Es folgt ein Weißwein aus dem Baskenland.
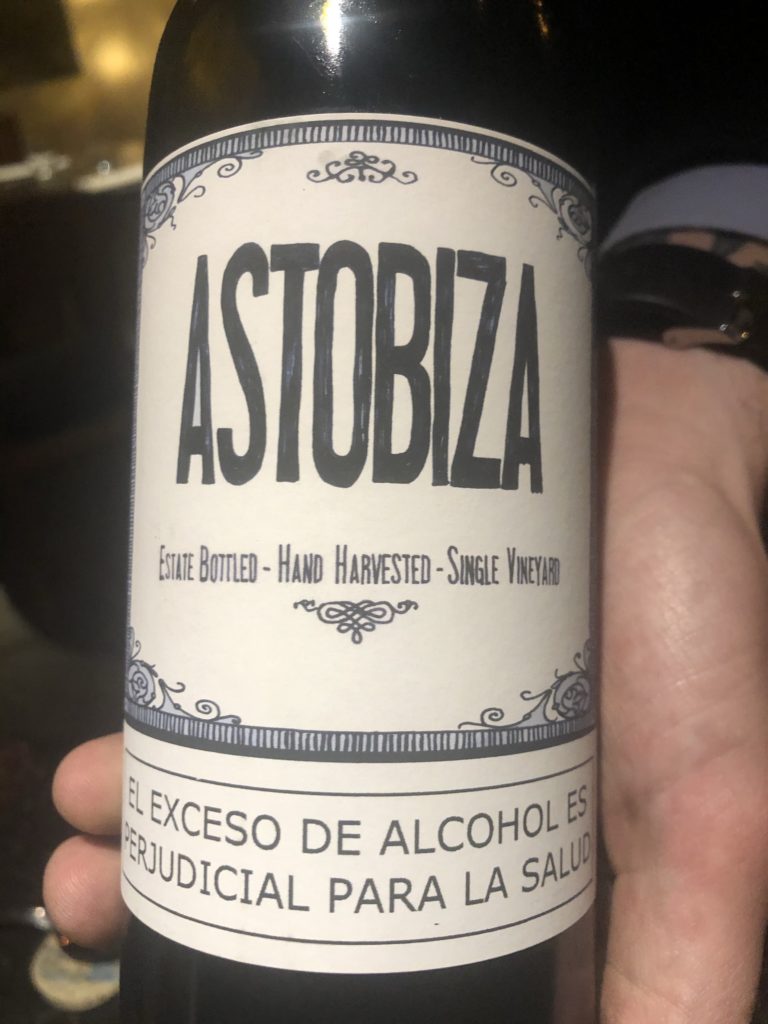
Dazu das nächste Gericht:

Es folgt ein Ferment aus Mais aus der Amazonas-Region.


Tatsächlich das einzige Gericht des Abends, das mich nicht allzu sehr beeindruckt, denn das, was in das Blatt eingewickelt ist, schmeckt leider doch etwas blass. Es folgt ein Pinot Noir aus dem Burgund

und dazu:

Beeindruckend, auch weil damit wirklich jeder Teil des Tieres für die Gerichte des Abends verwendet wurde. Danach ein Malbec aus Patagonien, den der Kellner als seinen Lieblingswein hier preist. Für mich jedoch etwas zu schwer und fruchtig.
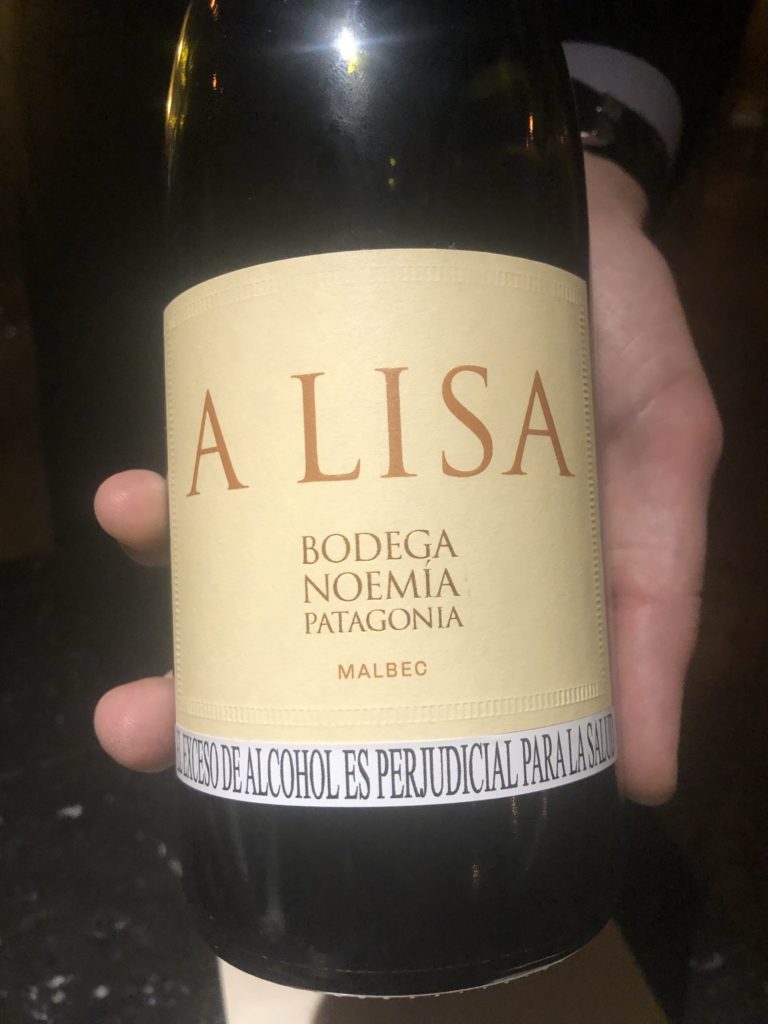
Dazu…

Es folgt: Fermentierter Borojo, eine Regenwaldfrucht. Süßlich, leicht säuerlich, schwer. Dazu der erste Nachtisch:

Der letzte Gang vor dem Kaffee (der allerdings nichts besonderes war) wird begleitet von Schnaps aus Met. Geht so. Dazu allerdings:
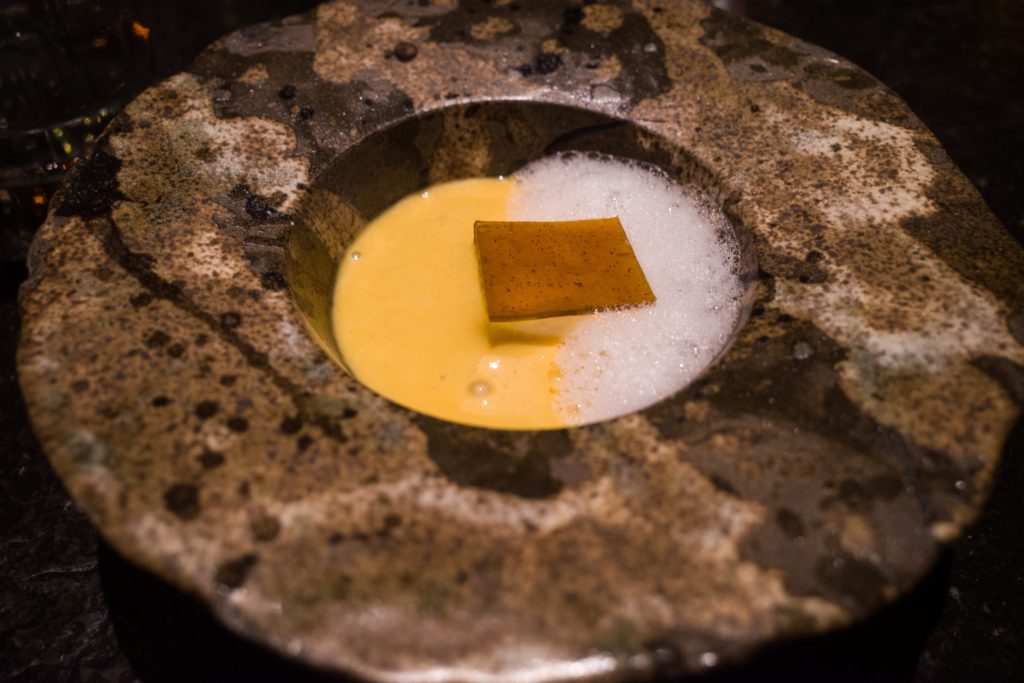
Alles in allem mehr als beeindruckend. Die Vielfalt des Landes wirklich wundervoll auf dem Teller zelebriert. Einige Gerichte besser als andere, aber allemal das Gesamterlebnis wert. Auch, weil die Geschichte dazu stimmt. Auch in den entlegensten Gegegenden der Welt wird man keinen Geschmack finden, der so radikal anders ist, als alles was man je gegessen hat, aber Leo Espinosa versteht es zu sagen „das hier ist mein Land, meine Heimat, in seiner Gänze. Probier mal“. Und damit ein besonderes Erlebnis zu schaffen. Nebenbei bemerkt hat Leo Espinosa eine Stiftung, um die kulinarischen Traditionen des Landes zu bewahren und zu fördern (und damit auch die oft benachteiligten bewahrer*innen dieser Traditionen).
An der Kolumbianisch-Venezolanischen Grenze
Cucutà ist die wichtigste Stadt an der Grenze von Kolumbien nach Venezuela. Ein Großteil des Handels zwischen den beiden Ländern passiert hier. Oder besser: passierte. Mit der Staatskrise in Venezuela wurden die Grenzen geschlossen, Paramilitärs attackierten humanitäre Hilfskonvois und schossen auf Menschen, die versuchten, über die Grenze zu kommen. Viele der Krisengeschichten aus dem letzten Jahr: Cucutà.
Inzwischen ist die Situation ein wenig anders, und im Rahmen meiner Arbeit bin ich für eine Woche in der Stadt, um Menschen zu interviewen, die gesamte Situation von Flucht, Migration, Hyperinflation und Wirtschaftskrise zu verstehen, und auch die Grenze zu besichtigen.
Wie die politische Situation aussieht, ob Maduro der Teufel ist, für den die meisten ihn hier halten, oder ob die USA an allem schuld sind oder beides, möchte ich nicht beurteilen. Mir geht es um die Beschreibung der Situation.
Die Situation ist überaus komplex aus verschiedenen Gründen:
- Während die Situation für Kolumbien durchaus belastend ist, immerhin sind mehr als eine Millionen Venezolaner im Land, und ein großer Teil davon lebt in Armut, ist die Stimmung mehr freundschaftlich als alles andere. Das liegt auch daran, dass man in Kolumbien nicht vergessen hat, dass es vor 20 Jahren andersherum war. Damals flohen viele Menschen vor Bürgerkrieg und Kartellgewalt nach Venezuela.
- Die wenigsten Venezolaner kommen permanent hierher. Oft versuchen sie einfach ein paar Wochen lang (illegal und völlig unterbezahlt) einen Job zu finden, um dann wieder zurück zu kehren. Oder sie pendeln regelmäßig.
- Diese Menschen werden „Los Pendulares“ genannt. Die Pendler. Viele kommen auch einfach täglich, um Dinge zu kaufen. Da es keinen Autoverkehr gibt, ist der Fußtransport lukrativ.
- Dennoch sind es viele, die ins Land kommen um zu bleiben. Teilweise legal, oft aber illegal. Während der Grenzübertritt ansich kein Problem darstellt, bedarf der permanente Aufenthalt oder gar das Annehmen eines Jobs eines entsprechenden Visums
- Illegal bedeutet in erster Linie „darf nicht arbeiten“. Das führt zu völlig unterbezahlten und gefährlichen Jobs, oder aber zu Bettelei oder gar Kriminalität.
- Hinzu kommen viele „internally displaced“ Leute, also Menschen die innerhalb des Landes Kolumbien fliehen mussten
- Insbesondere gibt es viele Menschen, die seinerzeit nach Venezuela flohen, dort ein Leben aufbauten und nun in der Wirtschaftskrise alles verloren haben und wieder zurückkehren in ein Land, aus dem sie zwar stammen, in dem sie aber weder Sozialversicherungsansprüche noch Vermögen angesammelt haben.
Viele der Geschichten ähneln sich hier. Da ich mit einer humanitären Hilfsorganisation zusammen arbeite, unterhalte ich mich mit jenen, die am verwundbarsten sind. Oft geht ein Familienmitglied vor, lebt zunächst ein paar Tage oder Wochen auf der Straße. Geschichten voller Scham, denn niemand bettelt gerne. Schließlich gelangt man an irgend einen Job, manchmal helfen Kolumbianer vor Ort aus und geben erstmal eine Unterkunft für einige Zeit, bis man im Slum seine eigene Wellblechhütte bauen oder irgendwo etwas günstiges mieten kann. Schließlich kommt der Rest der Familie nach, man lebt von Aushilfsjobs oder Müllsammeln, verkauft Wasser oder Essen auf der Straße, versucht sein Leben wieder aufzubauen.
Die allermeisten Menschen hier kommen aber nur für kurze Zeit. Bis zu 7000 Leute passieren täglich die Grenze. Wer zurück geht, der bringt allerhand Güter mit zurück. In Venezuela ist alles teurer, so denn es überhaupt verfügbar ist. Um die Situation tatsächlich einschätzen zu können, begeben wir uns an einem Nachmittag zur Grenze. Selbige ist seit einigen Monaten wieder geöffnet, allerdings nur für den Fußverkehr. Die Grenze selbst ist die Simon-Bolivar-Brücke, eine 300m lange Brücke über den Tachira-Fluss. Sie verbindet San Antonio del Tachira mit der Kleinstadt La Parada, einem Vorort von Cucutà.
Schon einen knappen Kilometer vor dem Übergang stehen viele Menschen auf der Straße, klopfen an unsere Fensterscheiben. Sie wollen uns bitten, doch einige Güter bis nach Vorne zu transportieren, denn alle, die hier hinüber gehen, nehmen so viel mit wie sie tragen können. Ein ganzer Wirtschaftszweig besteht aus jungen Menschen, die mit Sackkarren helfen, Dinge zur Grenze zu bewegen. Manche fahren auch mit leeren Rollstühlen herum, für all jene, für die es zu beschwerlich ist, zu gehen.
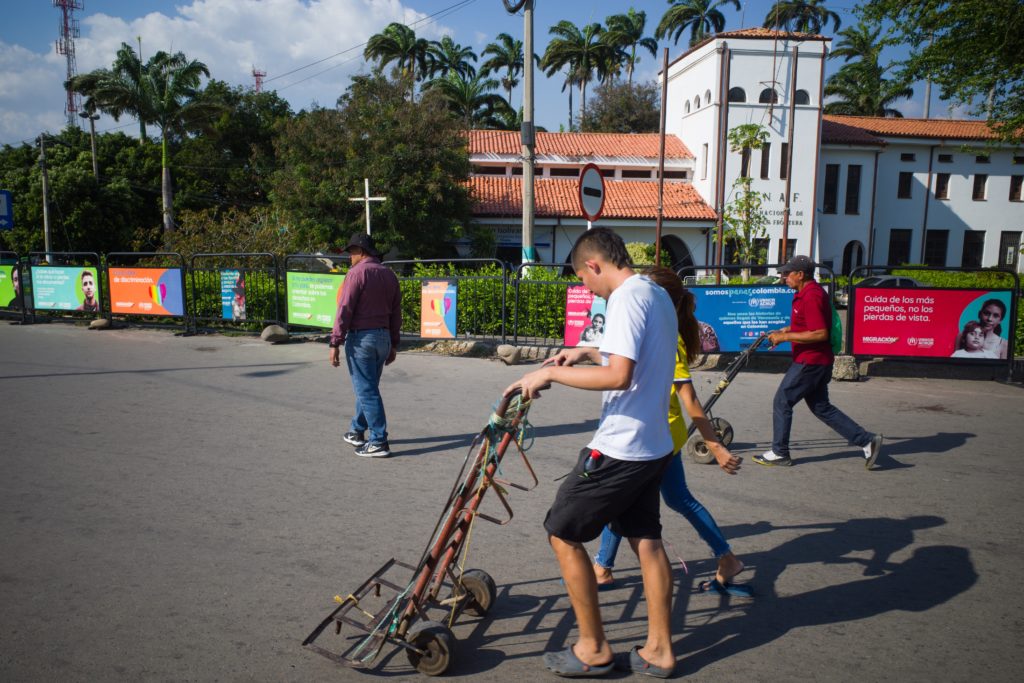
Am Nachmittag gehen etwa zehn mal so viele Menschen in Richtung Venezuela als umgekehrt.

Nach einer kurzen Besichtigung der örtlichen Einrichtungen von Rotem Kreuz, UNHCR, und internationaler Organisation für Migration (IOM) machen wir uns ebenfalls auf den Weg, zumindest so weit es geht.
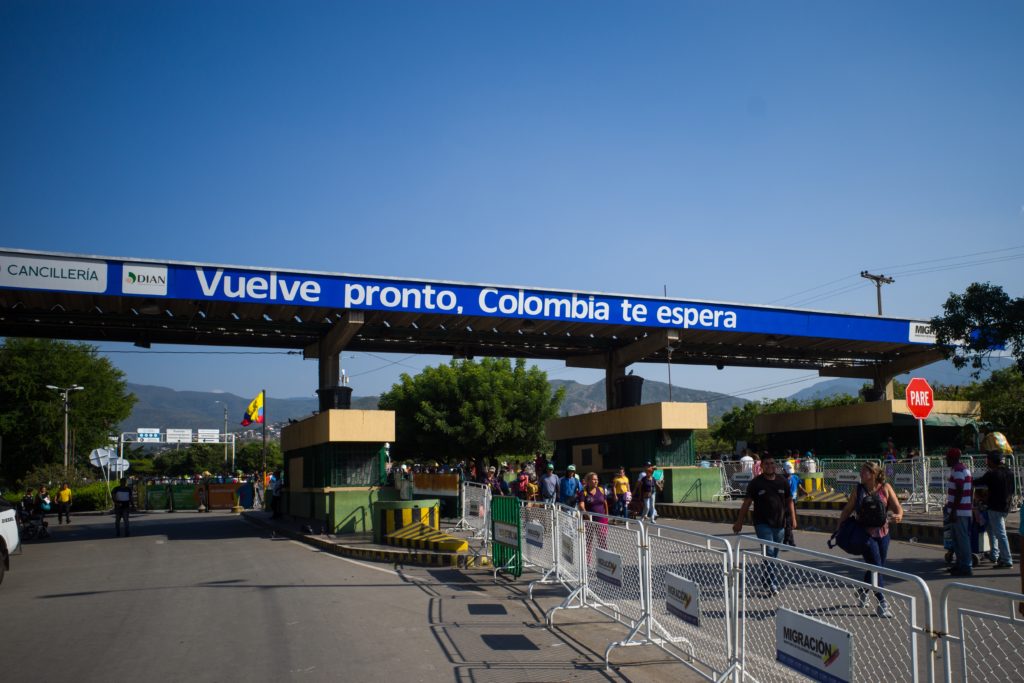
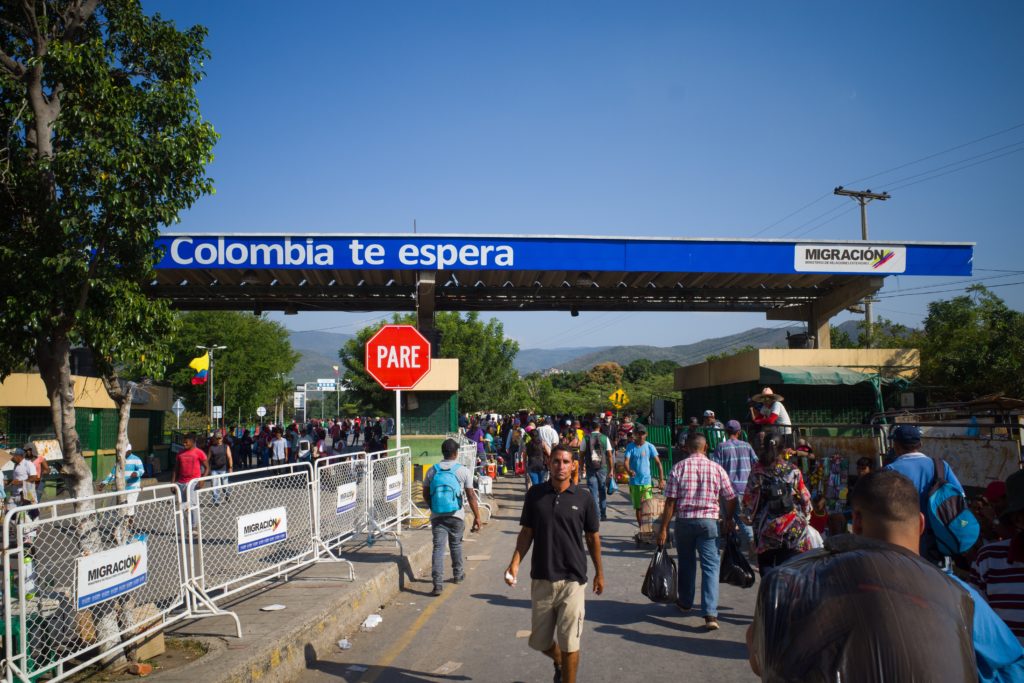
Die Dinge sind recht einfach für uns, da wir mit einer NGO-Mitarbeiterin unterwegs sind. Ihre braune Weste mit NGO-Logos machen klar, was wir vorhaben. Auch als wir mit dem Taxi bei der Migrationsbehörde parken wollen, ist es nur ein Drei-Satz-Gespräch mit dem diensthabenden Polizisten vor Ort, um die Erlaubnis zu bekommen. Dennoch bin ich etwas nervös als wir uns unter die Menschenmenge begeben.
Wir gehen an Menschen vorbei, die allerlei Dinge transportieren.


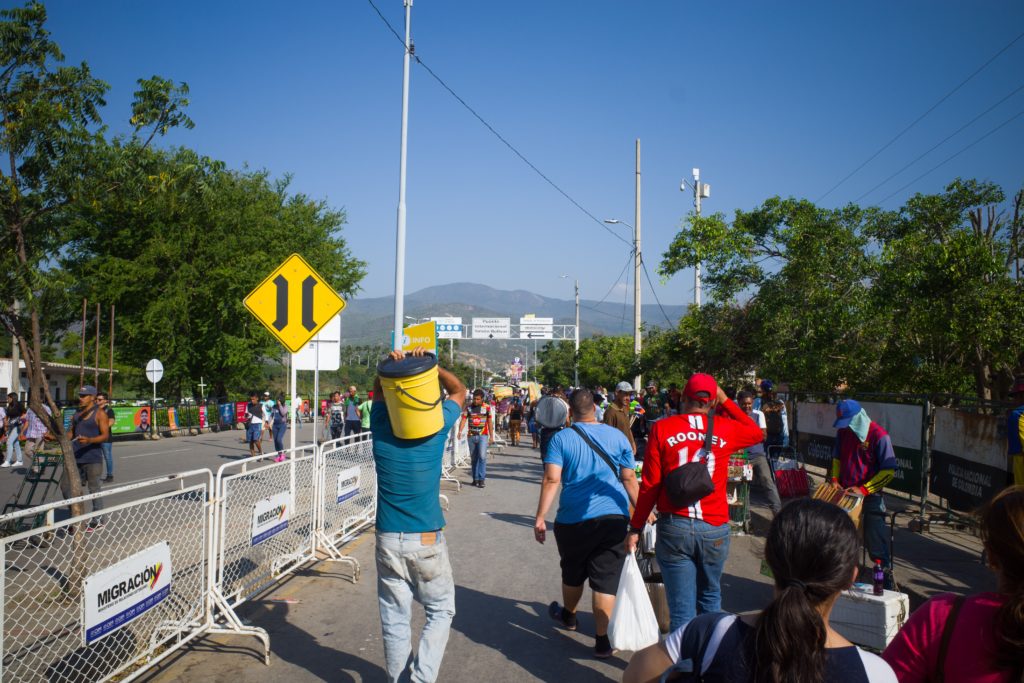


Auf der Brücke werden Bustickets verkauft. Nach Caracas, nach Valencia, nach Maracay. Auf der anderen Seite warten die Busse schon, um die Menschen in alle Ecken des Landes zu bringen.
Plötzlich steht ein venezolanischer Grenzbeamter vor mir. Beäugt kritisch meine Kamera, die ich sofort einstecke. Dann drehen wir schnell um. Die Kolumbianischen Beamten auf der anderen Seite prüfen unsere Pässe und teilen uns mit, dass wir gerade offiziell auf venezolanischem Boden waren. Hätte man uns dort festgenommen oder sonst korrupte Dinge versucht, hätten die Kolumbianer uns nicht helfen können.
Wir kehren also zurück. Morgens ist in diese Richtung sehr viel los, jetzt kaum etwas. Dennoch: Was sind wohl die Geschichten derer, die hinübergehen? Wie lange bleiben sie? Woher kommen sie?

Wir kehren zurück. Willkommen in Kolumbien.
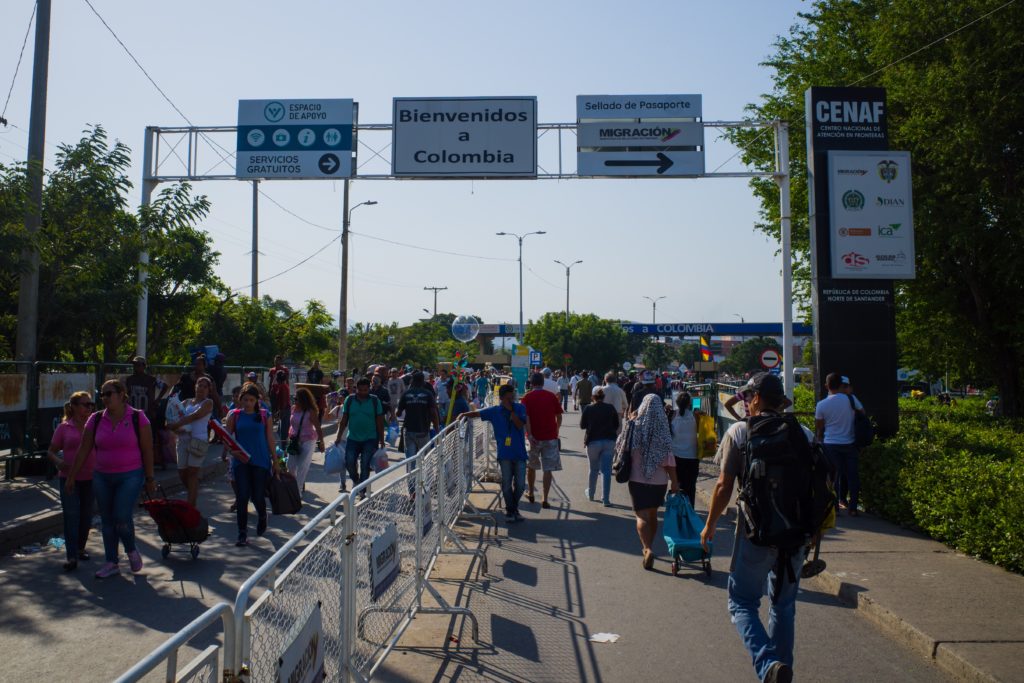
Wer hier nur für kurze Zeit ins Land will, geht gerade aus und ist in La Parada. Wer sich als Flüchtling registrieren möchte, eine Arbeitserlaubnis beantragen will, der geht nach rechts, wo das Einwanderungsbüro ist.
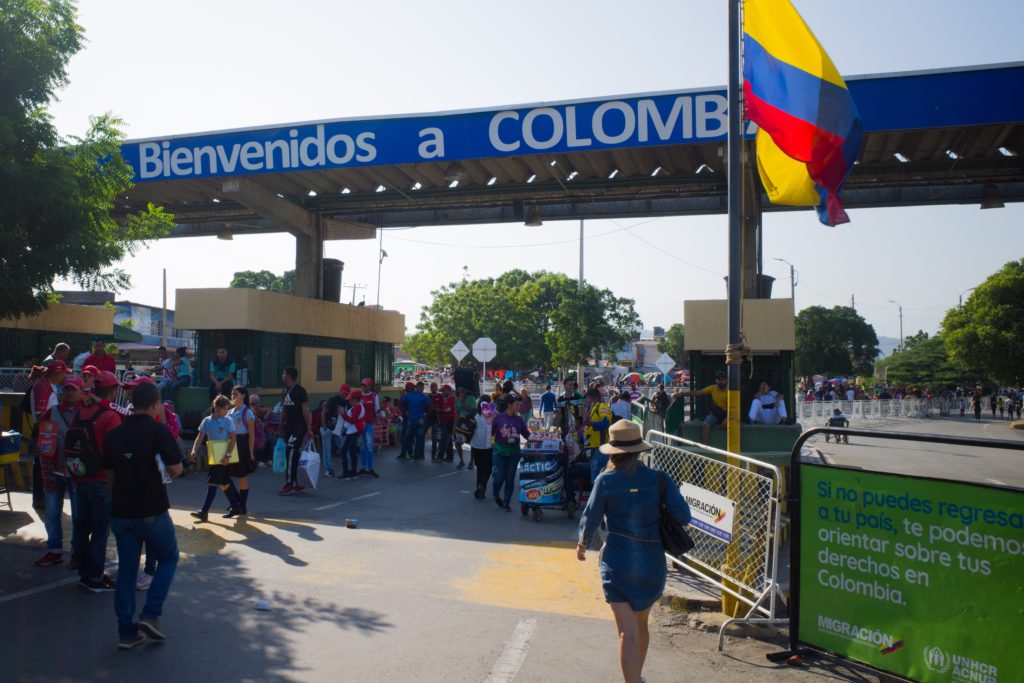
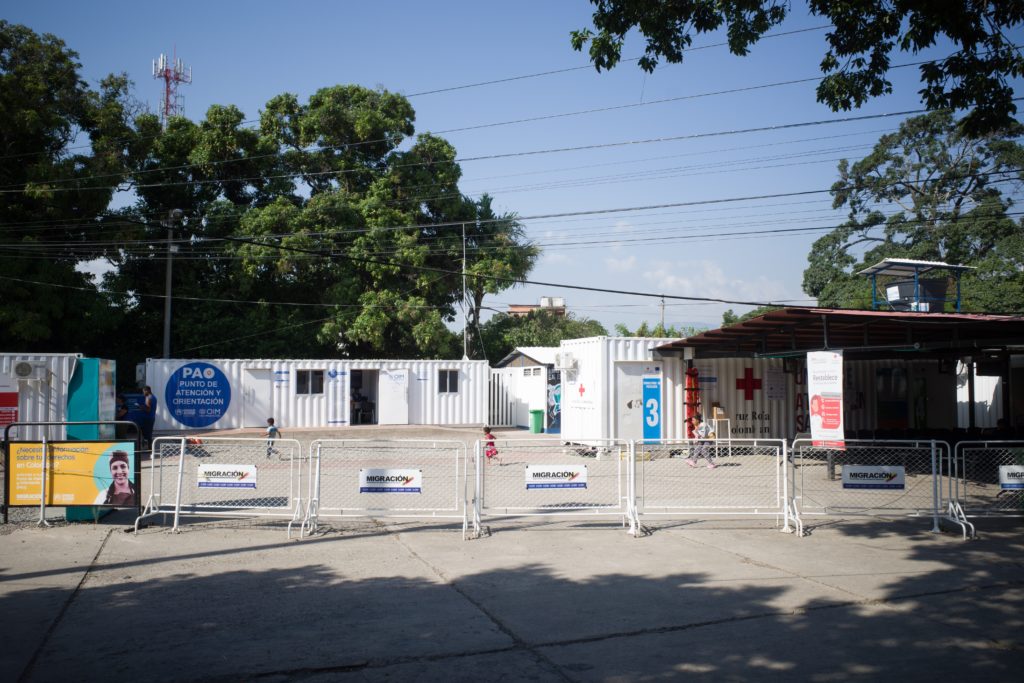
Ausserdem an der Seite der Straße: eine große humanitäre Einrichtung. UNHCR und IOM beraten die Menschen bezüglich Einwanderung, eine große Station von Rotem Kreuz und anderen Organisationen geben Medizinische Nothilfe. Heute ist nicht viel los. Doch die Station ist in der Lage, 500 Leute am Tag zu versorgen.
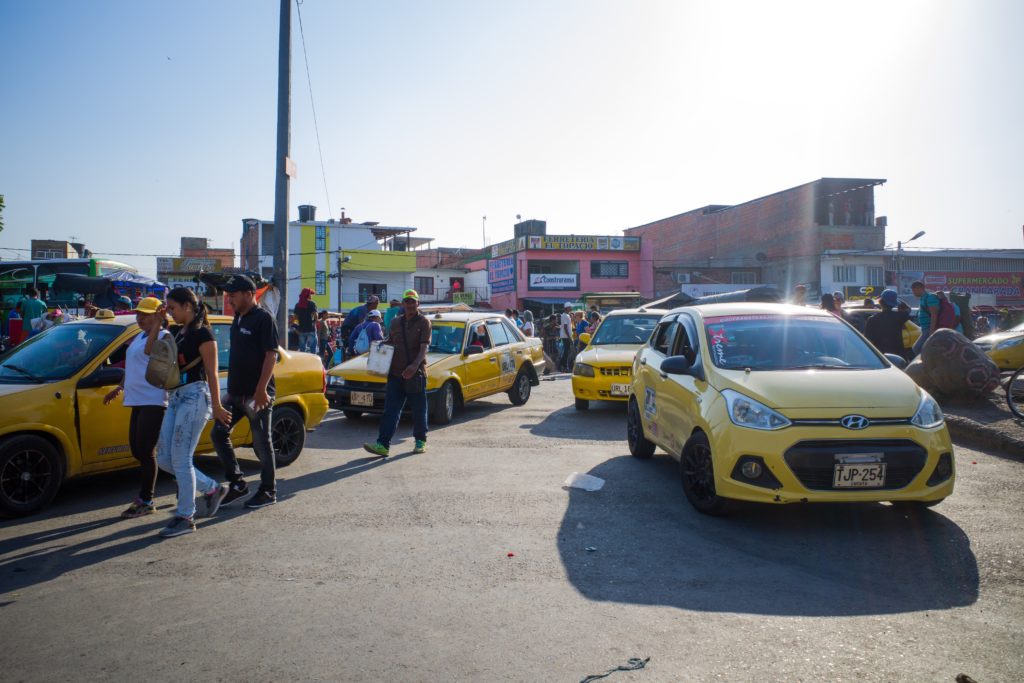
Ein paar Meter weiter warten die ersten Taxis. Für den Weg in die Stadt oder zum nächsten Laden.
Wir gehen zurück zum Parkplatz und trinken noch eine Cola in der örtlichen Behörden-Cafeteria. Die Verkäuferin dort ist ebenfalls Venezolanerin. Sie arbeitet hier, fährt regelmäßig zurück in ihr Heimatland um Geld und Waren mitzubringen. Dank der Schwäche der örtlichen Währung ist der Mindestlohn im Land auf gerade einmal 15 Dollar im Monat gesunken. Nicht einmal ansatzweise genug um zu überleben. Viele Betriebe bezahlen deshalb teilweise in US-Dollar oder kolumbianischen Pesos. Gerade im Gebiet entlang der Grenze ist der Peso das gängige Zahlungsmittel. Dennoch haben in den letzten Jahren fast zehn Prozent der Bevölkerung das Land verlassen.
Medellin: Eine Tour durch Comuna 13
San Javier im Westen Medellins, besser bekannt als „Comuna 13“. Vor etwa 20 Jahren noch absolute Hochburg des Drogenkriegs. Die Gipfel besetzt von FARC-Kämpfern, auf der anderen Seite des Hügels gleichermaßen Zugang zu Dschungel und Meer. Das Viertel selbst bettelarm. 2002 rückte dann die Polizei zusammen mit Paramilitärs an, nahm das Viertel in die Zange, erschoss viele hundert Menschen, darunter viele Zivilist*innen und befriedete das Viertel.
Heute ist Comuna 13 einer der wichtigsten Touristen-Hotspots der Stadt. Die Waffen und Drogen sind Graffiti gefolgt, man hat eine Serie von Rolltreppen in den Berg gebaut und allerhand Verkaufsstände säumen die engen Gassen, um den Touristen während ihrer Touren Souvenirs und Getränke zu verkaufen.
Ich soll um 11 uhr da sein, aber Pablo, mein Tourguide kommt nicht. Stattdessen spricht mich fünf minuten später eine junge Frau mit bunten Haaren und Tattoos an. Sie müsse übernehmen. Melisa ist eigentlich aus Argentinien und auf ihren Reisen in Medellin hängen geblieben und führt nun Touristen durchs Viertel. Ich bin skeptisch. Pablo kommt angeblich aus dem Viertel, Melisa ist von weit weg. Was soll schon besonderes an den Grafitis sein und warum brauch ich dafür eine Tour? Aber eine Amerikanische Touristin hat mich am Vorabend überzeugt.
Wir laufen hinauf und tatsächlich: es ist wundervoll. Was folgt, sind Bilder mit ihren Erklärungen.
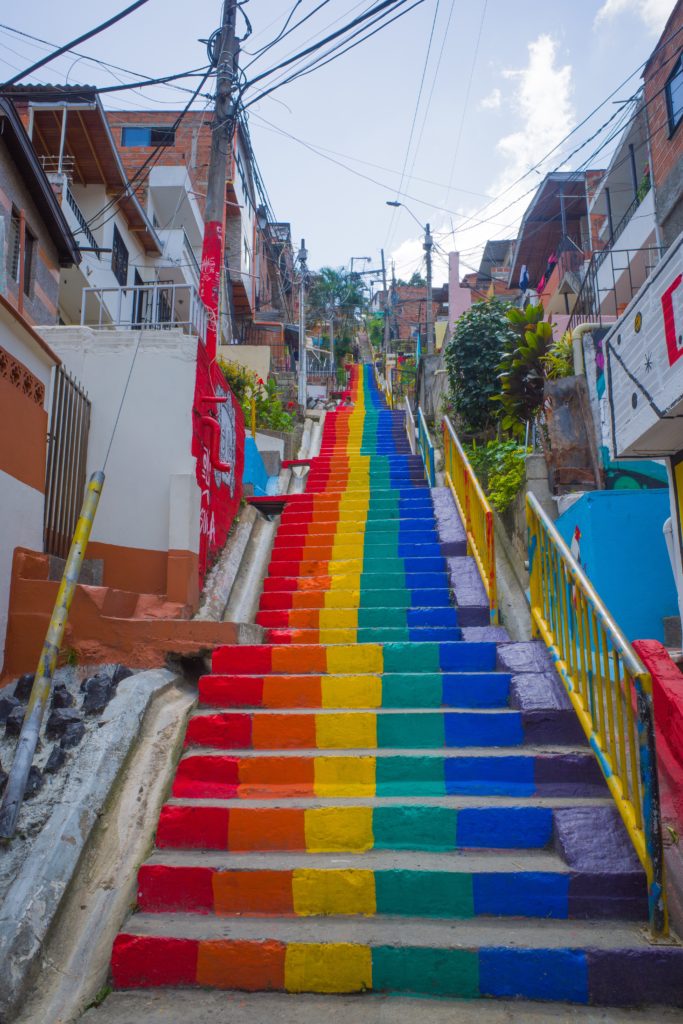
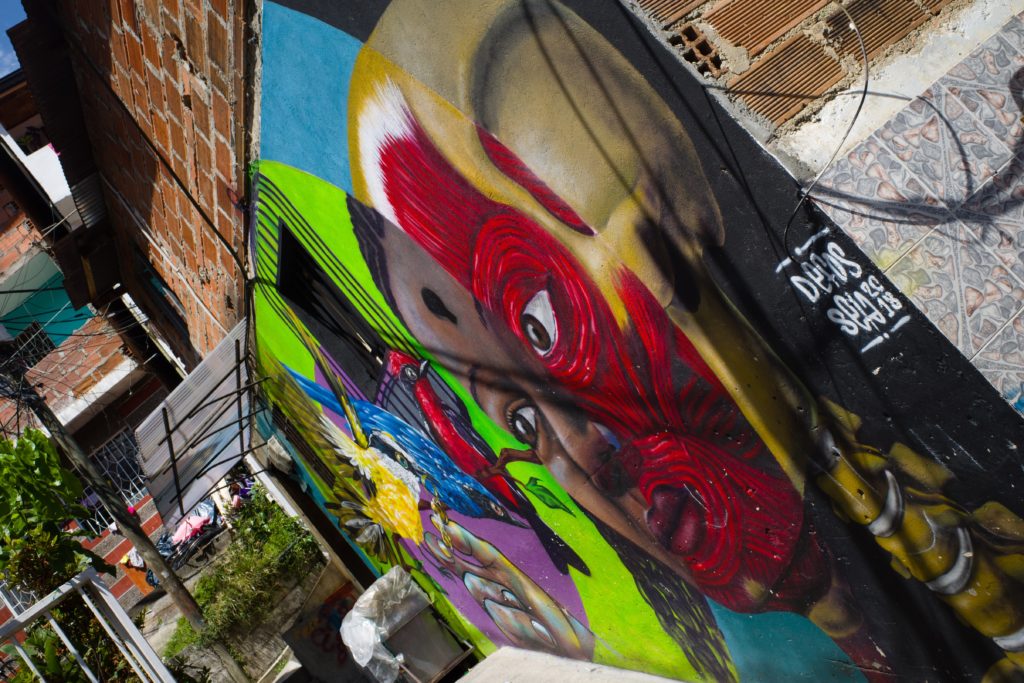
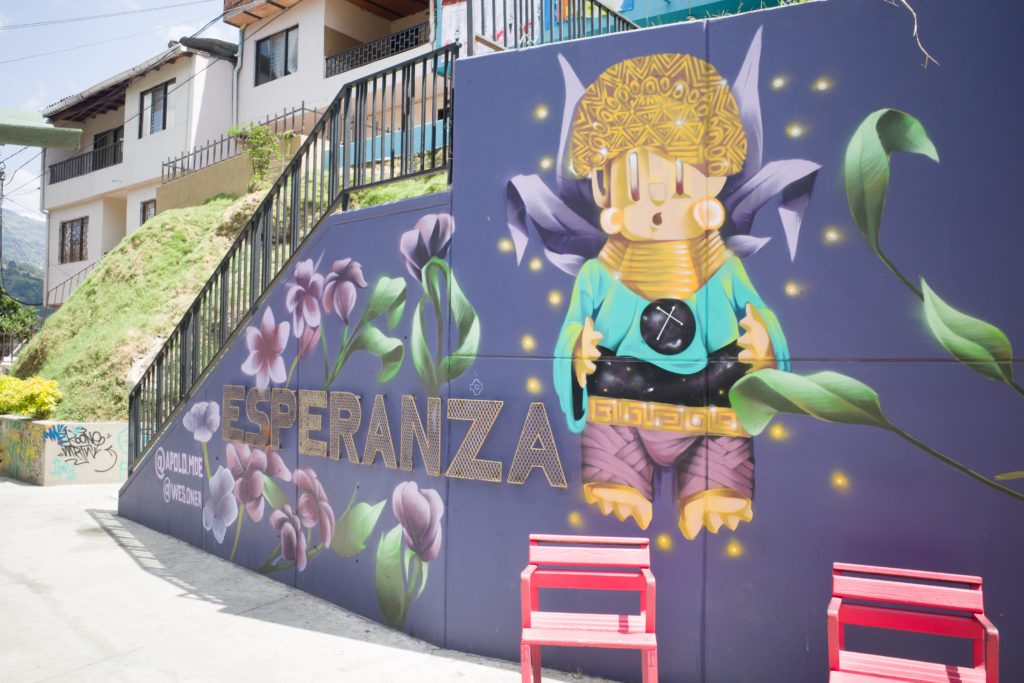

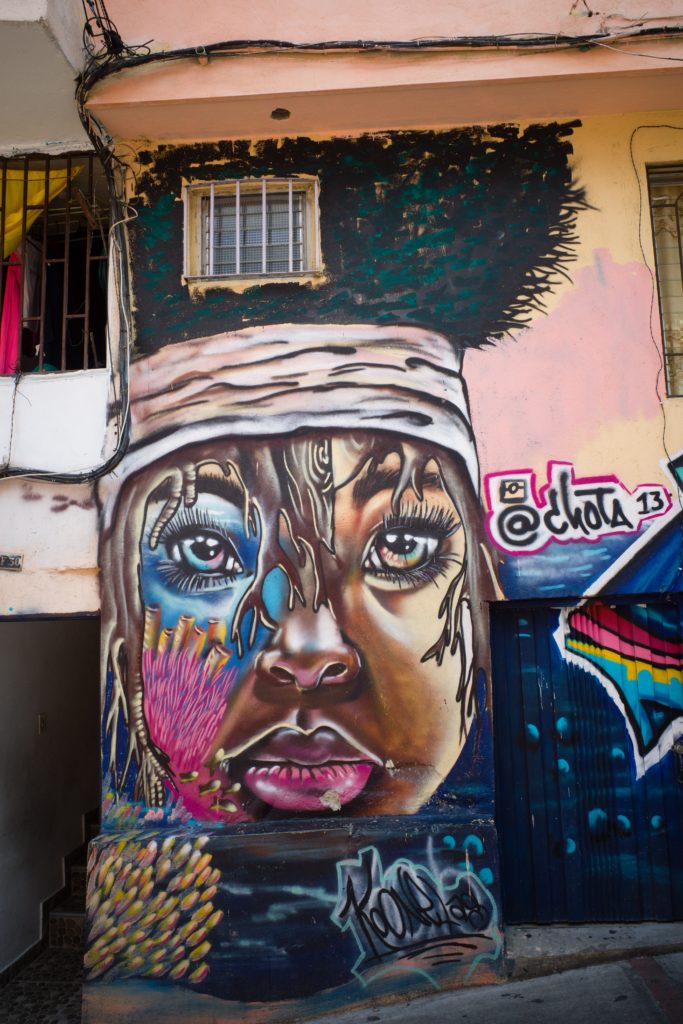
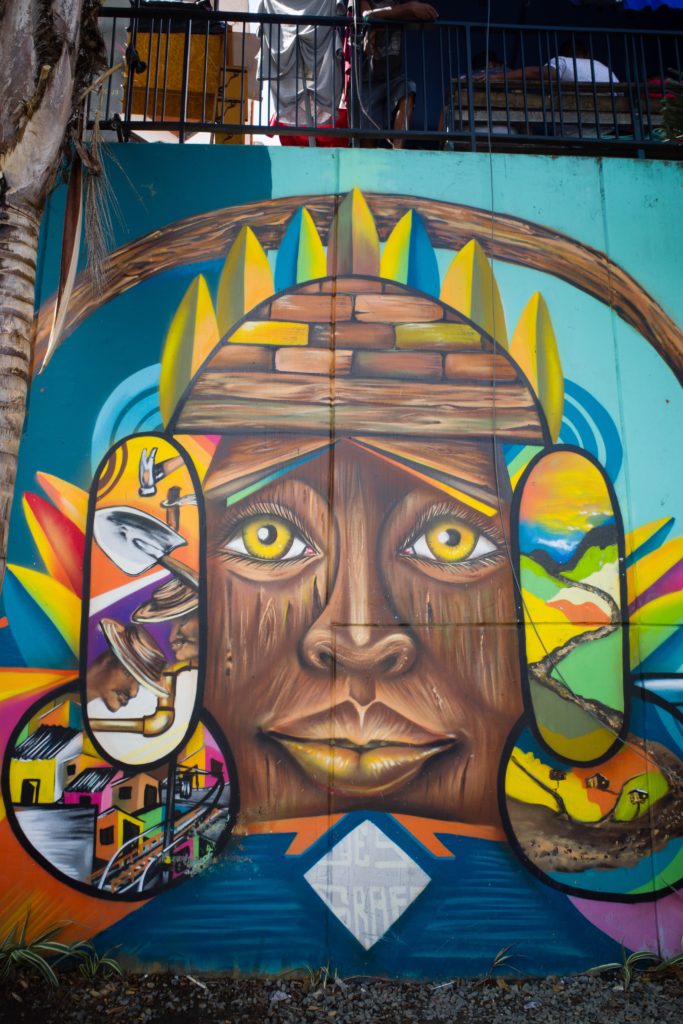

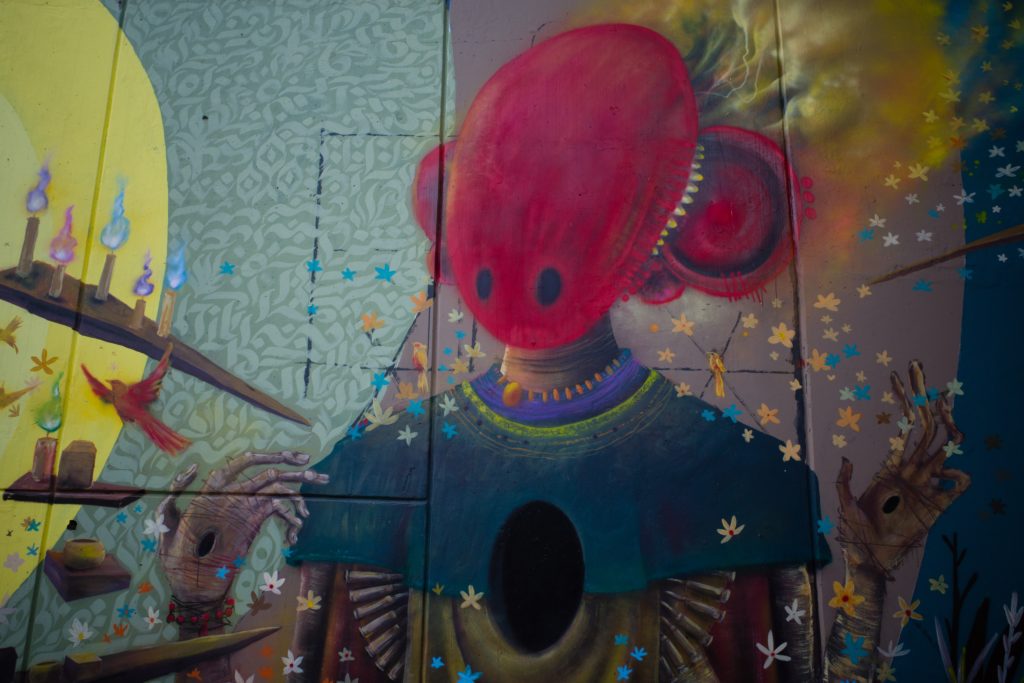
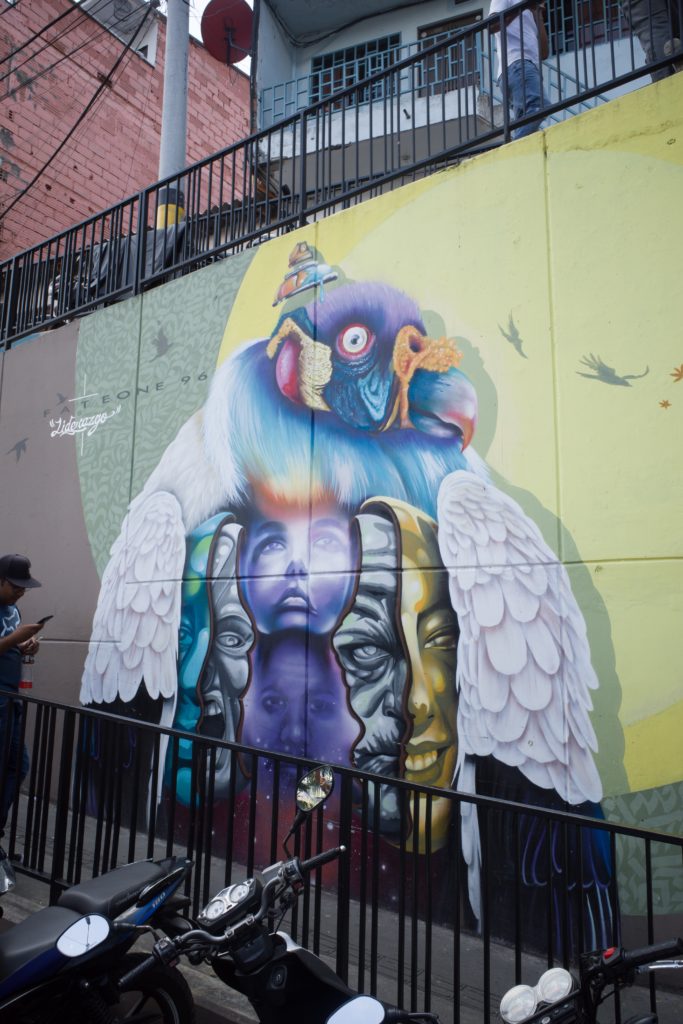
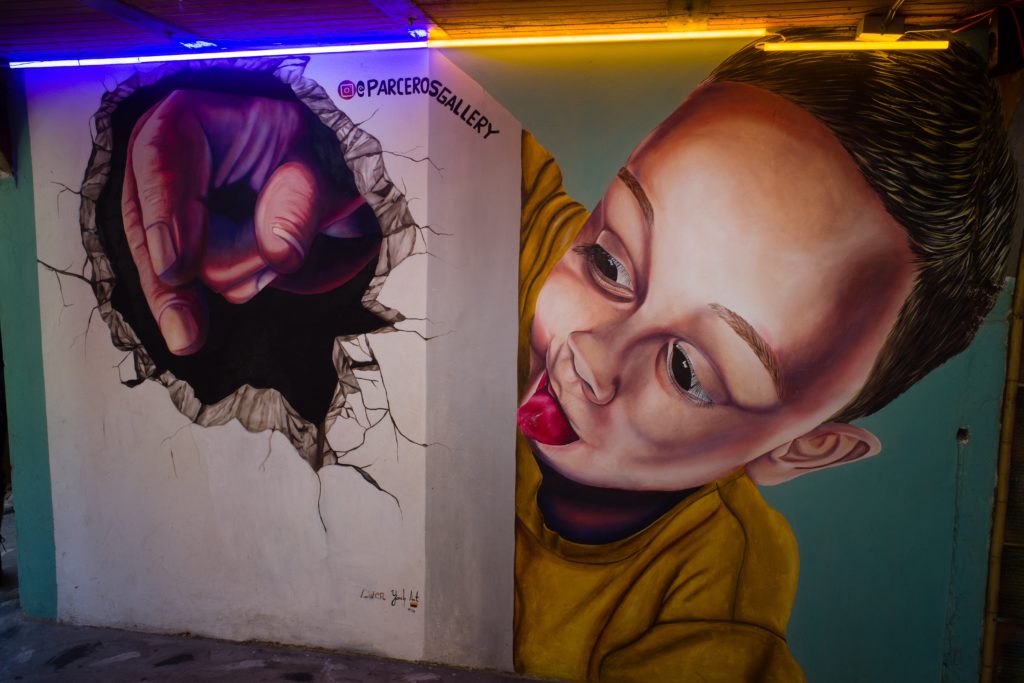
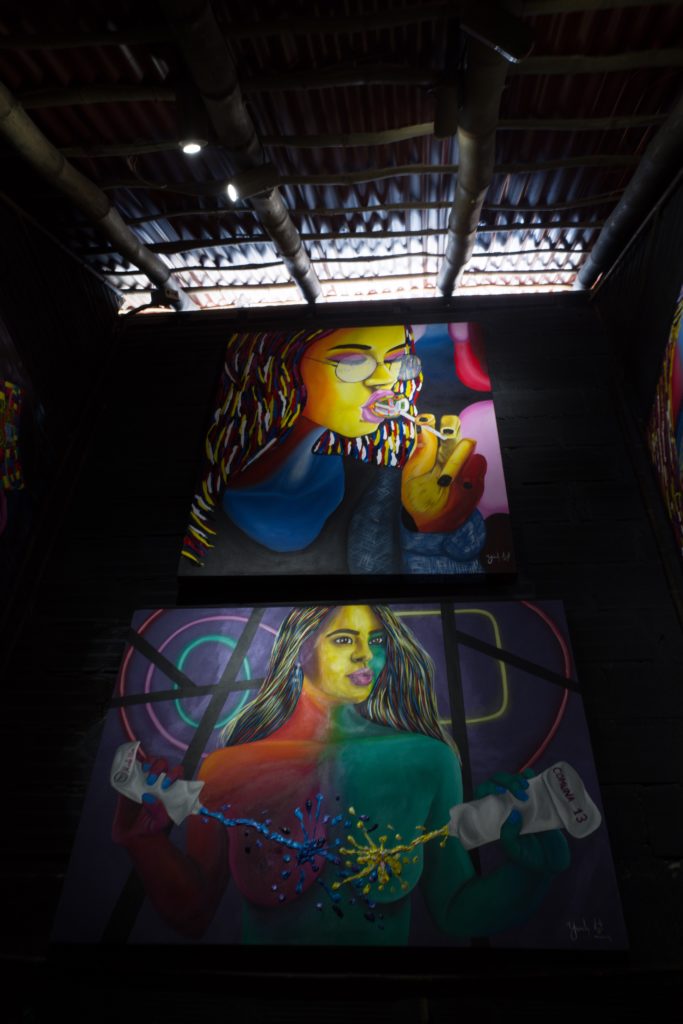


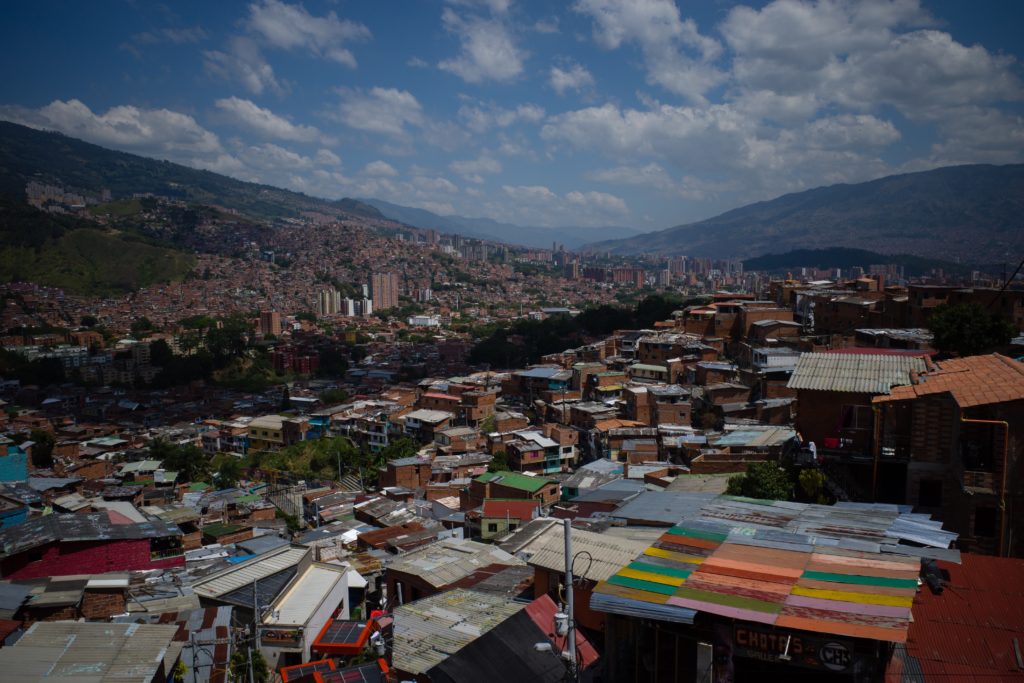
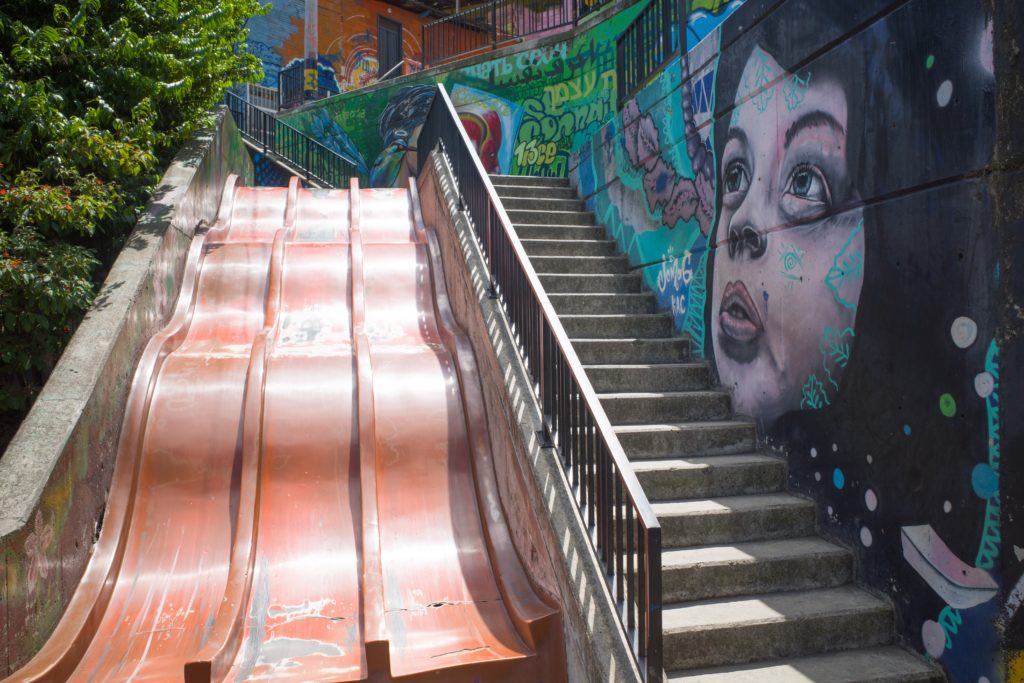

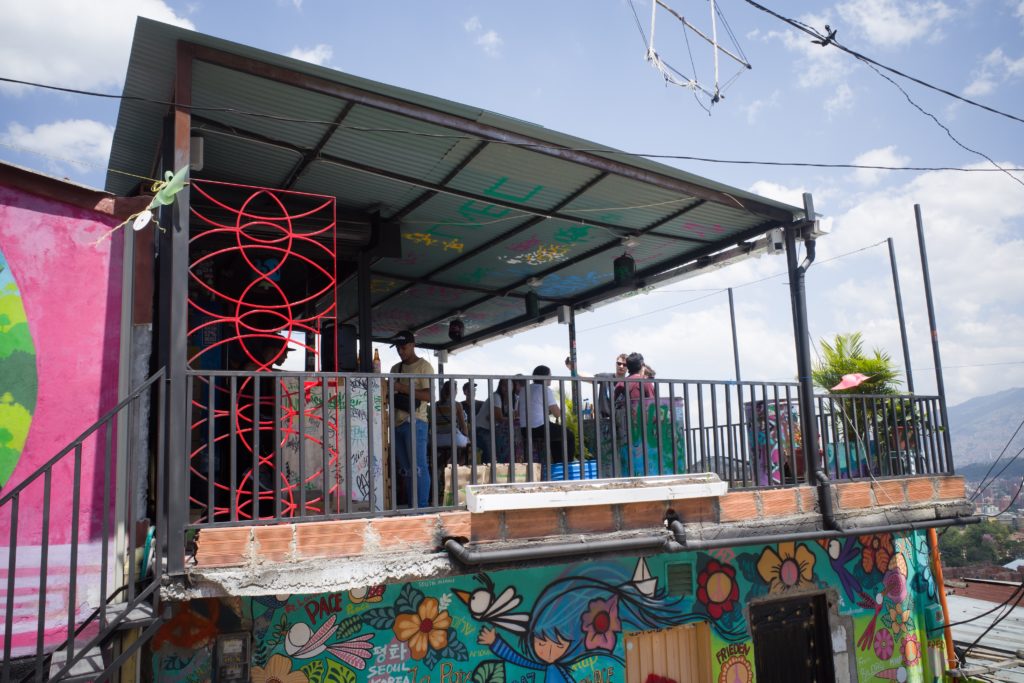
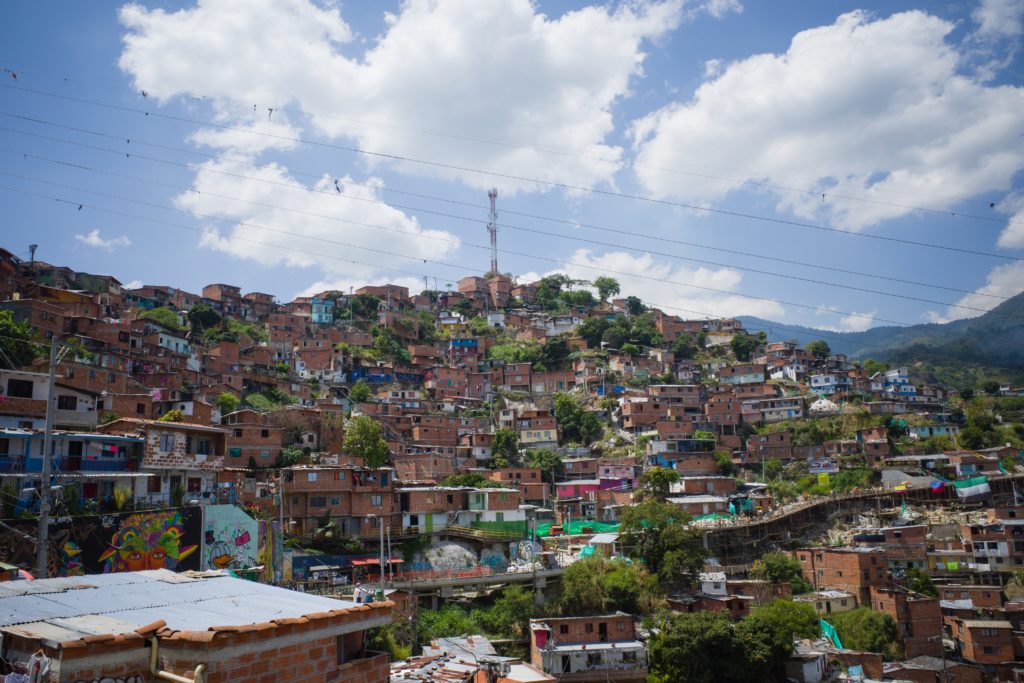
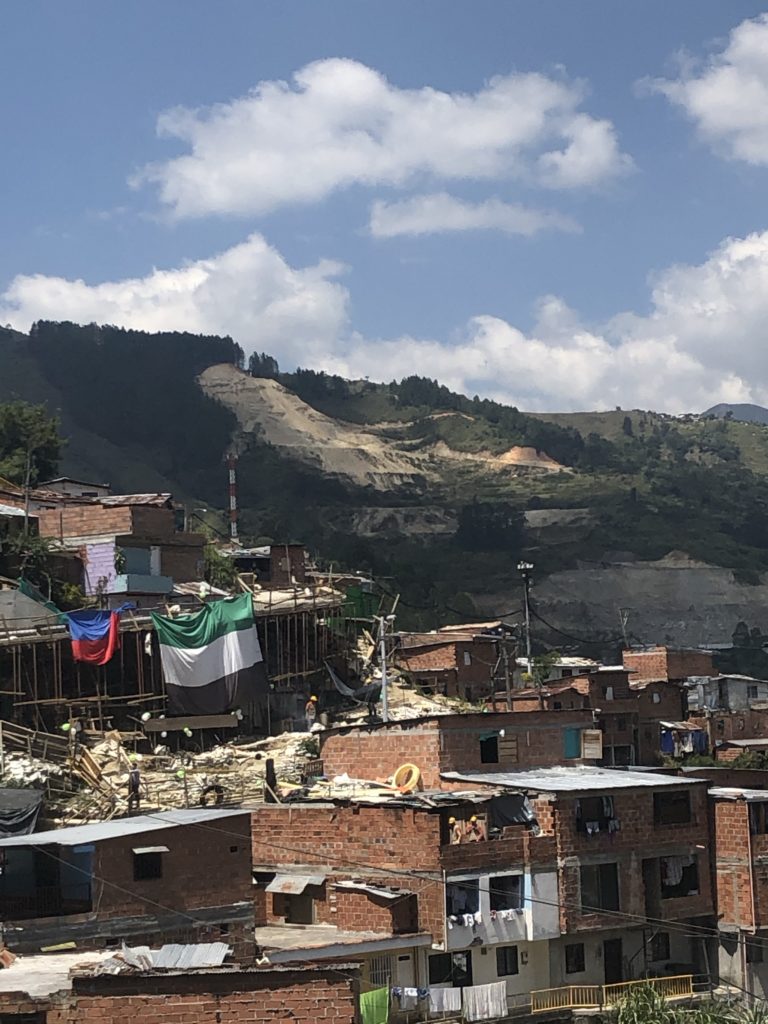


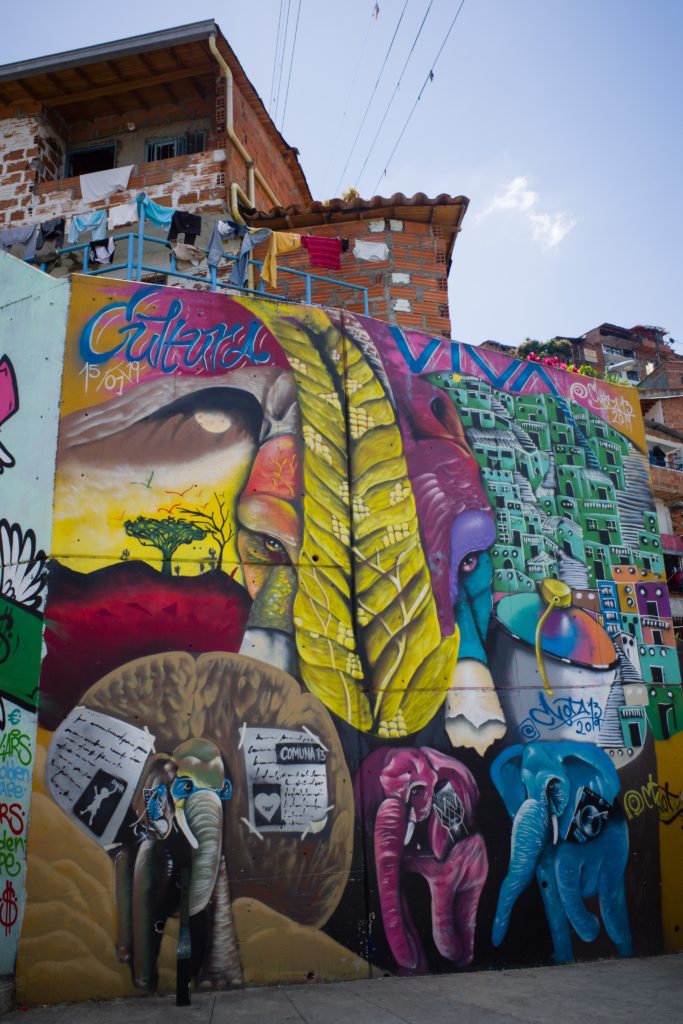

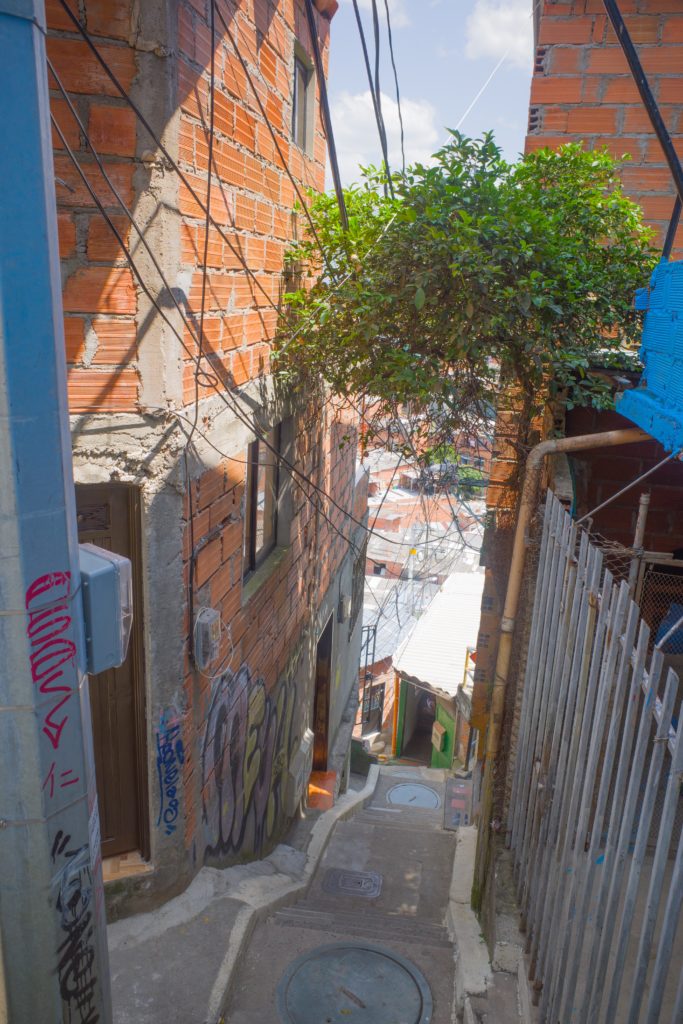
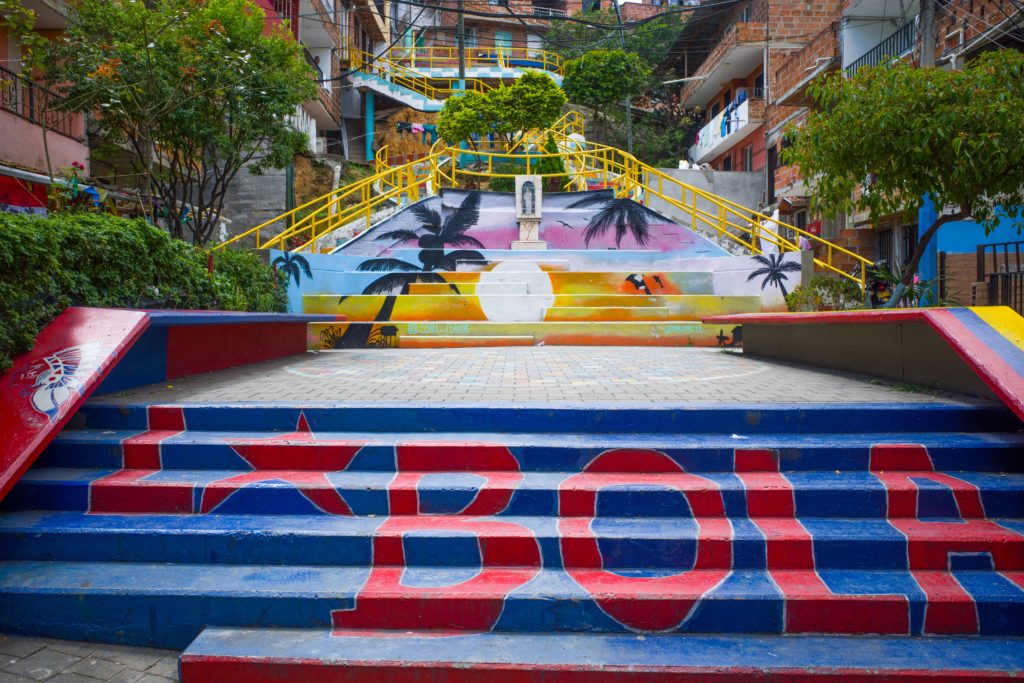

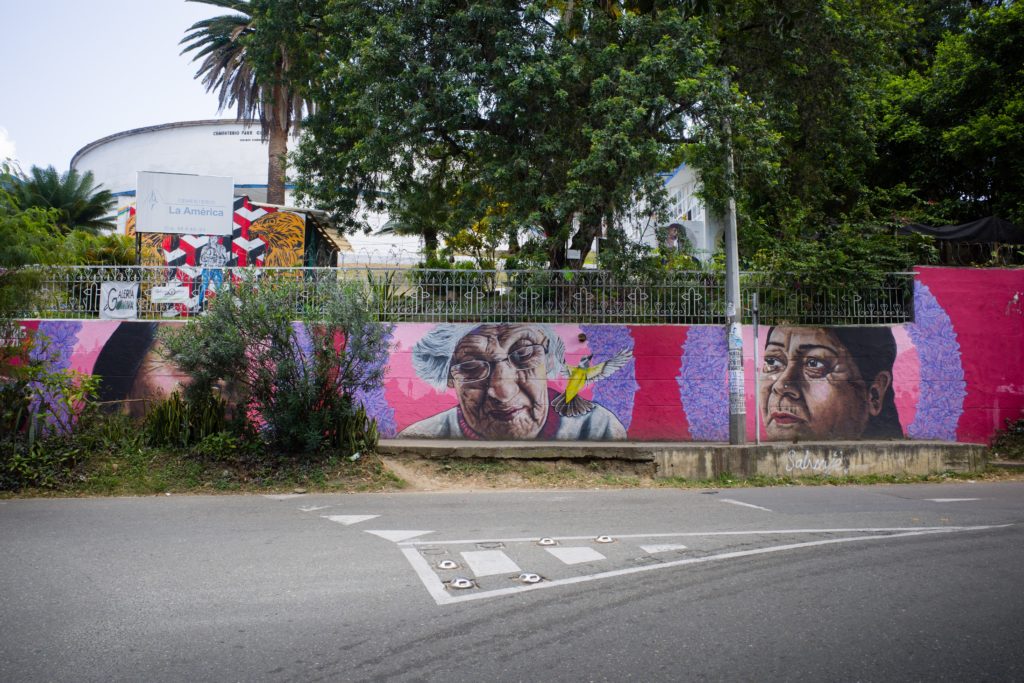
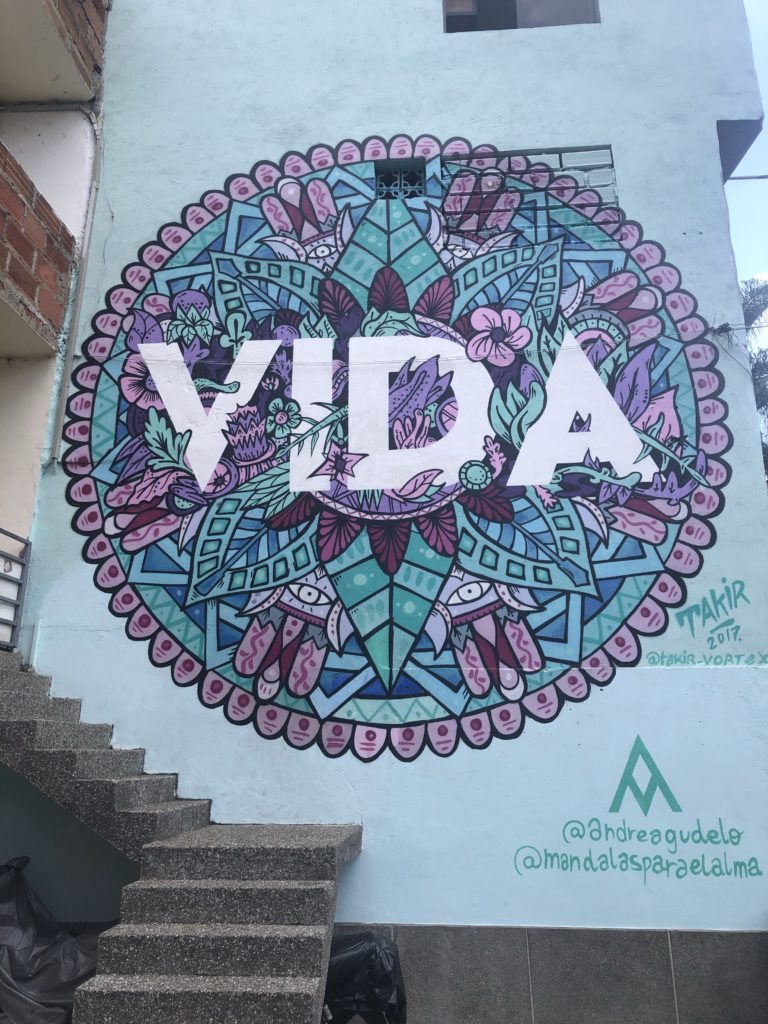
Am Ende bleibt ein herzlicher Abschied von Melisa, die einen hervorragenden Job gemacht hat. Und eine Mischung aus „Das war cool und schön und Aufschlussreich“ und „nunja. Das eigene Viertel in eine Kunstausstellung verwandeln ist nun wirklich kein Modell für überall“. Kommt hinzu dass das Viertel alles andere als befreundet mit Comuna 7, den Nachbarn ist. Die sind unglaublich neidisch auf die Aufmerksamkeit, aber auch die finanziellen Zuwendungen. Dennoch ein starkes Symbol für den Wandel der Stadt. Der überwiegende Teil Medellins ist inzwischen Sicher. Keine Spur mehr von den tausenden Morden pro Jahr, von der „Mordhauptstadt der Welt“ in den 90ern. Andererseits wäre auch das nie passiert, hätte man diesen sinnlosen „War on Drugs“ erst gar nicht begonnen und einen anderen Umgang damit gefunden. All diese Ambivalenz zeigt sich auf dieser Tour ganz wunderbar.
Und wer denken möchte, dass das nun halt Graffiti für’s Viertel ist, was denn die Graffiti-Schulen sollen, dass man das ja jetzt auch nicht überbewerten muss dem sei gesagt: Nein. Medellin ist voll von Graffiti. Das ist das Markenzeichen der Stadt. Nirgendwo sonst findet man so viele wirklich schöne pieces. Wie zum Beispiel hier, unter der Metro-Brücke beim Botanischen Garten.
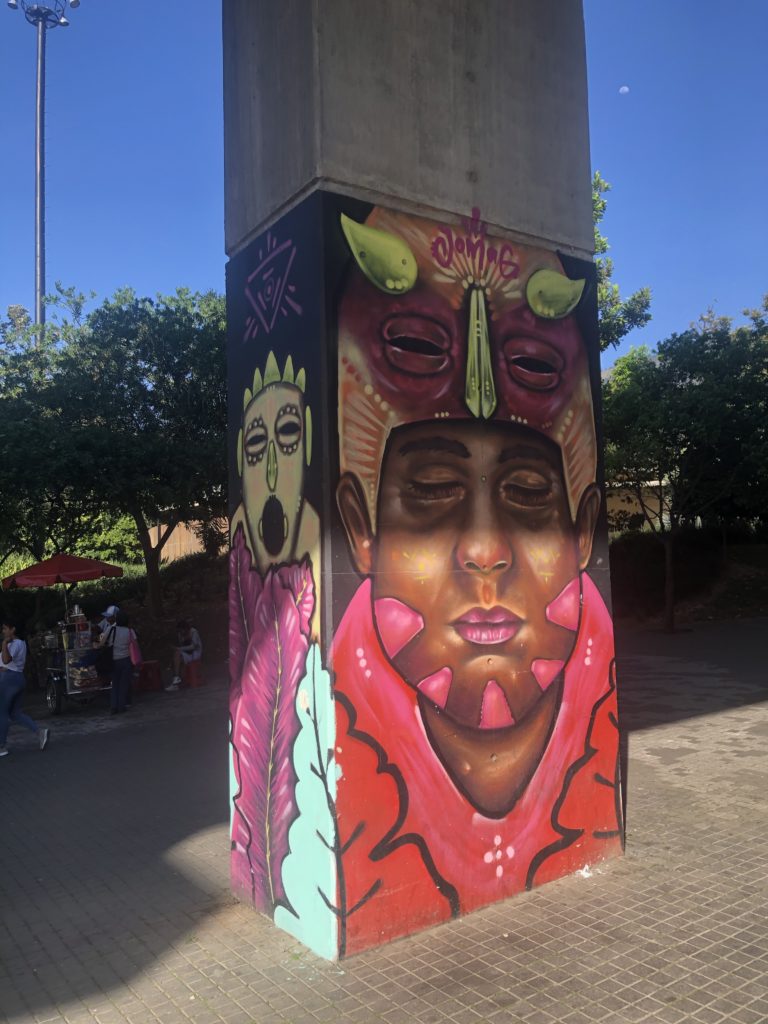
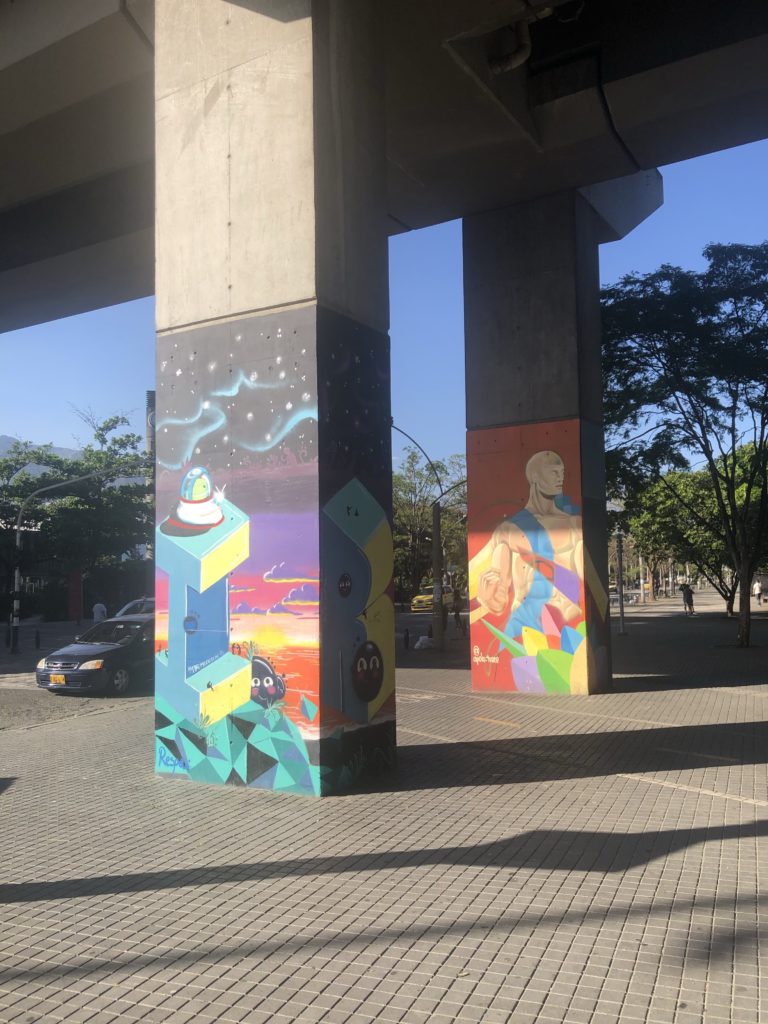

Cerro Kennedy (oder: Wie ich fast einen schönen Sonnenaufgang sah)
Seine Grenzen zu kennen ist das eine. Sie wirklich zu kennen das andere.
Die Sierra Nevada de Santa Marta ist eine Gebirgskette direkt hinter der Hafenstadt Santa Marta im Norden Kolumbiens. Hier gibt es Gipfel bis 5700 Meter und allerhand Dschungel. Angeblich eine der besten Wanderungen Südamerikas, viele Vögel und dementsprechend auch einen Nationalpark.
An dessen Rand das Dorf Minca, das früher wohl als Geheimtipp galt, jetzt aber zu 100% vom Tourismus lebt. Da am Rand ein neu eröffnetes Hostel mit Pool und geiler Aussicht und gutem Essen und „Eröffnungspreisen“, sprich erstmal alle anlocken, geile Reviews kassieren und dann die Preise anziehen.
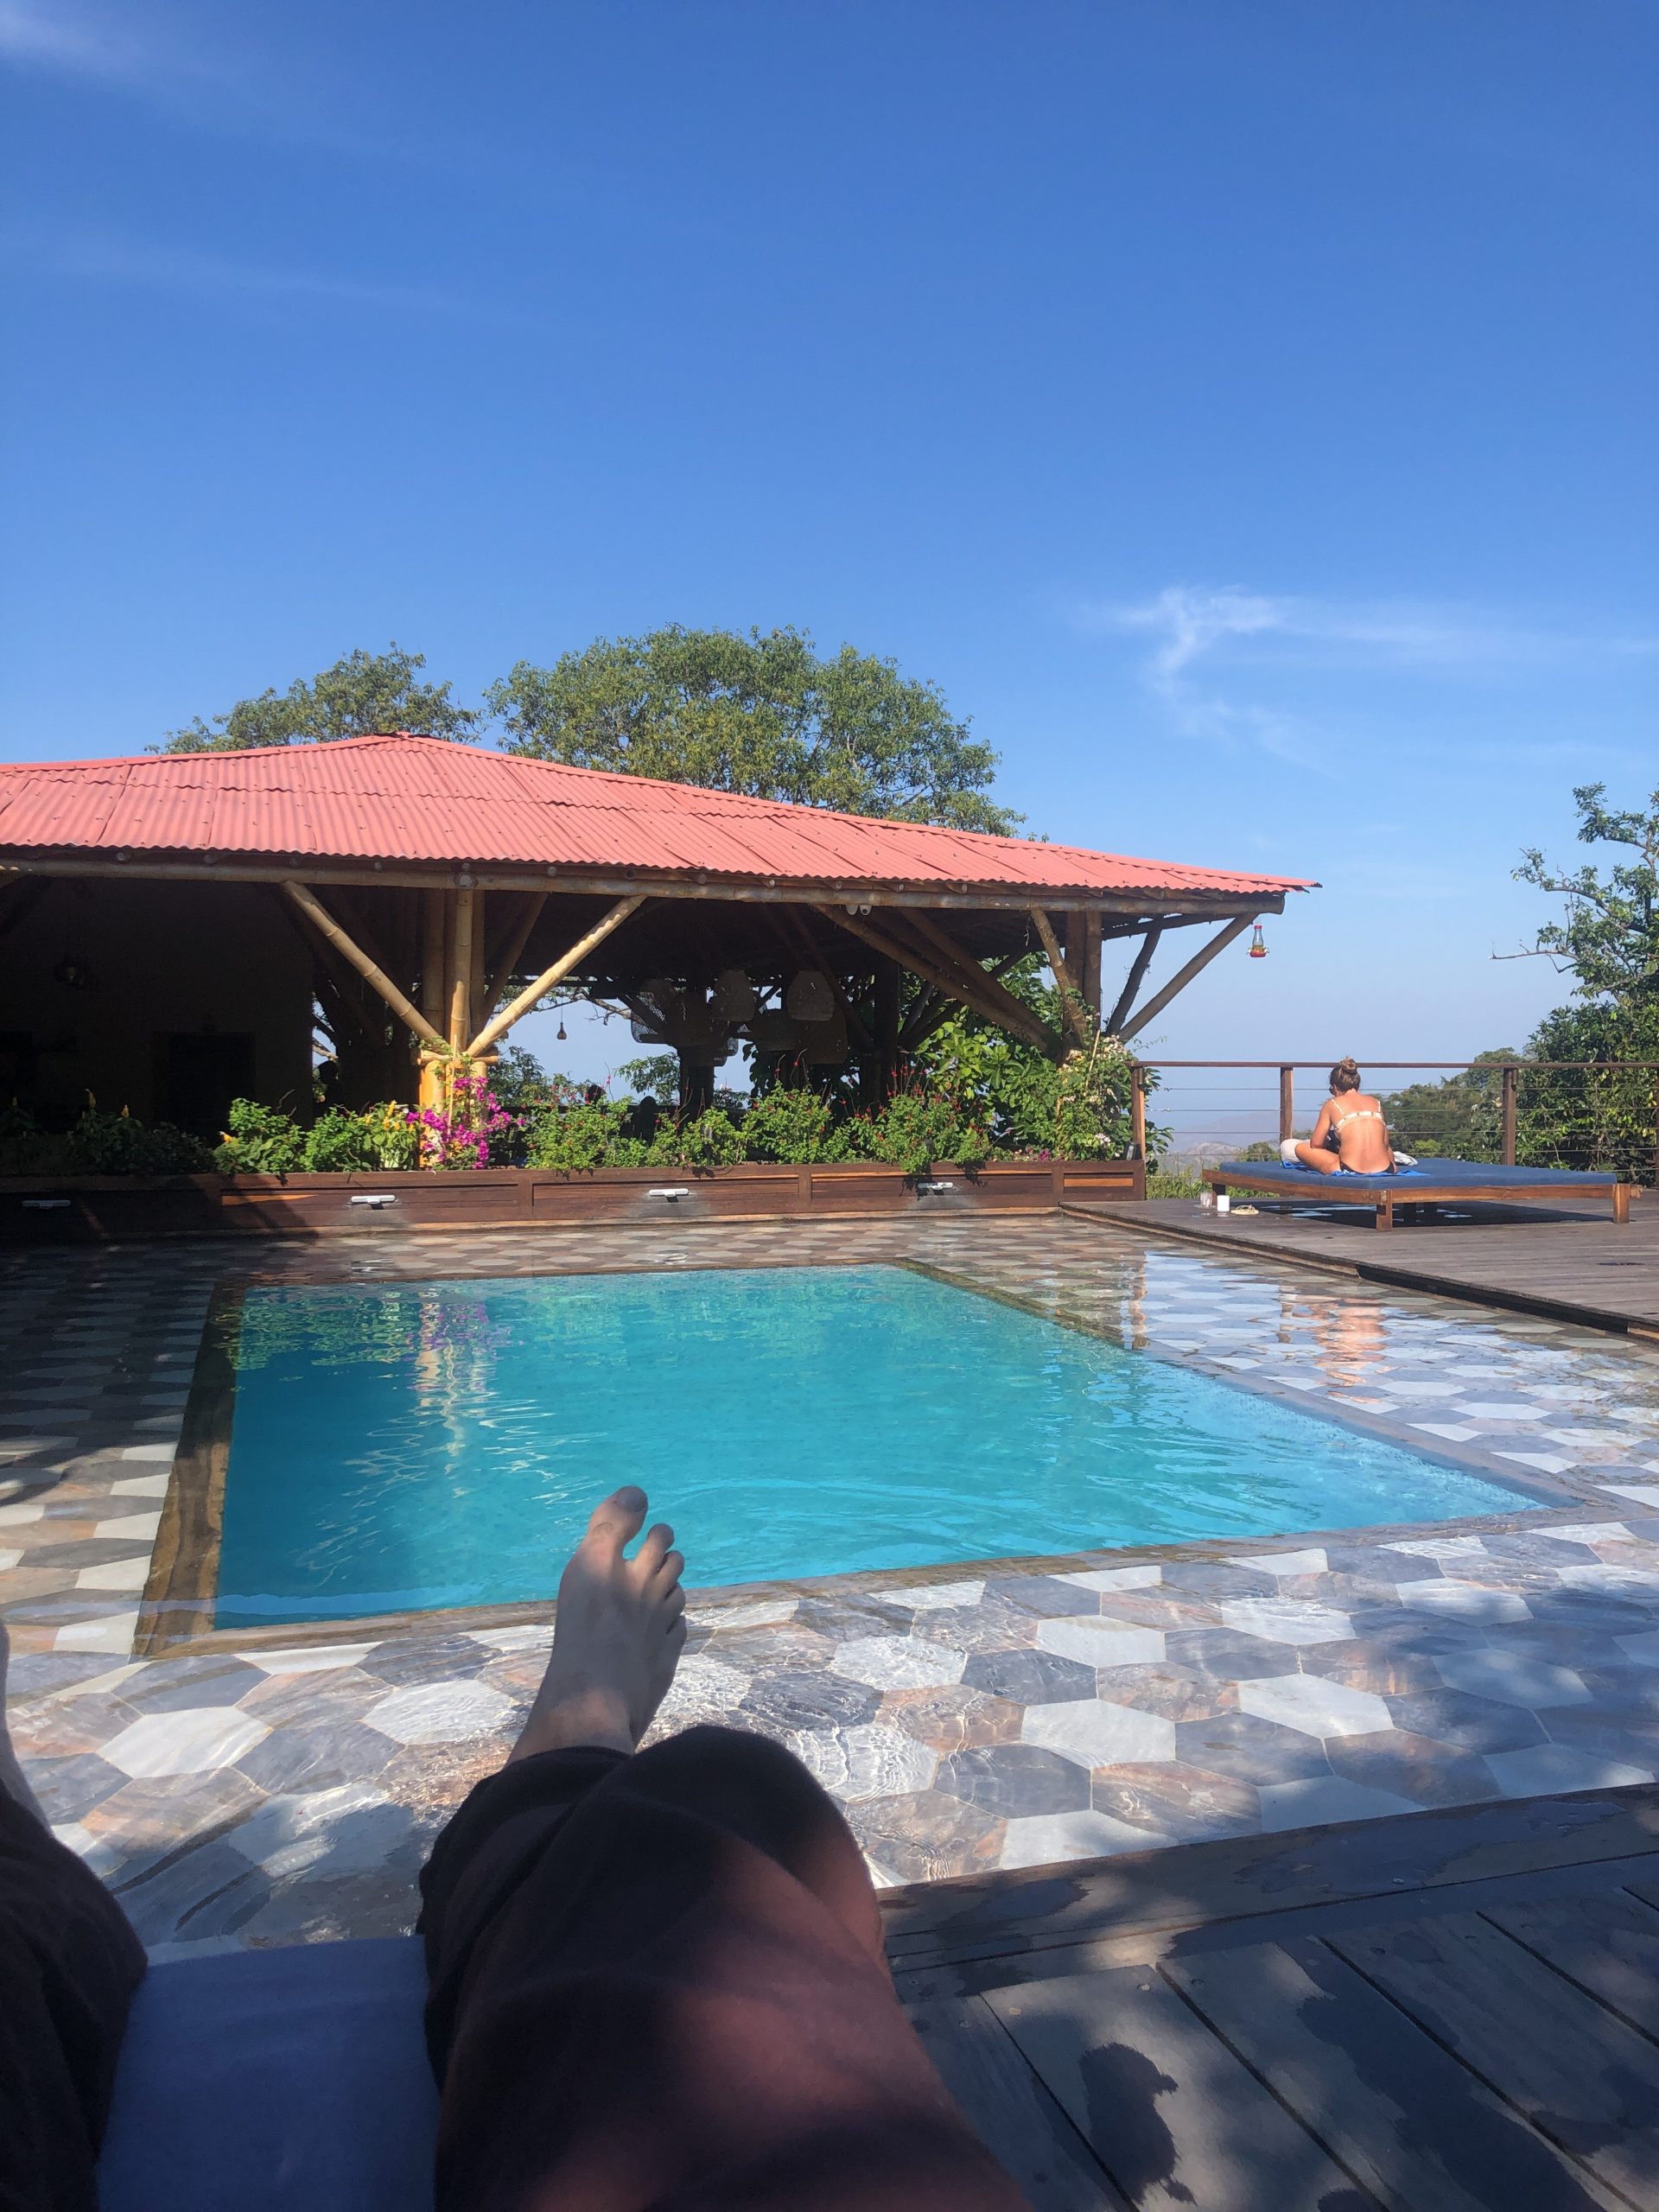
Hier kann man wandern. (Ich nicht dank Metallplatte im Bein). Oder sich mit motorisiertem Gefährt auf den Gipfel bringen lassen (boring). Oder eben Radfahren. Mountainbikes lassen sich im Dorf mieten und man bekommt einen Helm, Handschuhe, Luftpumpe und einen Wechselschlauch dazu. Für alle Fälle. Zu Fuß sind es auf den Gipfel etwa neun Stunden, mit dem Rad sollen es vier bis fünf sein. Das mach‘ ich. Oben gibt’s ein Hostel und der Sonnenaufgang ist berühmt. Also auf zum Cerro Kennedy!
Ich starte kurz vor 9, gebe Gas auf der staubigen Bergstraße und mache etwa eine Stunde später Pause an einer Kaffeefarm.
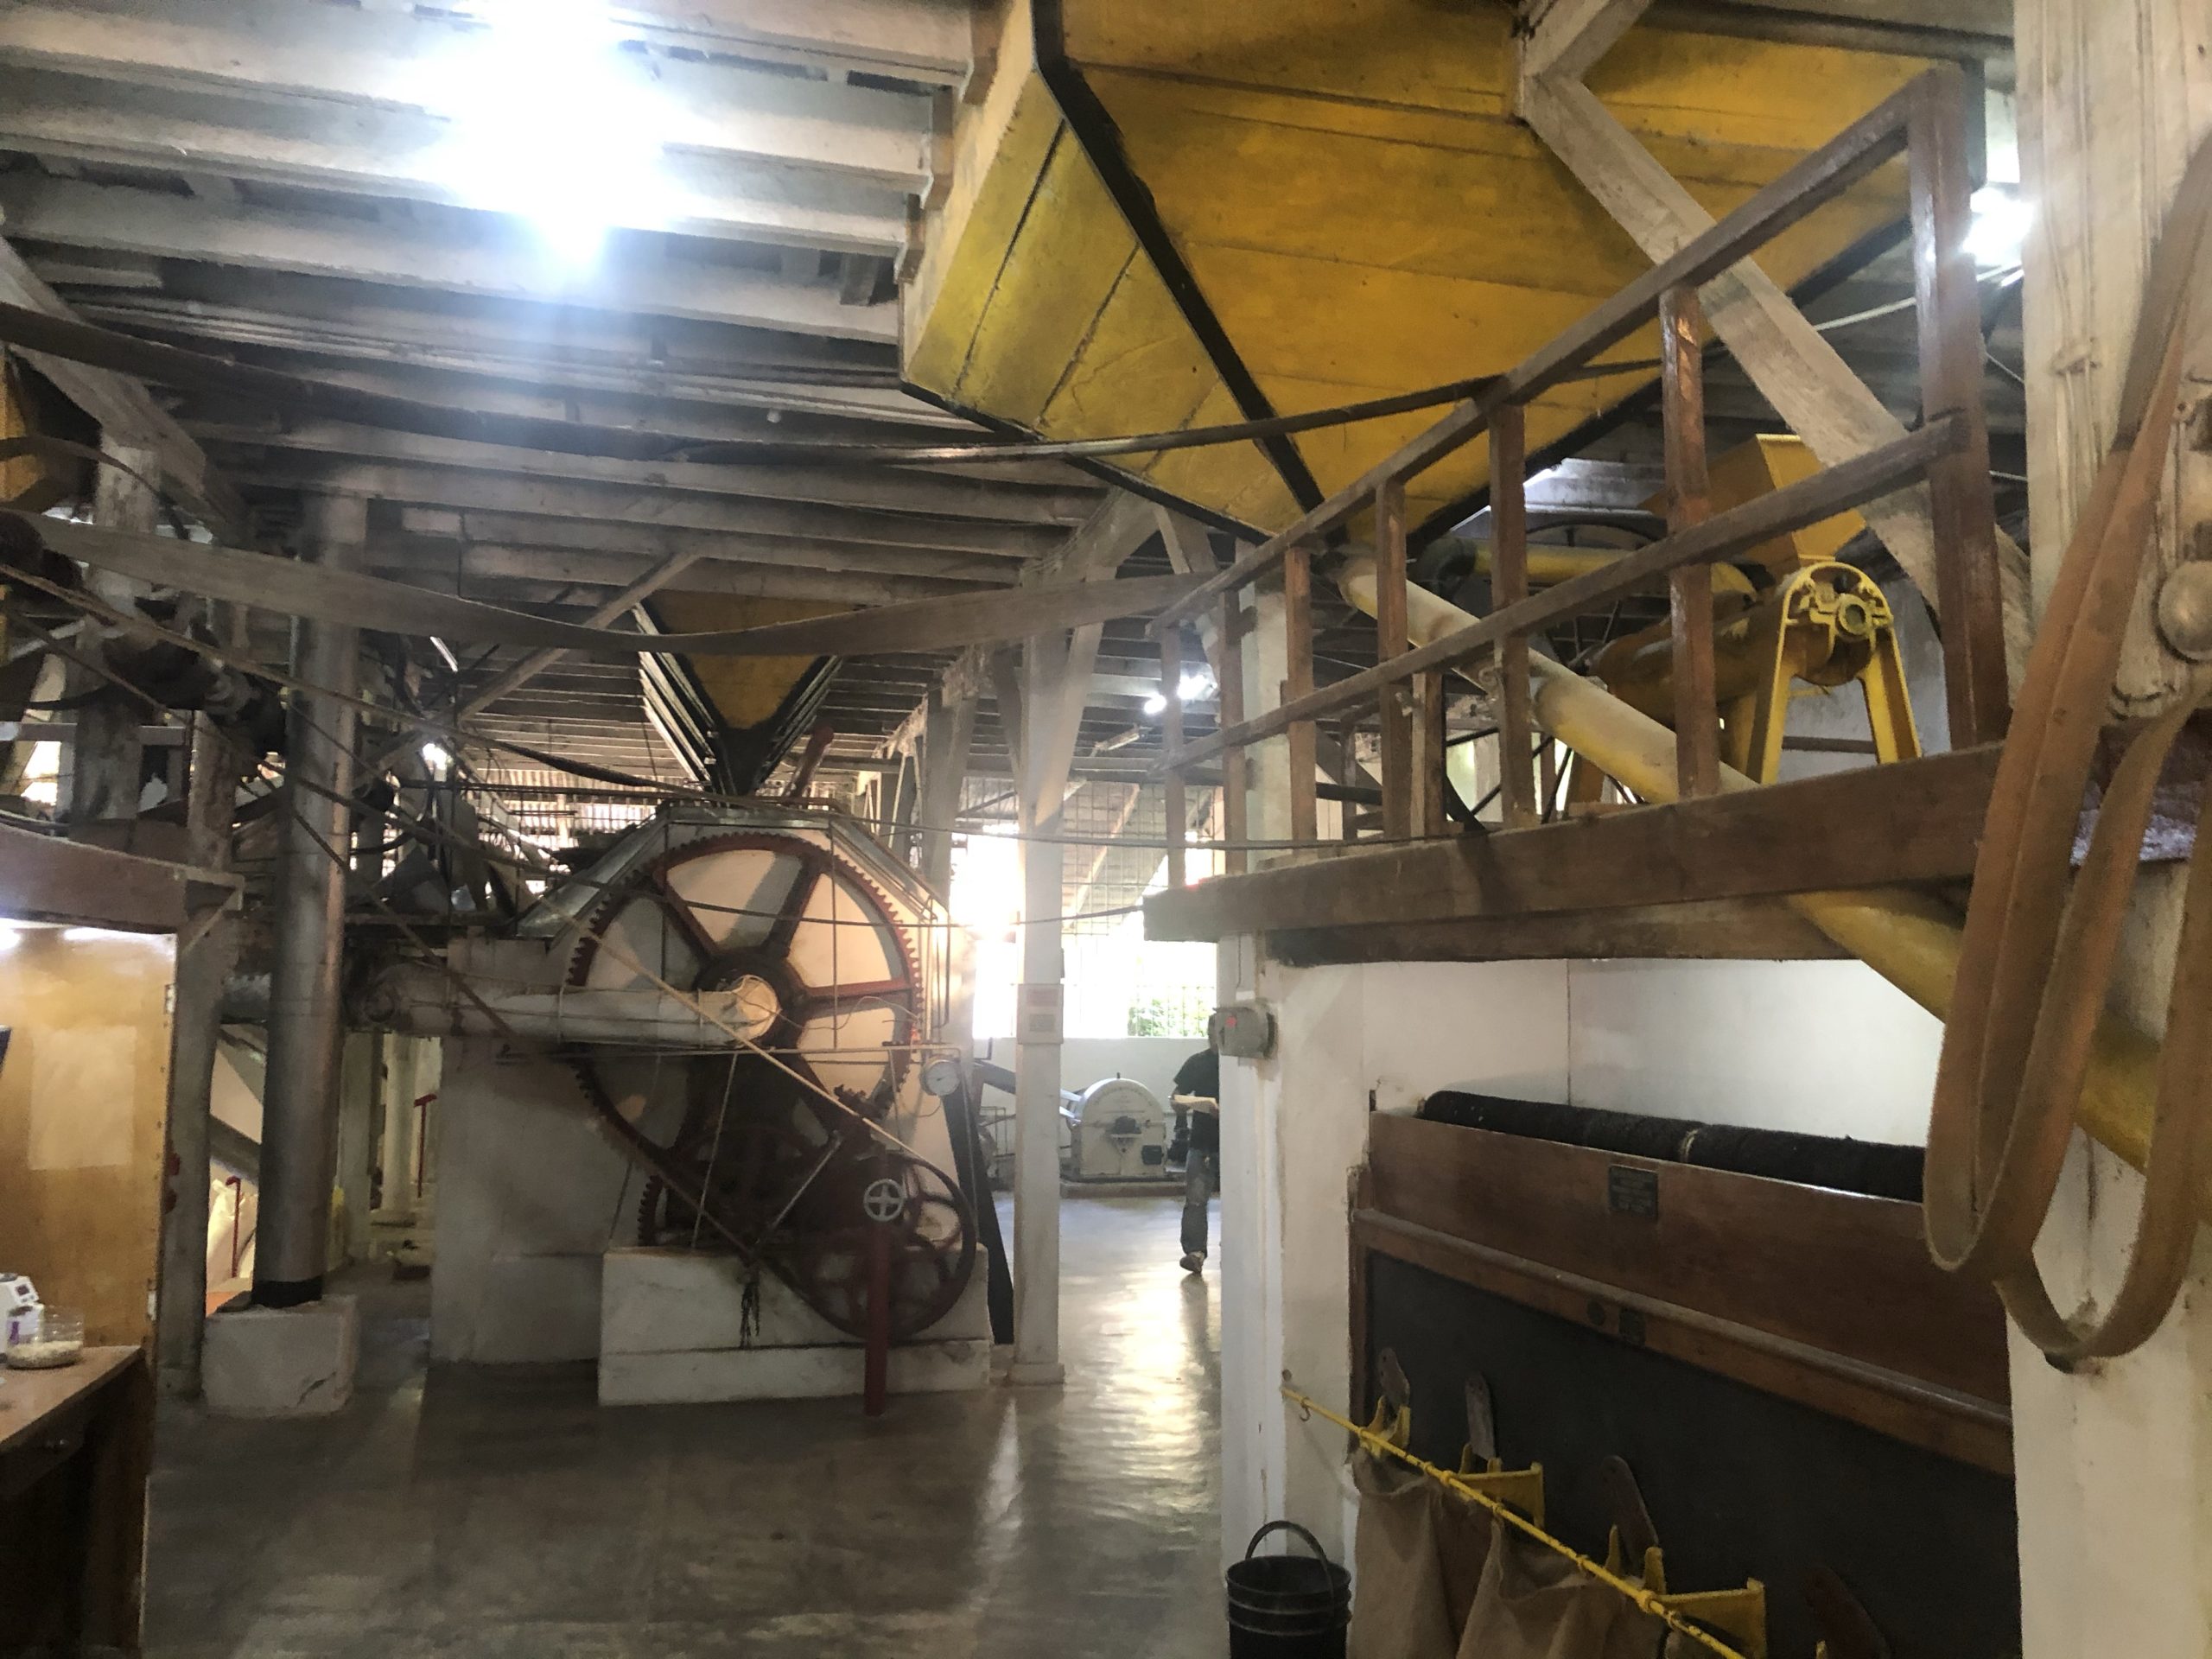 Von da aus noch ein bisschen weiter steht ein modernes Luxus-Hostel mit irre gutem Ausblick und obergeiler Hängematte.
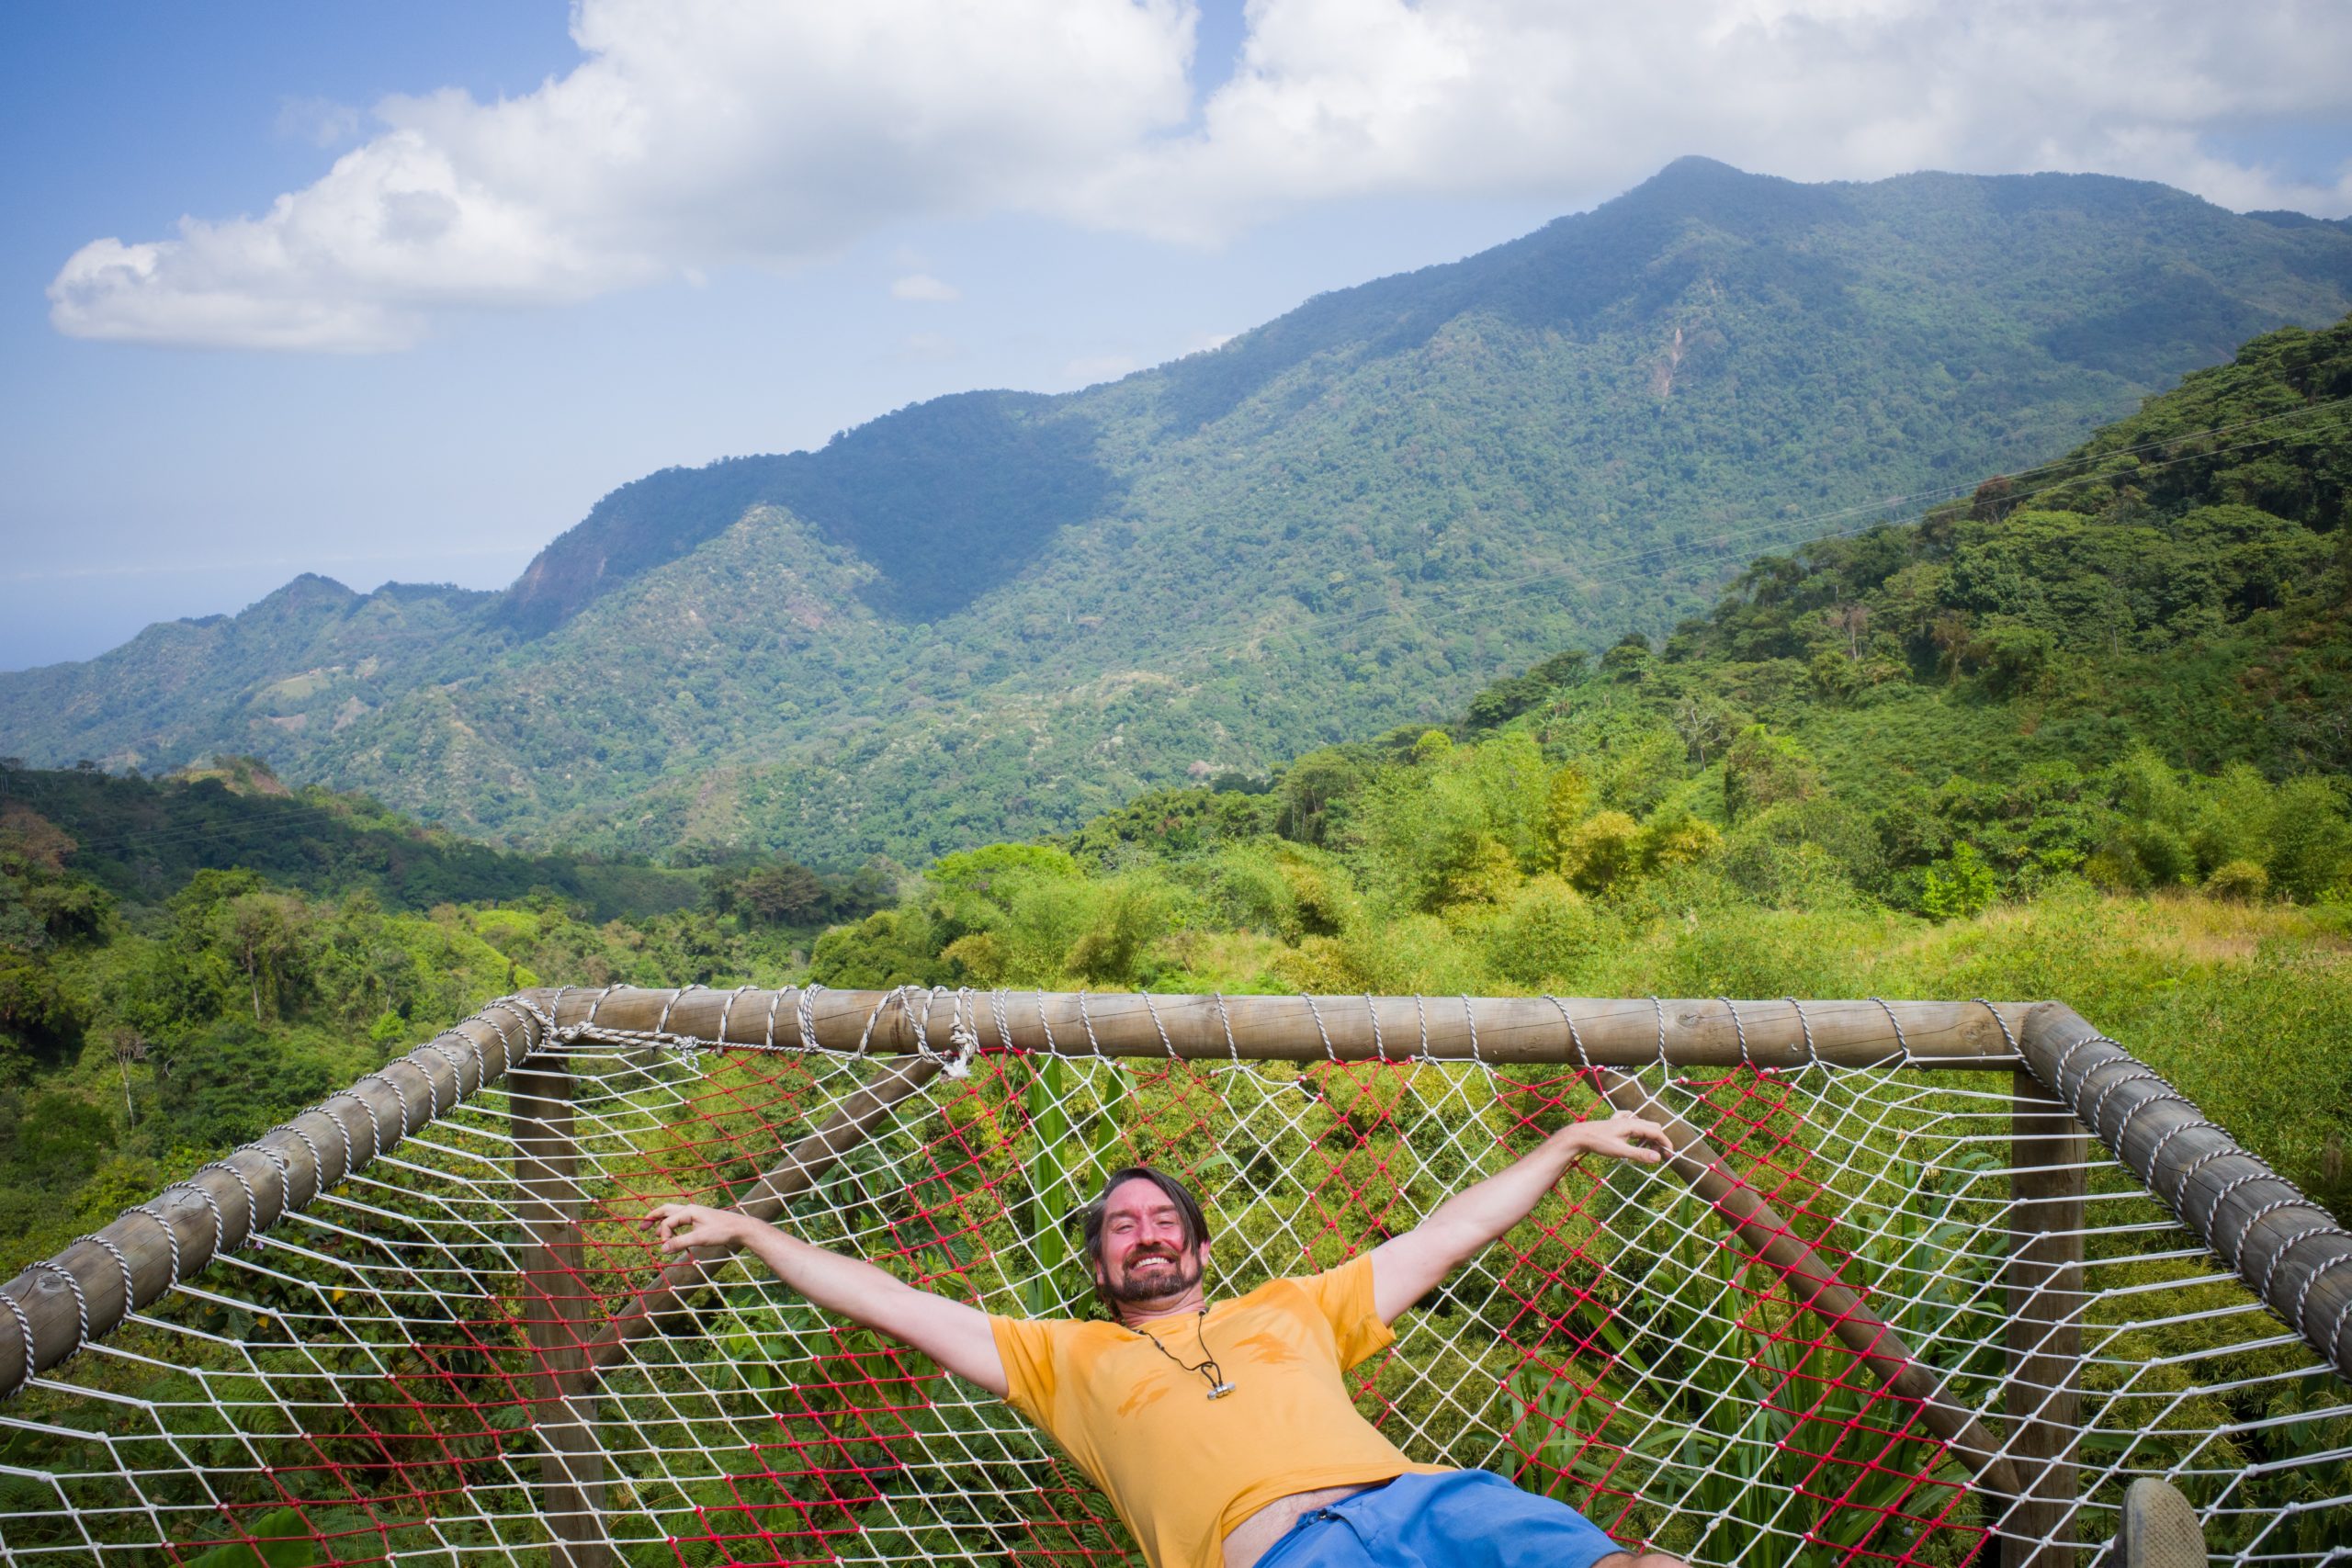
Nochmal kurz gechillt, dann weiter. An einer Baustelle vorbei (die Strasse wird endlich gepflastert) und immer weiter hinauf. Ich treffe einen Wanderer auf dem Rückweg, der mir mit seinen Fotos vom Gipfel weitere Vorfreude weckt und erklärt, an welcher Stelle man sich in die Büsche schlagen muss, um an der Gipfel-Militärstation vorbei zu kommen.
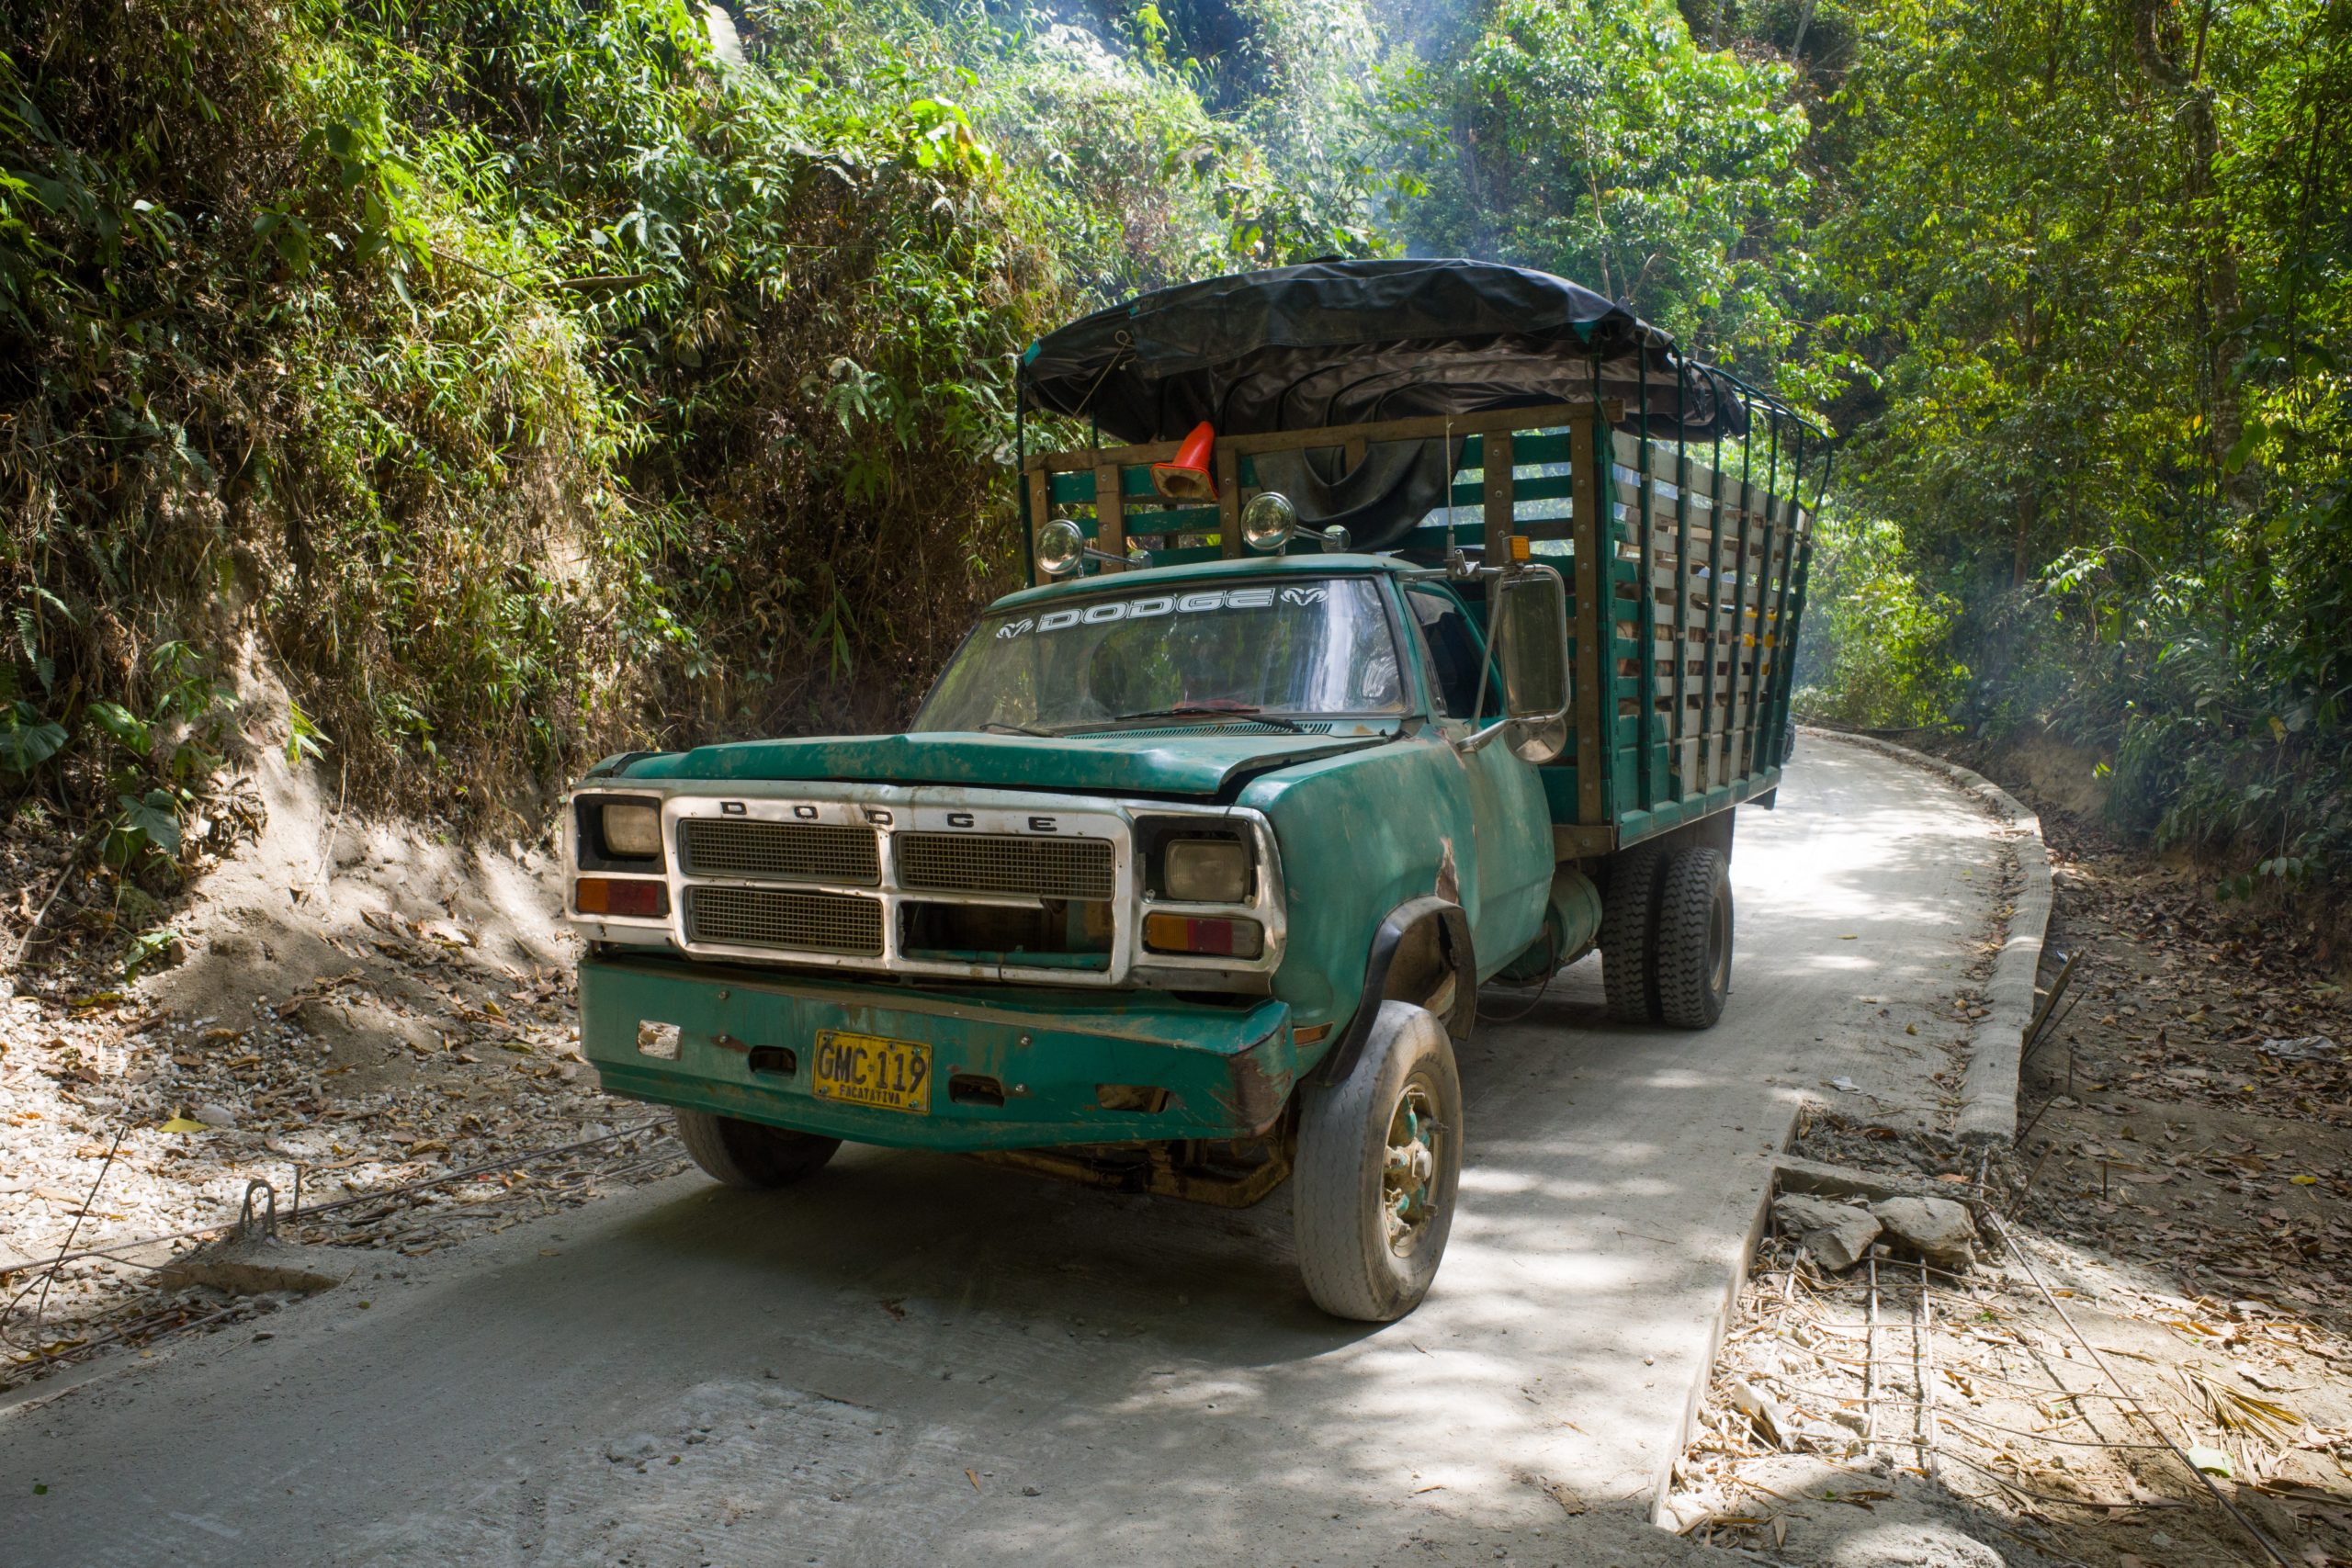
Währenddessen fährt dieser Truck an uns vorbei, dem man deutlich ansehen kann, dass die Straßen hier etwas ruppiger sind.
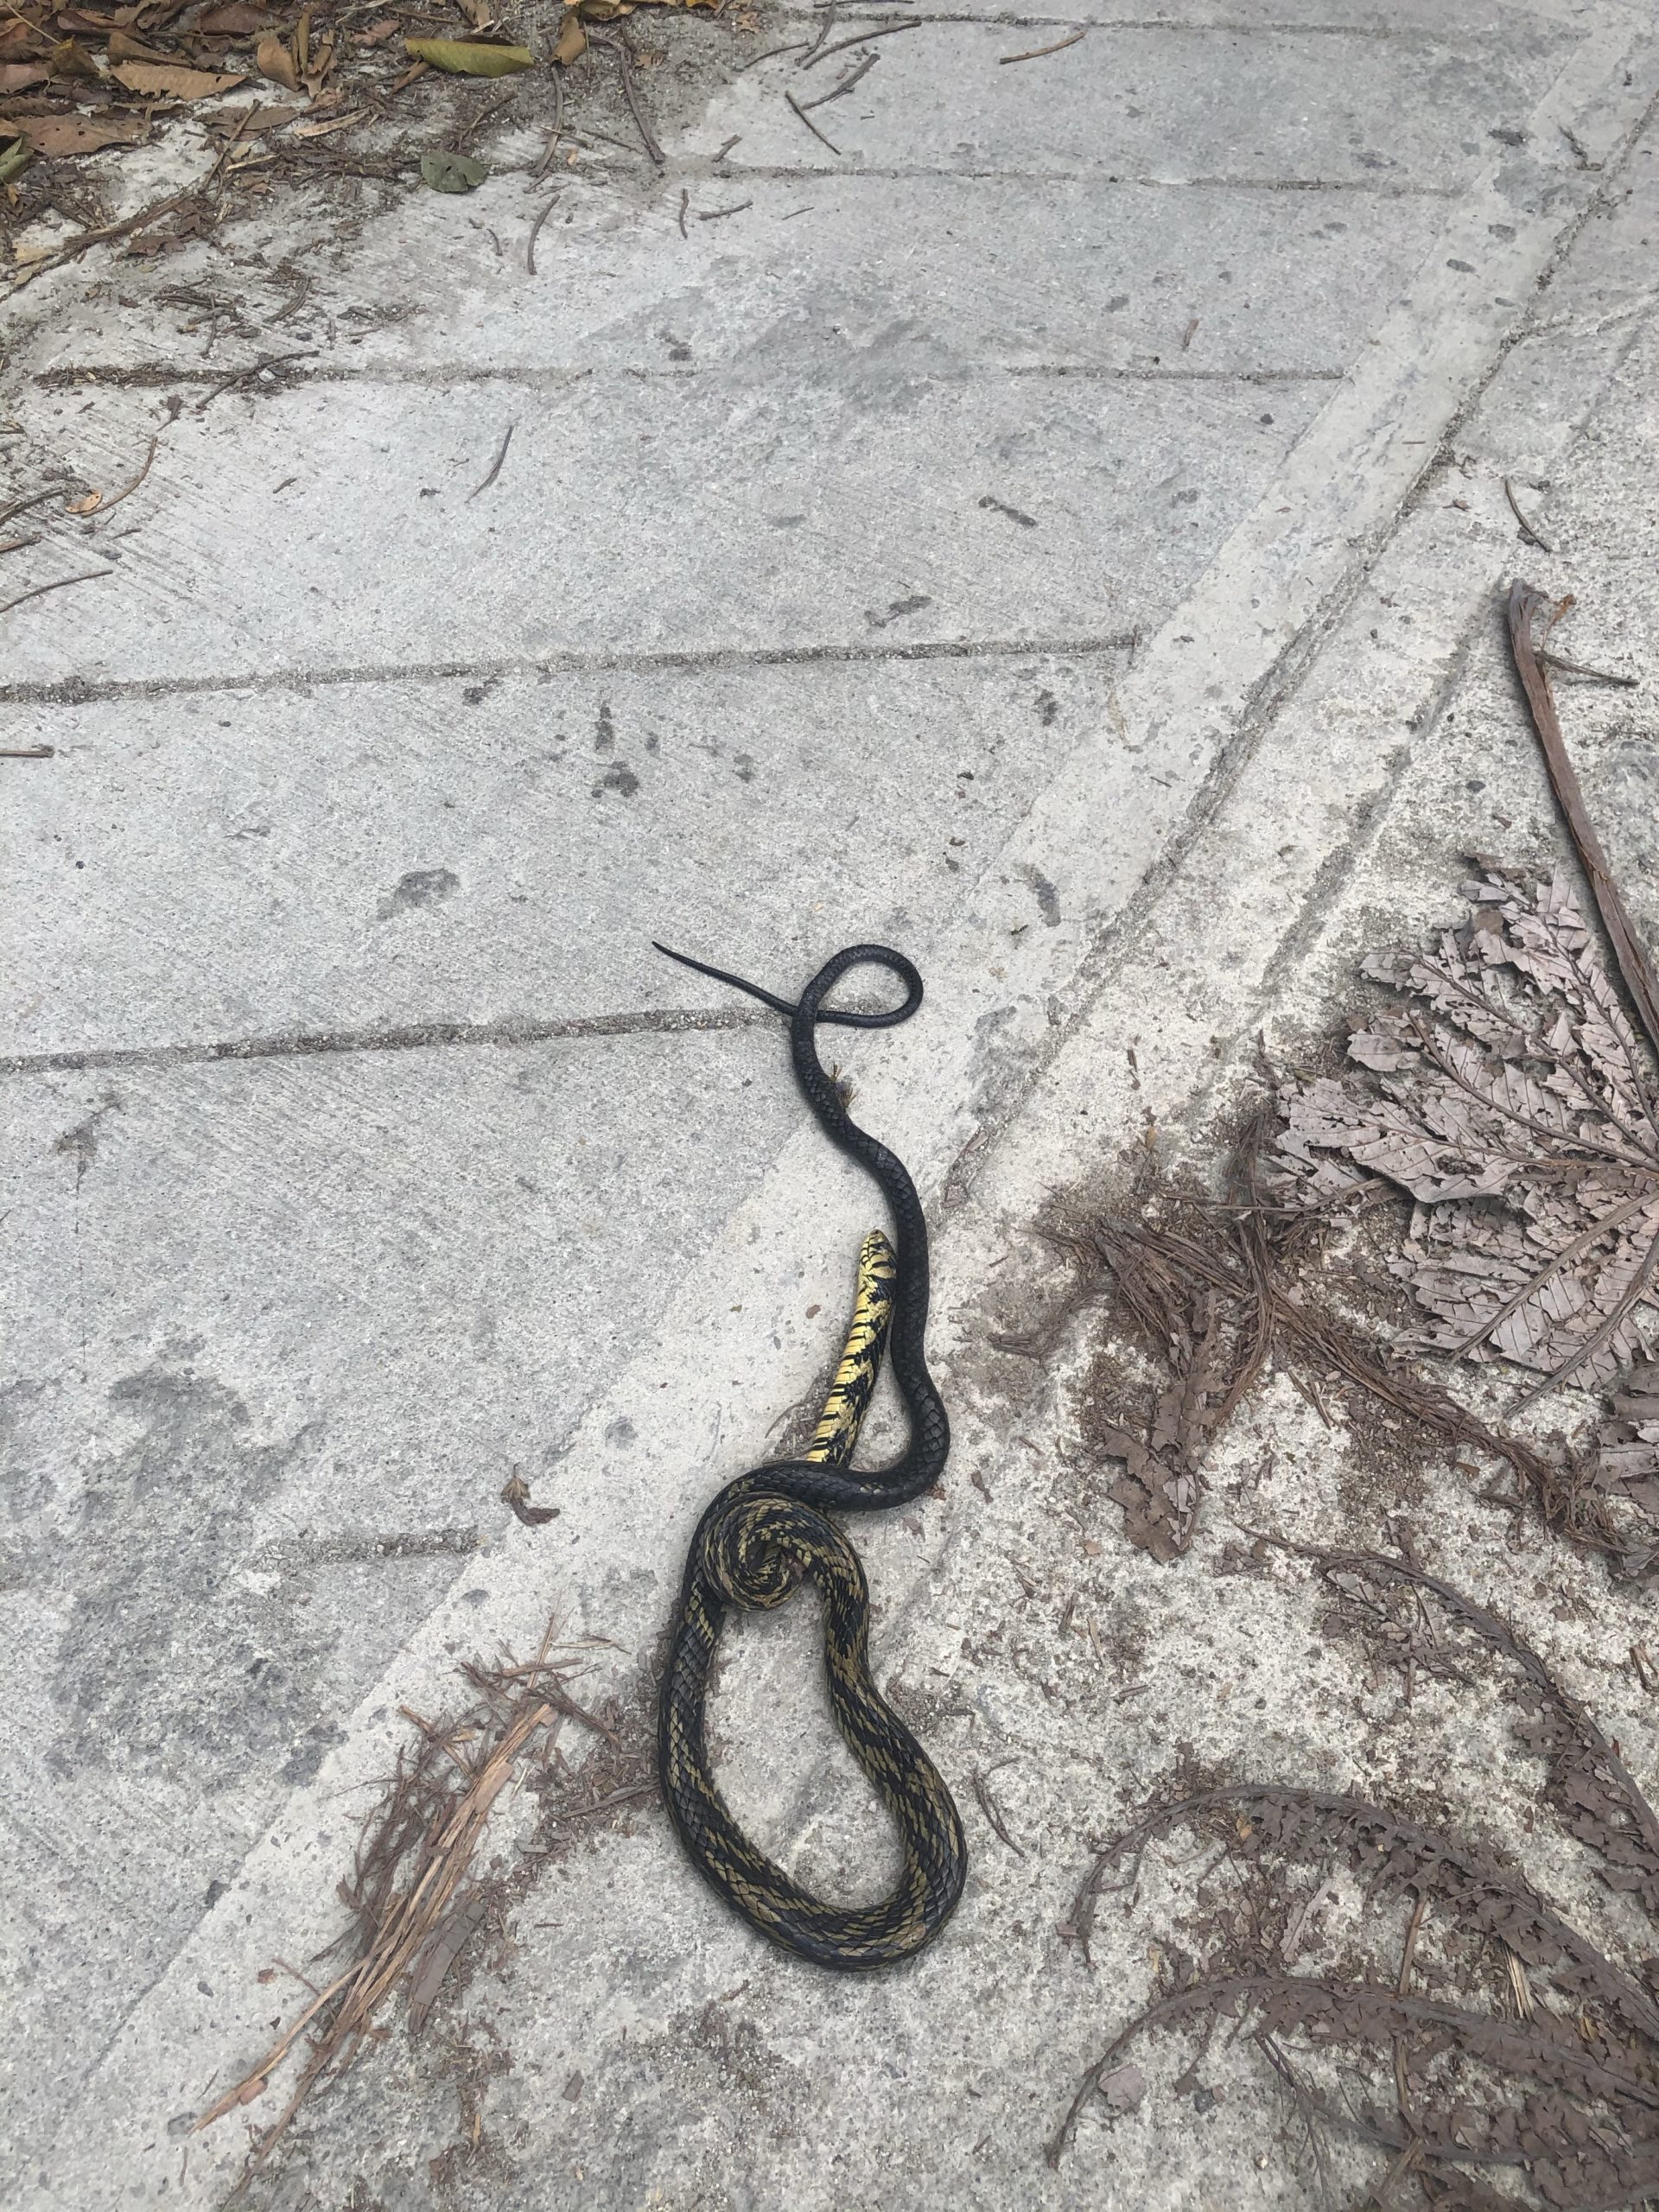
Ein wenig weiter liegt eine tote Schlange auf der Straße, ein sogenannter Hühnerfresser, Spilotes Pullatus.
 Ich kämpfe mich weiter den Berg hinauf. Die Straße ist weiter gut, der Ausblick fantastisch.
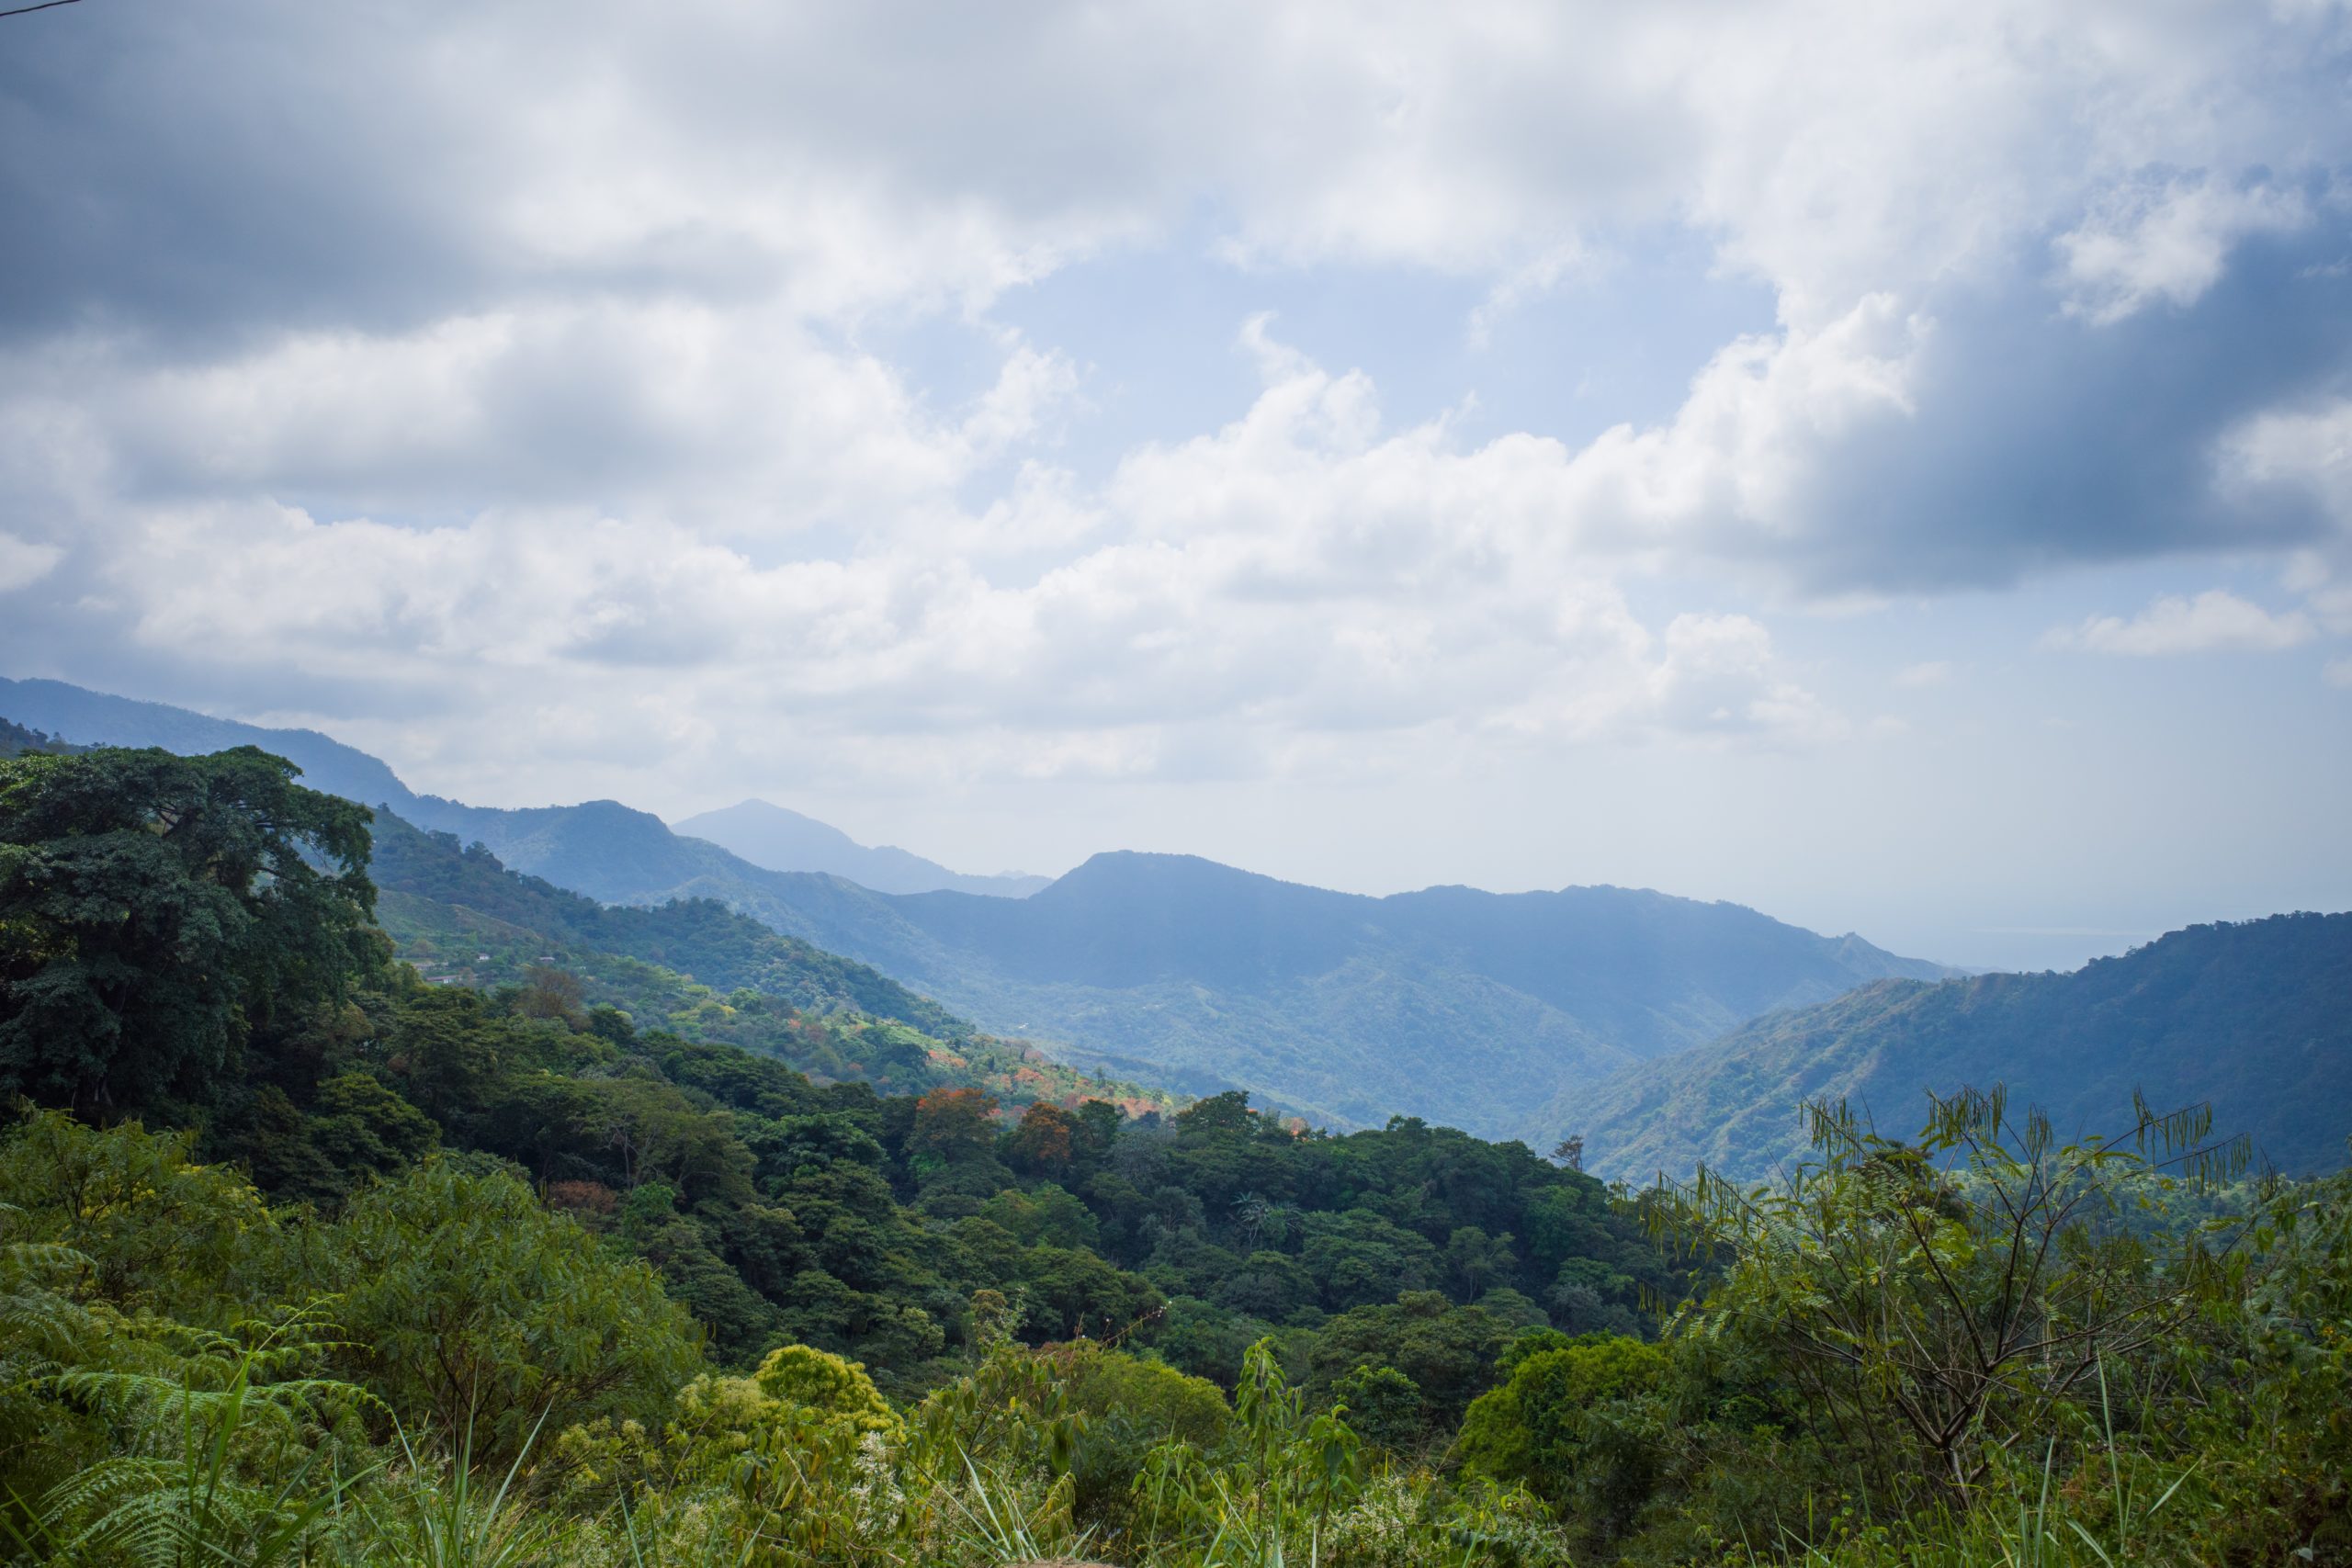 Es sind schon knappe zehn Kilometer und drei Stunden vergangen, als ich an einem kleinen Kiosk rast mache.
Aber von hier aus sind es angeblich noch 11km bis zum Gipfel-Hostel und der Weg wird steinig. An Fahren ist nur noch sporadisch zu denken, den Rest muss ich schieben. Und ich merke, wie ich zunehmend fertig bin.
Es wird zwar kühler, aber die Luftfeuchtigkeit nimmt zu. Steine, Felsen und Matsch wechseln sich mit kurzen „ok hier kann man wieder kurz radeln“-Abschnitten ab. Und es erschöpft mich zunehmends. 800 Höhenmeter habe ich zurückgelegt, als ich zum ersten Mal zweifle, ob ich das noch schaffe?
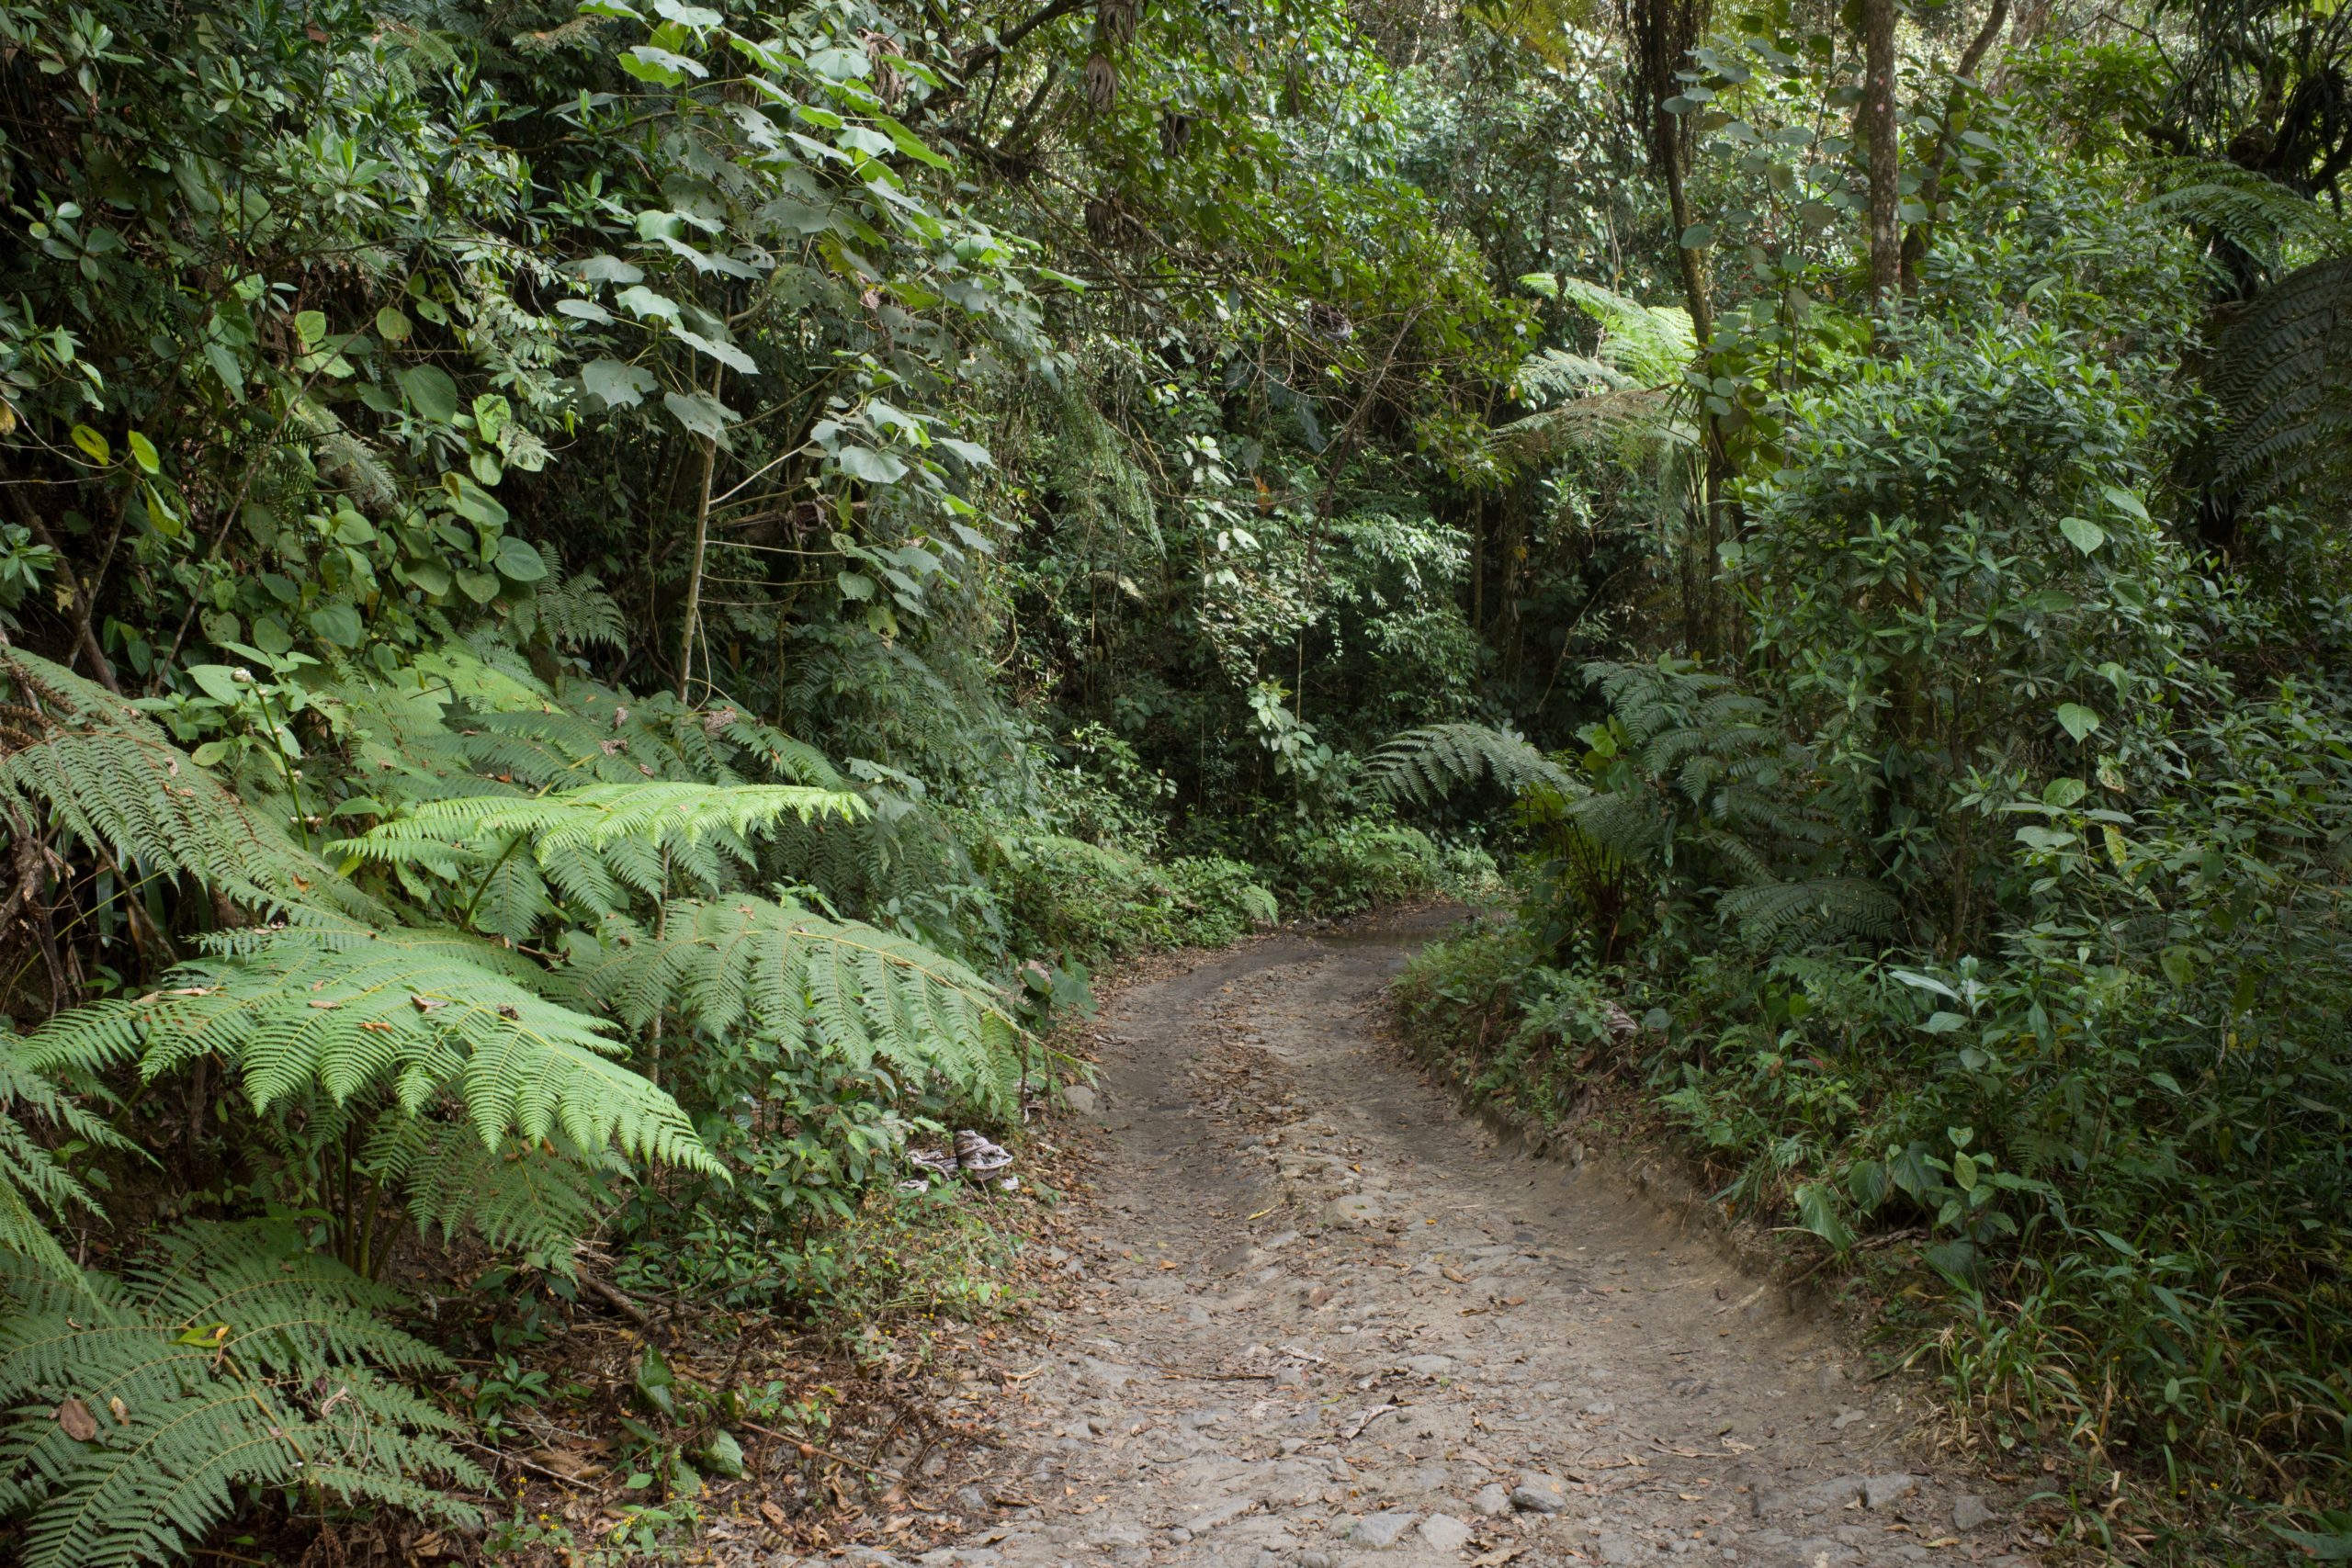
Habe ich zu wenig gegessen? Bin ich zu schwach für den Berg? Ist mir das Klima zu heftig? Ich weiss es nicht, aber etwa bei Kilometer fünfzehneinhalb fange ich an, mir Limits zu setzen. Nur noch eine Dreiviertelstunde. Wenn ich dann keinen Ort zum Rasten finde, drehe ich um. Noch hundert, nagut zweihundert Höhenmeter. Ein, zwei, drei Kurven noch. Vielleicht ist dann ja endlich San Lorenzo, der letzte Ort vor dem Gipfel?
Es geht durch den Dschungel, hier ist Vogelschutzreservat. Ich würde gerne genießen, stattdessen krampft mein Oberschenkel. Ich fange unvermittelt an zu weinen. Es ist zu viel. Noch fünf minuten oder zehn? Zumindest auf 2000 meter kommen! Ich will das wirklich, du dummer Berg, ich bezwinge dich!
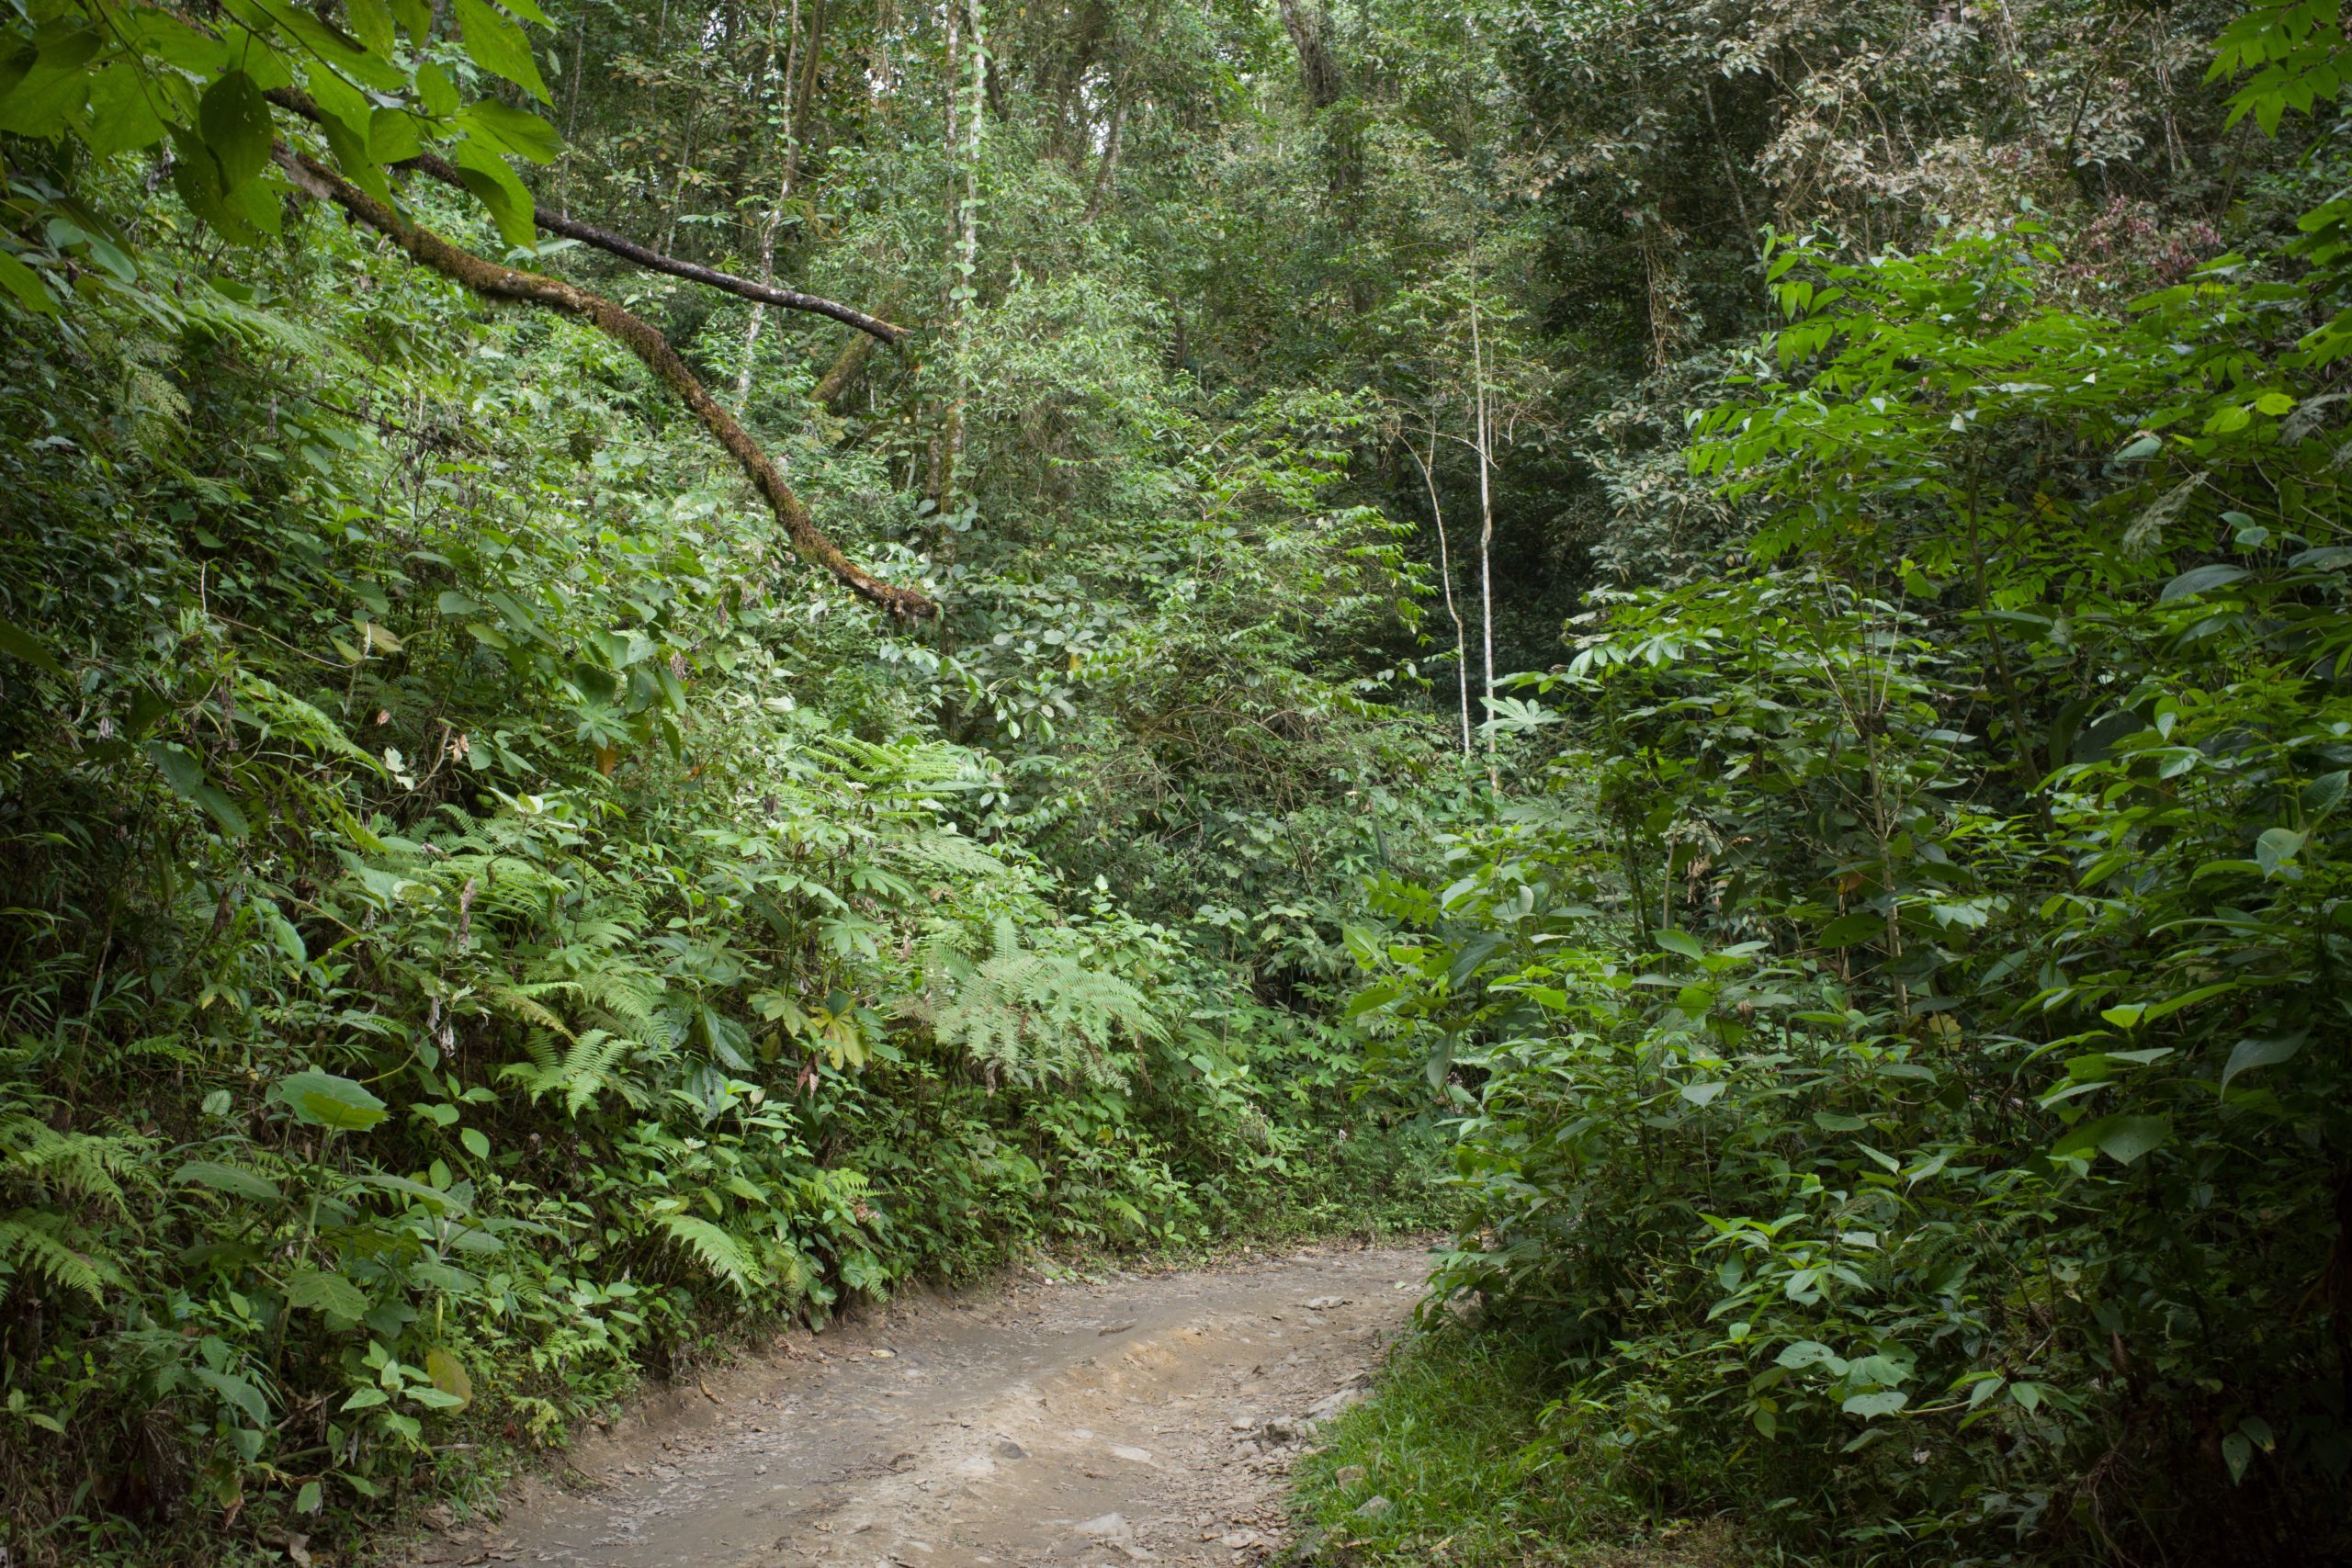
Erschöpfung weicht Trotz, der hilft aber auch nur wenig, das Rad über die Felsen und durch Bächlein zu schieben. Auf 1967 Metern komme ich an einer Vogel-Observationsstation an. Essen und Übernachten gibt’s hier nur mit Voranmeldung, aber hier kann ich immerhin sitzen. Und breche prompt zusammen. Weinkrampf, Körper will nicht mehr. Das war’s.
Nach einer halben Stunde bin ich immerhin wieder erholt genug, um mir die Handschuhe anzuziehen und gen Tal aufzubrechen. Die netten Menschen von der Station geben mir ihr WLAN-Passwort und ich buche mein Pool-Hostel für eine weitere Nacht. Sieben Stunden sind vergangen seit ich losgezogen bin. Bis zum Gipfel sind’s noch drei. Selbst wenn mein Körper könnte, würde ich nicht garantiert im Hellen ankommen.
Die Abfahrt dauert eine Stunde. Am Ende schmerzen die Muskeln und die Handgelenke. Am Hintern sind zwei geschwollene Stellen vom Sattel.
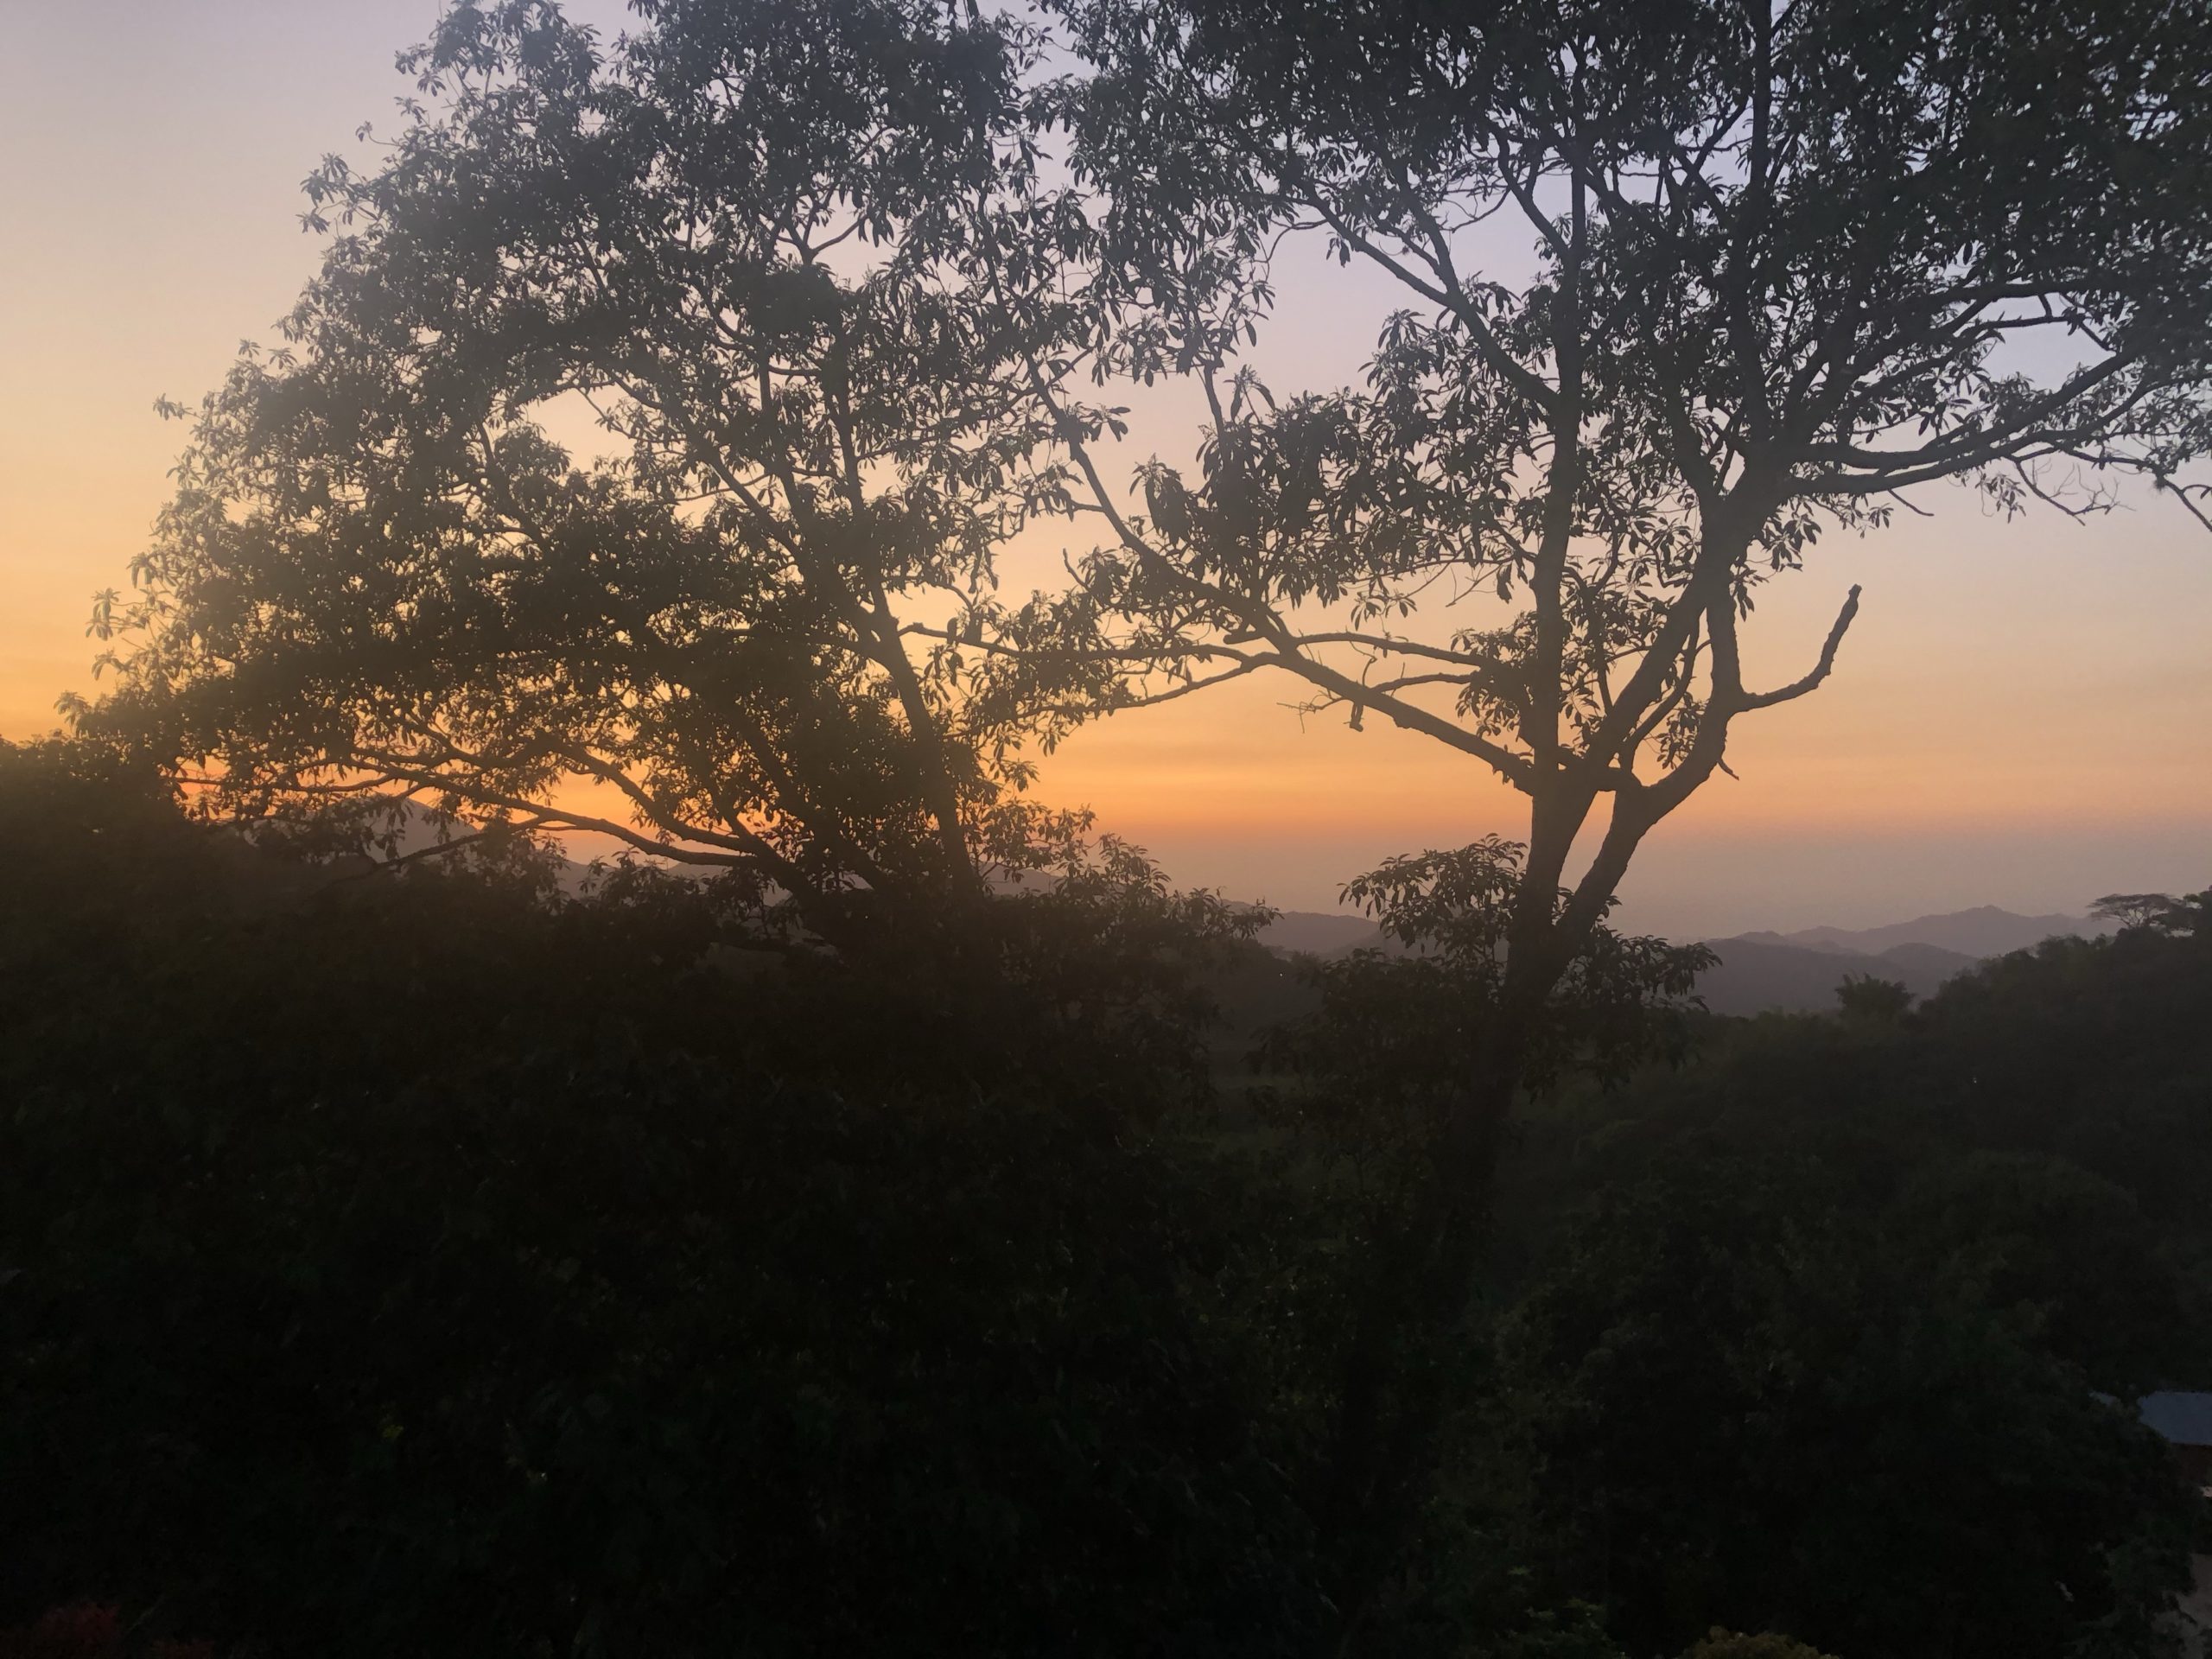
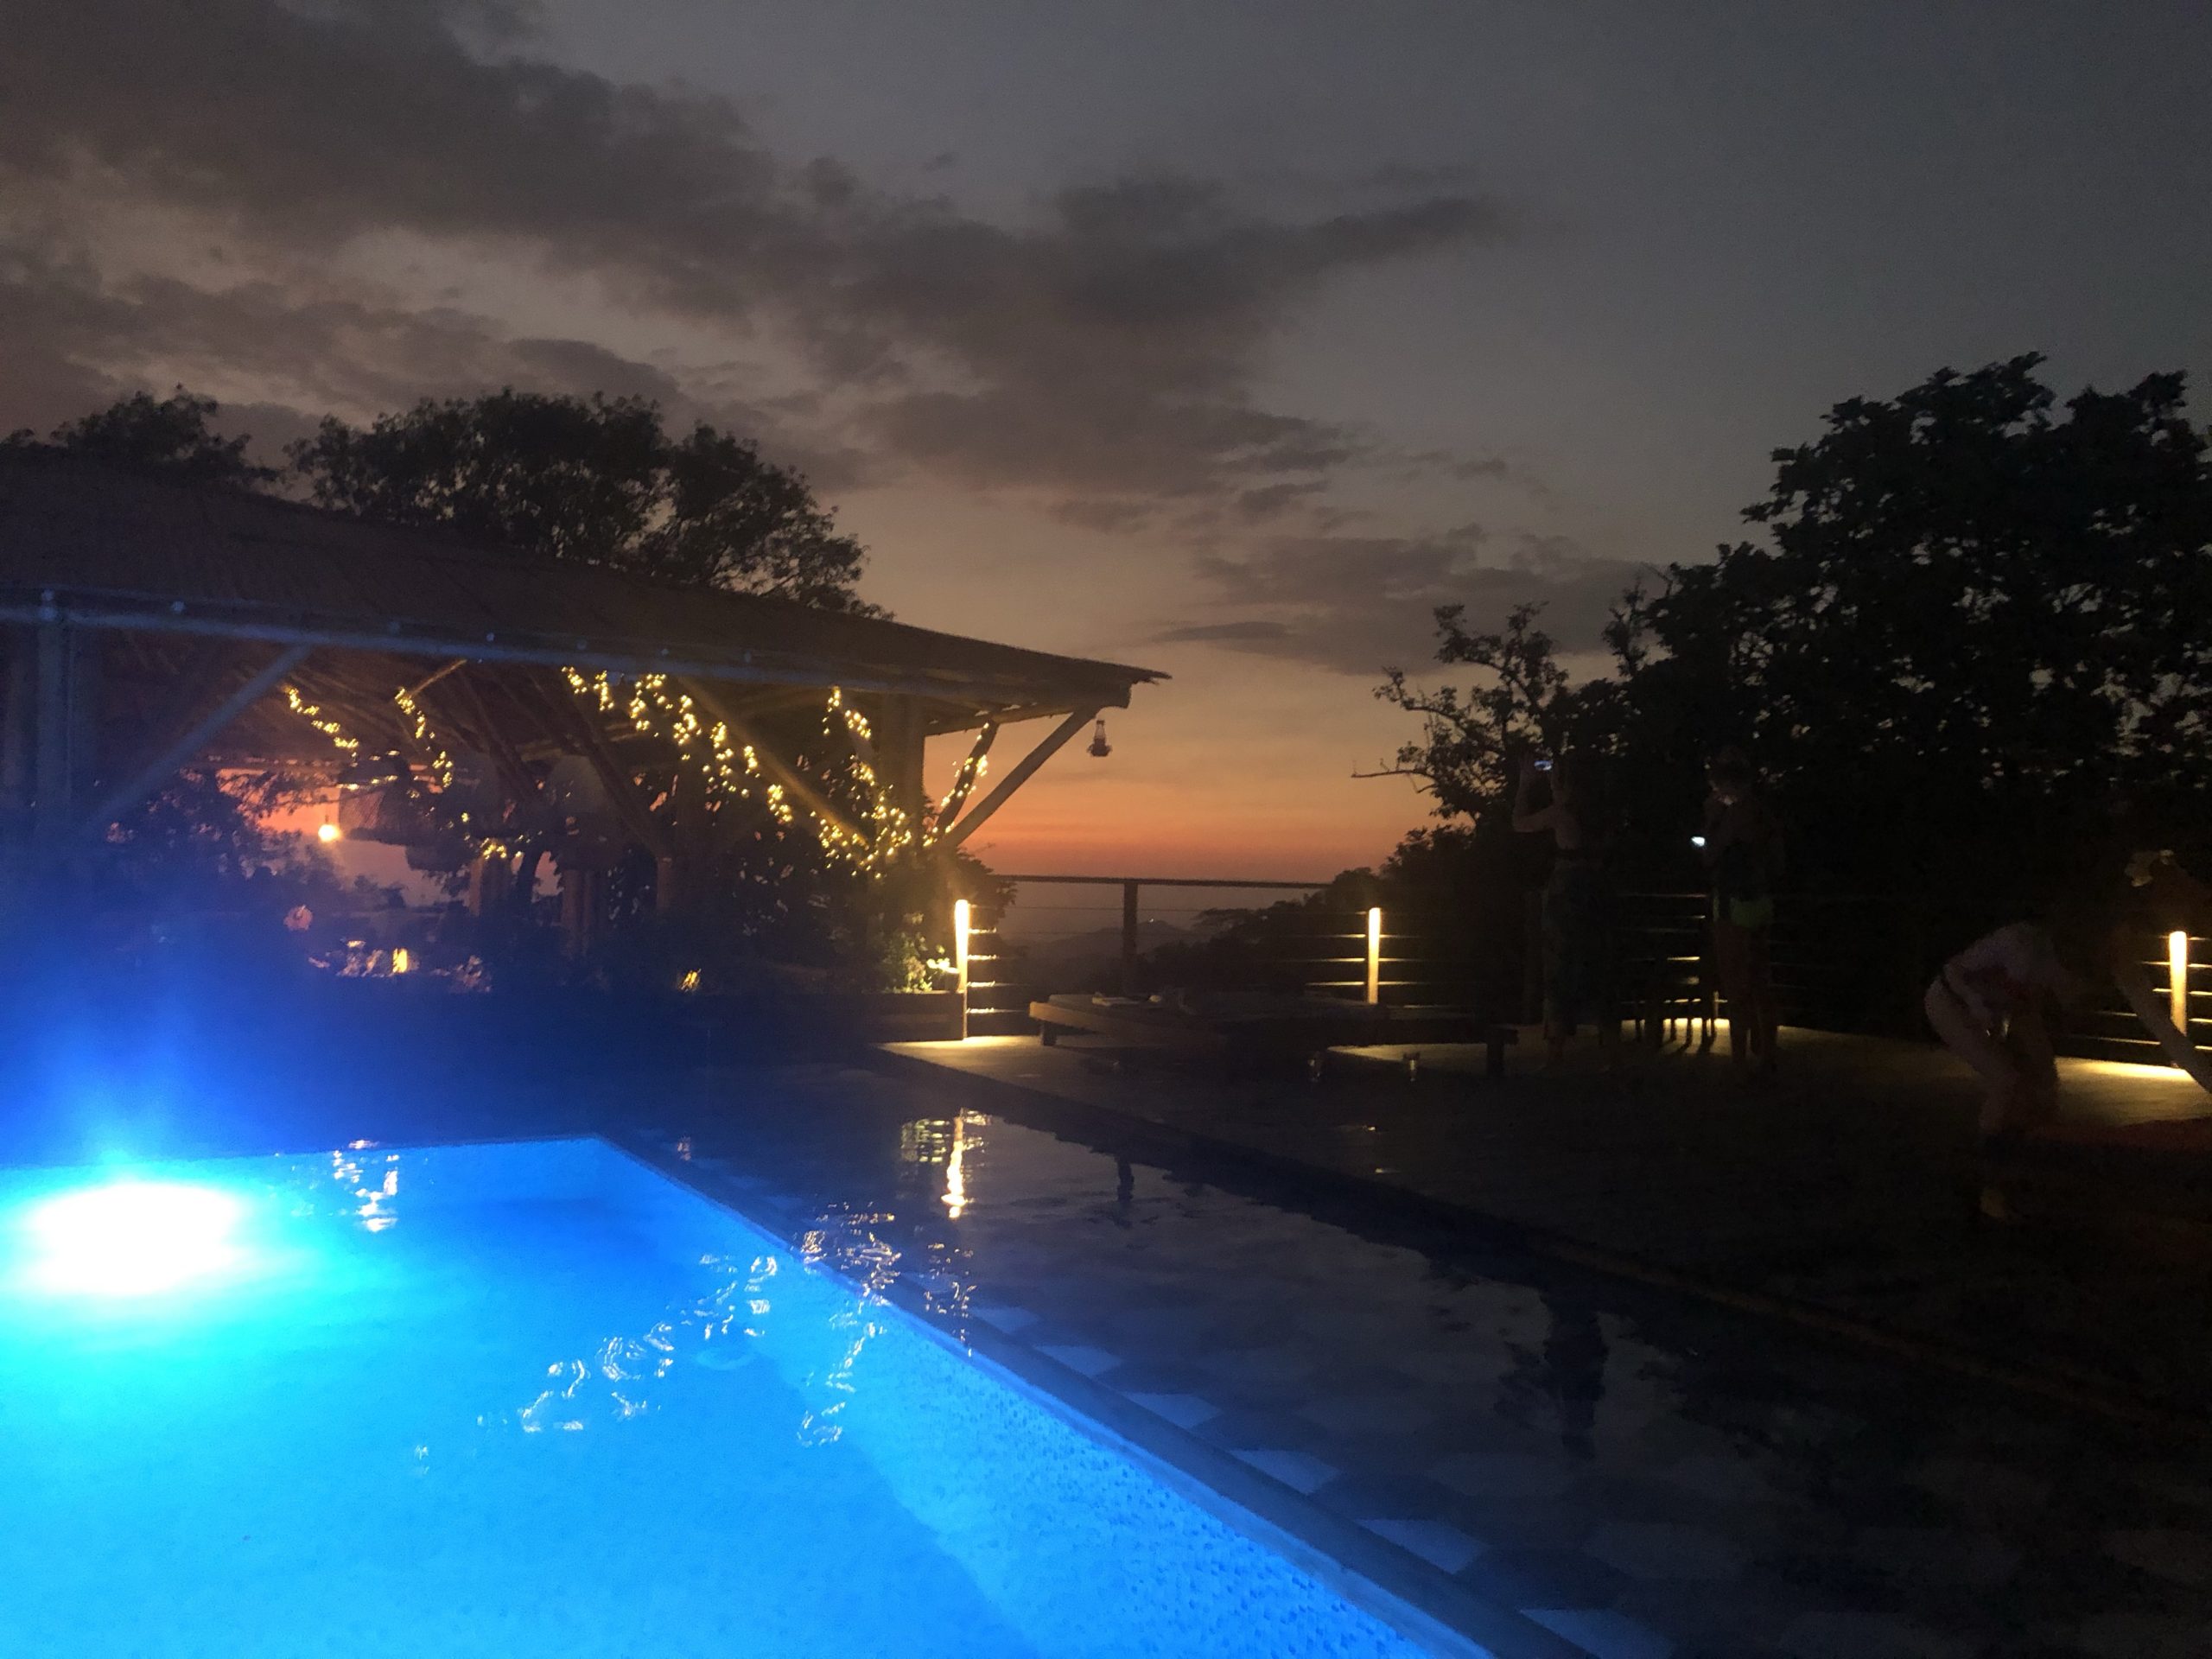
Den Sonnenuntergang beobachte ich dann von hier aus. Auch nicht hässlich. Und nächstes Mal überschätze ich meine Kräfte nicht so dolle. Versprochen.
Segeln von Panama nach Cartagena
Der Darien Gap: 150 km undurchdringlicher Dschungel. Unterbrechung der Panamericana. Grund, warum Panama von den Unruhen Südamerikas vergleichsweise wenig abbekommt.
Also ein echtes Hindernis, wenn man von Panama nach Kolumbien kommen möchte. Denn nicht nur kommt man Dschungelbedingt nicht durch, es operieren auch noch Rebellen und Drogenbanden (teilweise in Personalunion) in dem Gebiet und während einige Haudegen es wohl geschafft haben, sind viele andere daran gestorben. Sprich: is nich.
Nur fliegen ist aber auch blöd, weil langweilig und viel co2. Zum Glück gibt’s aber Segeltouren.
Ein bisschen reviews gewälzt, ein paar Mailkontakte gehabt, Anzahlung geleistet, einen Tag Verspätung bekommen, und schon bringt mich ein Taxi zu einem Motorboot
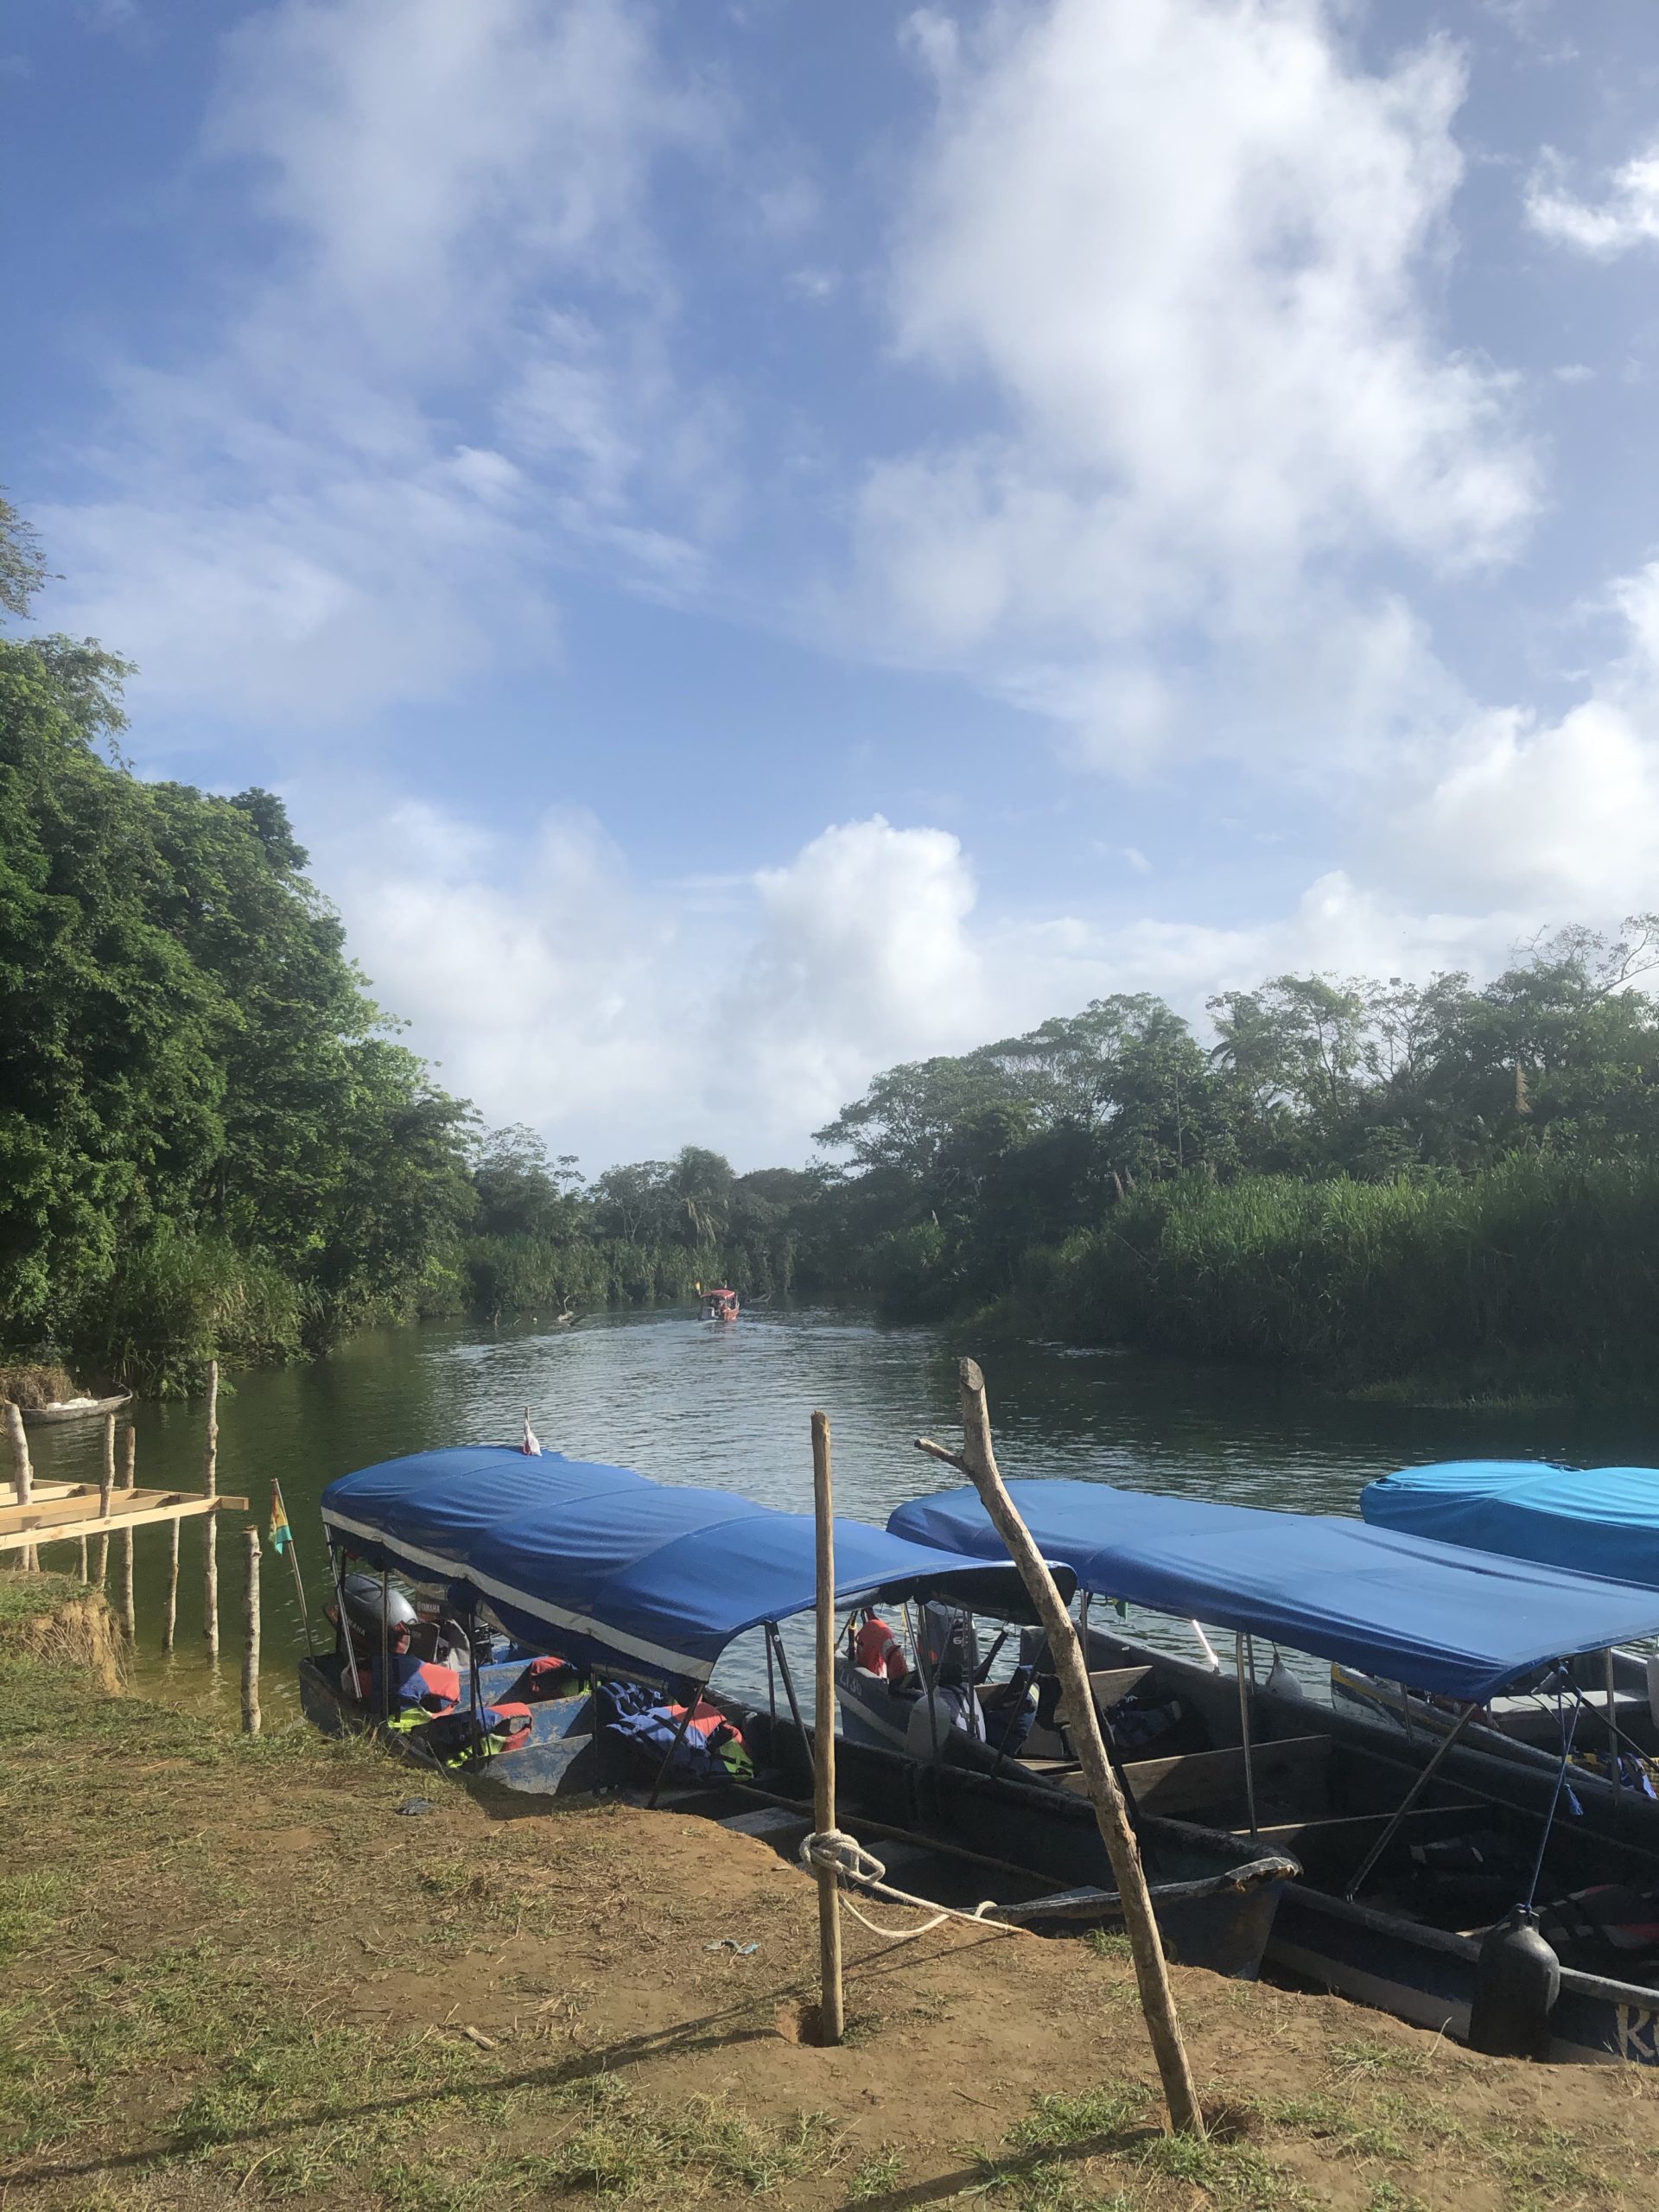
und dieses Motorboot zur Wilson, die vor El Porvenir in den San Blas-Inseln ankert.
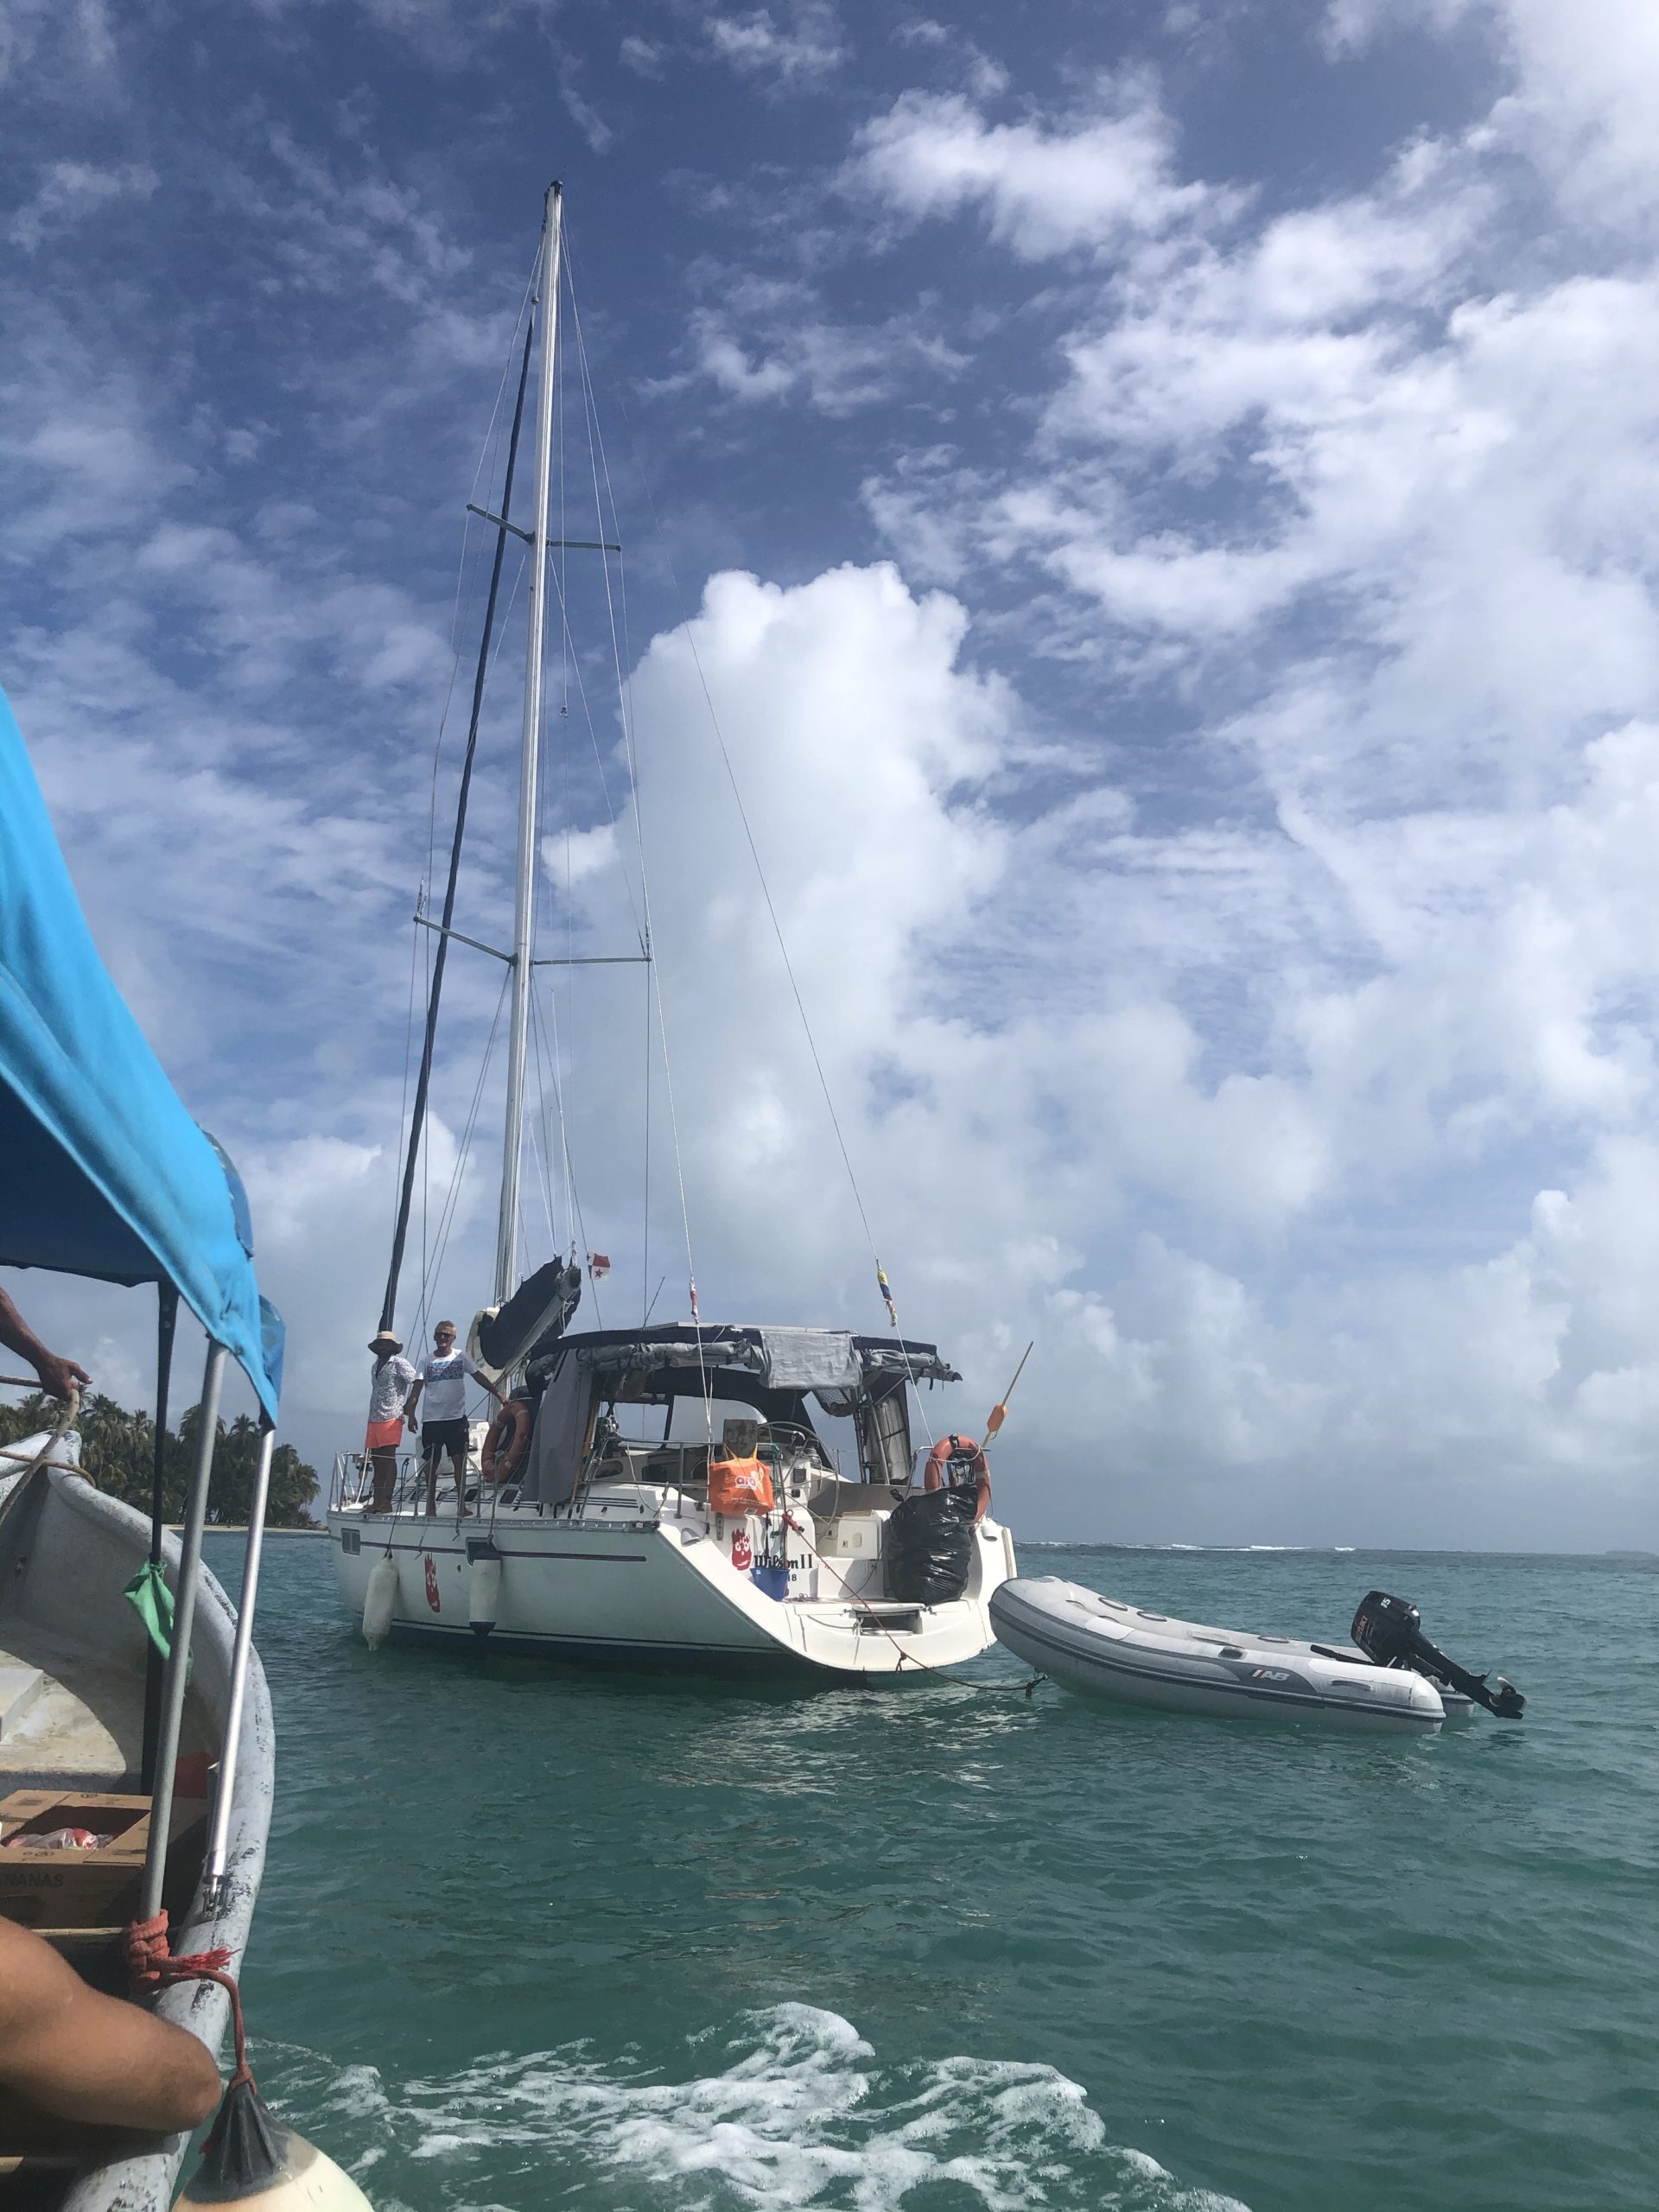
Der Käptn ist ursprünglich aus der großen Seefahrer-Nation Österreich, segelt aber seit 30 Jahren durch die Karibik. Sein Boot ist 13,5 meter lang und ich bin heilfroh, dass wir nicht ausgebucht sind, denn um 50 Dollar zu sparen, hatte ich mir nur ein Einzelbett gebucht, das wäre aber schon seehr eng gewesen und gerade während der Überfahrt zu einem echten Problem geworden.
Doch bevor wir nach Kolumbien übersetzen, erstmal San Blas.

Ein Archipel von 365 Inseln, davon etwa 50 bewohnt, und ungefähr genau so „Karibikinselig“ wie man sich das nur vorstellen kann. Feinste Sandstrände, einige wenige Palmen und gelegentlich eine Holzhütte. Ausserdem bekannt aus „Haus des Geldes“, wo die Inseln am Anfang der dritten Staffel kurz eine Rolle als Rückzugs/Fluchtort für Tokio und Rio spielen.
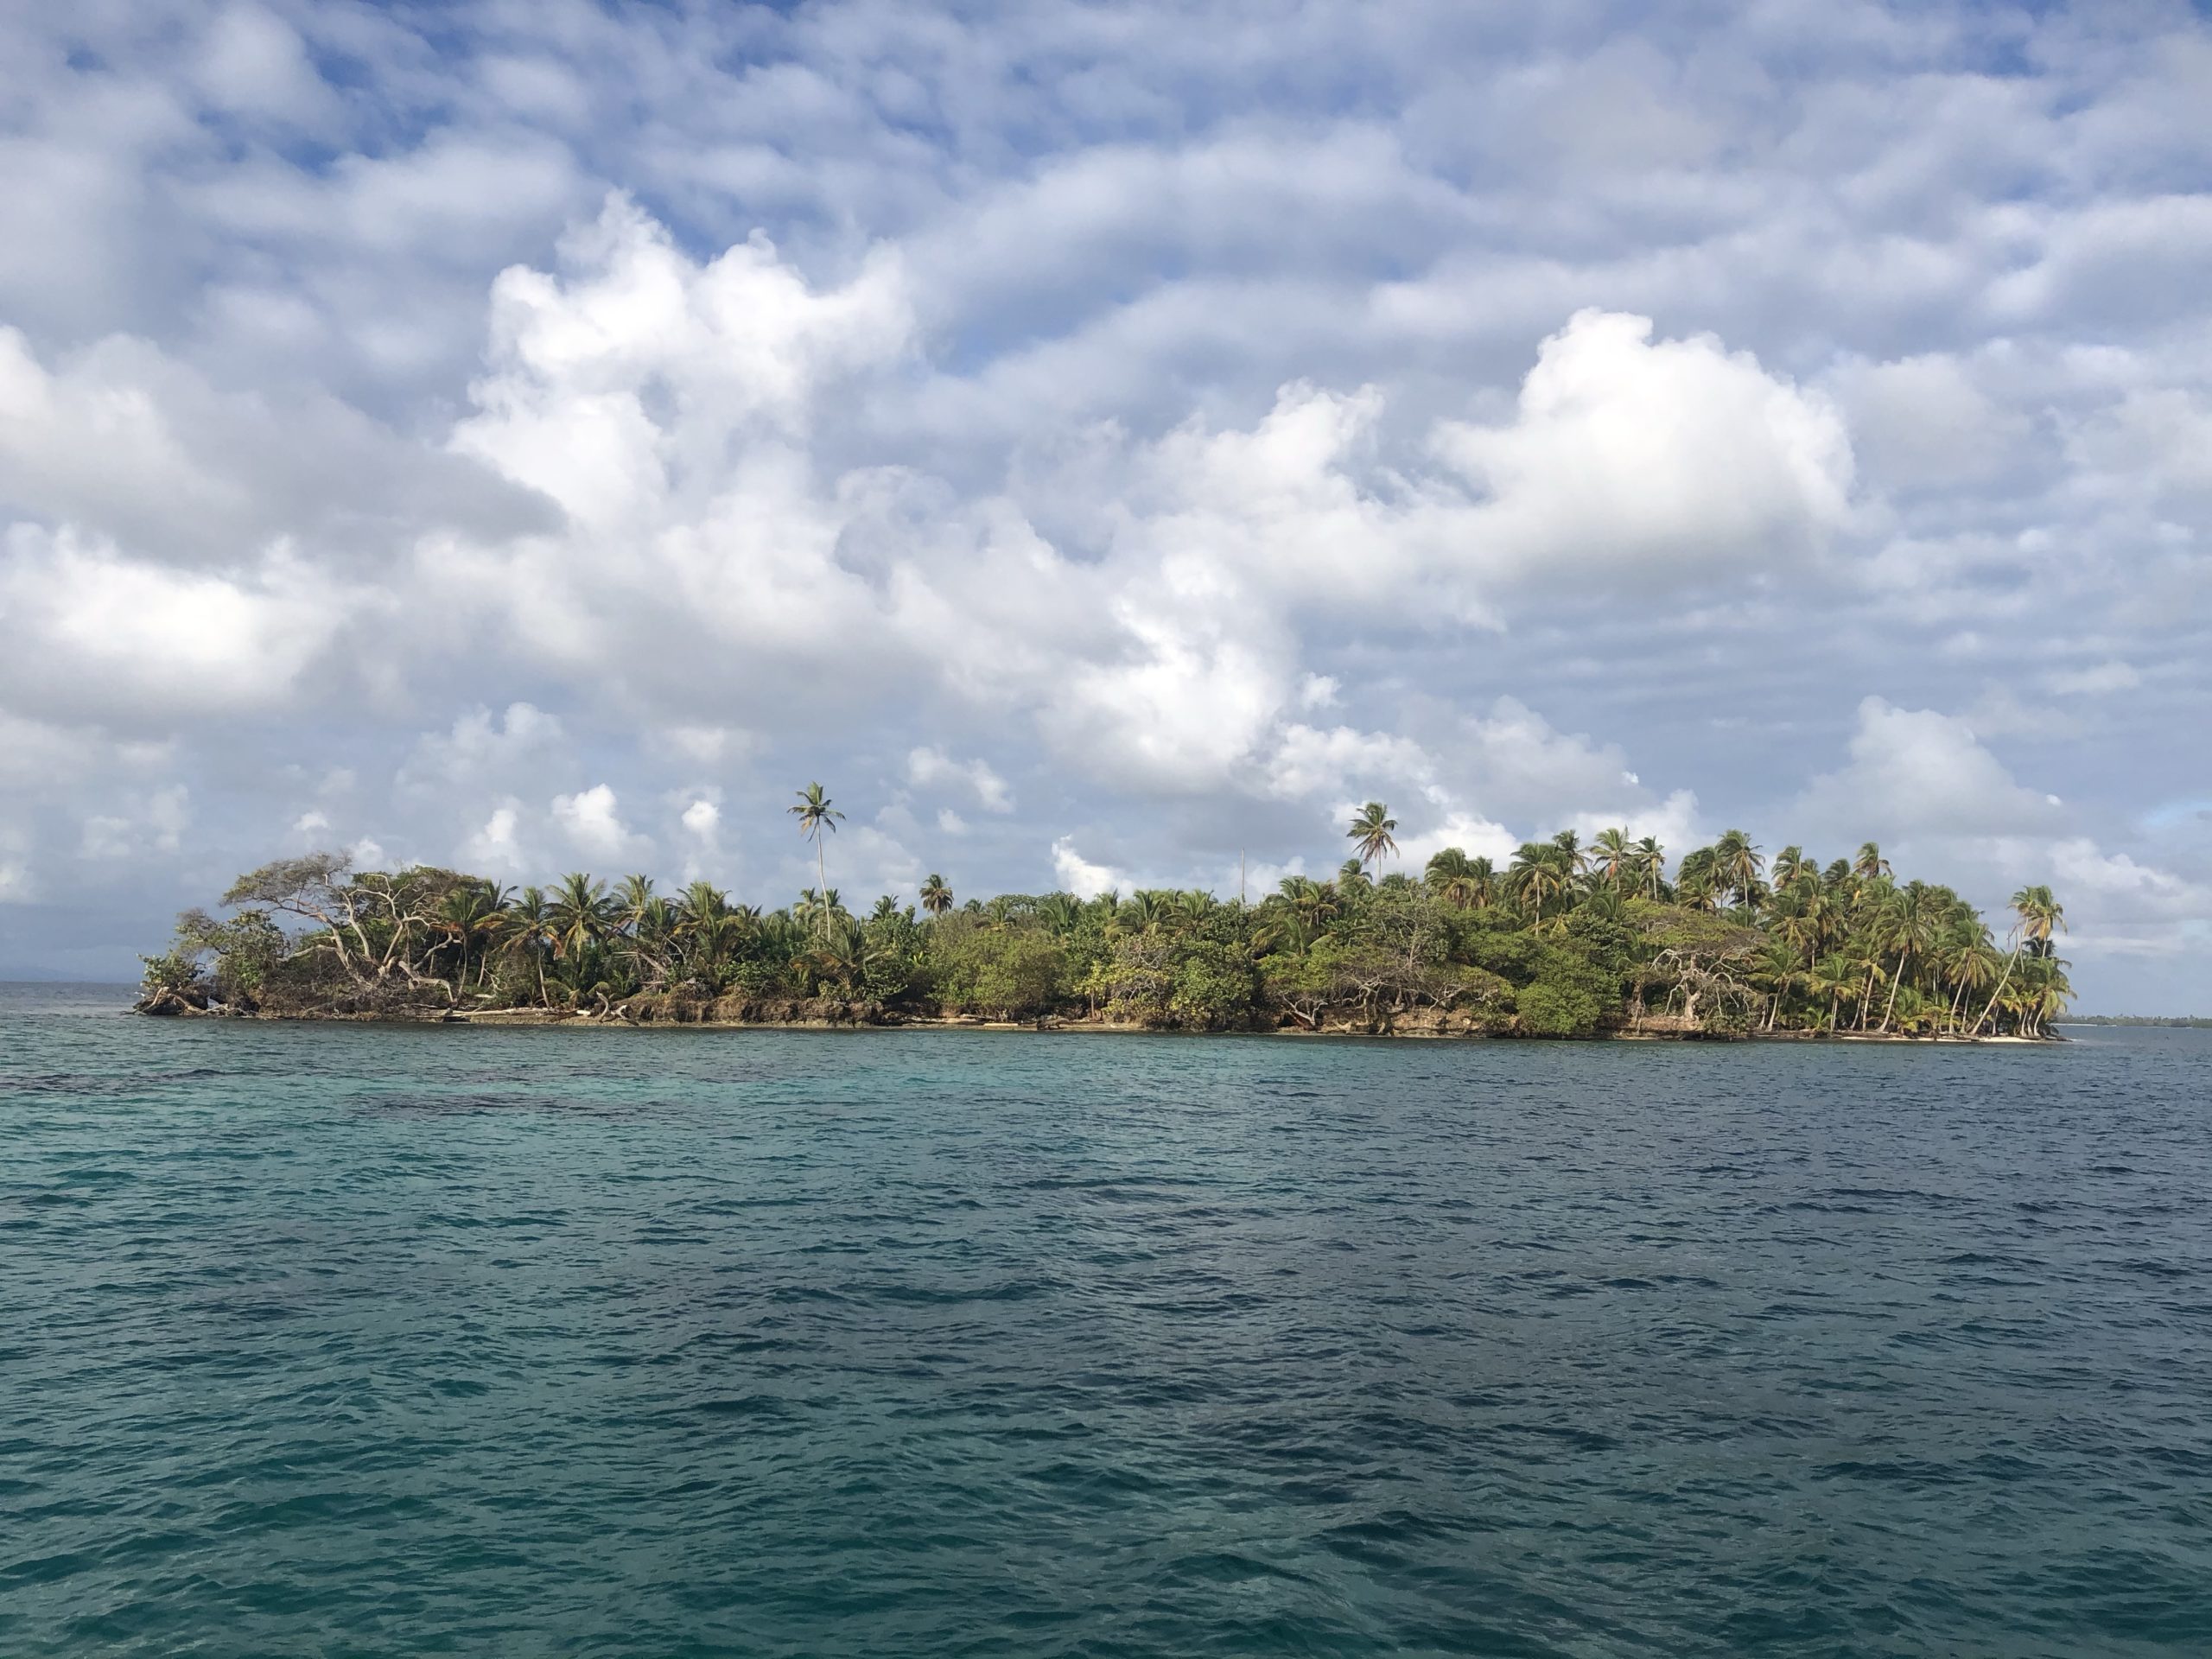
Eine Autonome Region, von Ureinwohnern selbstverwaltet. Und die haben irgendwann die Entscheidung getroffen, ihren Lebensstil nicht dem großen Tourismus-Geld zu opfern. Klar gibt’s einige wenige Unterkünfte und an jeder Hütte kann man kalte Getränke kaufen, aber das war’s dann auch. Keine Betonburgen, keine Tauchschulen, keine 5-Sterne-Luxus-Eco-Resorts.
Unser Leben ist ebenso entspannt. Drei Mahlzeiten am Tag, jeden morgen eine halbe Stunde zur nächsten Insel tuckern, ab und zu schwimmen oder eine kleine Insel zu Fuß umrunden, oder von Insel zu Insel schwimmen und dann vom örtlichen Hund abgehalten werden, diese auch zu betreten.

Bücher lesen, chillen, dösen.
An einem der Abende wird am Strand gegrillt, dann ein Lagerfeuer angezündet. Und vorher posieren wir noch für Klischee-Selfies.


Am morgen des vierten Tages geht’s dann los. Frühstücken,
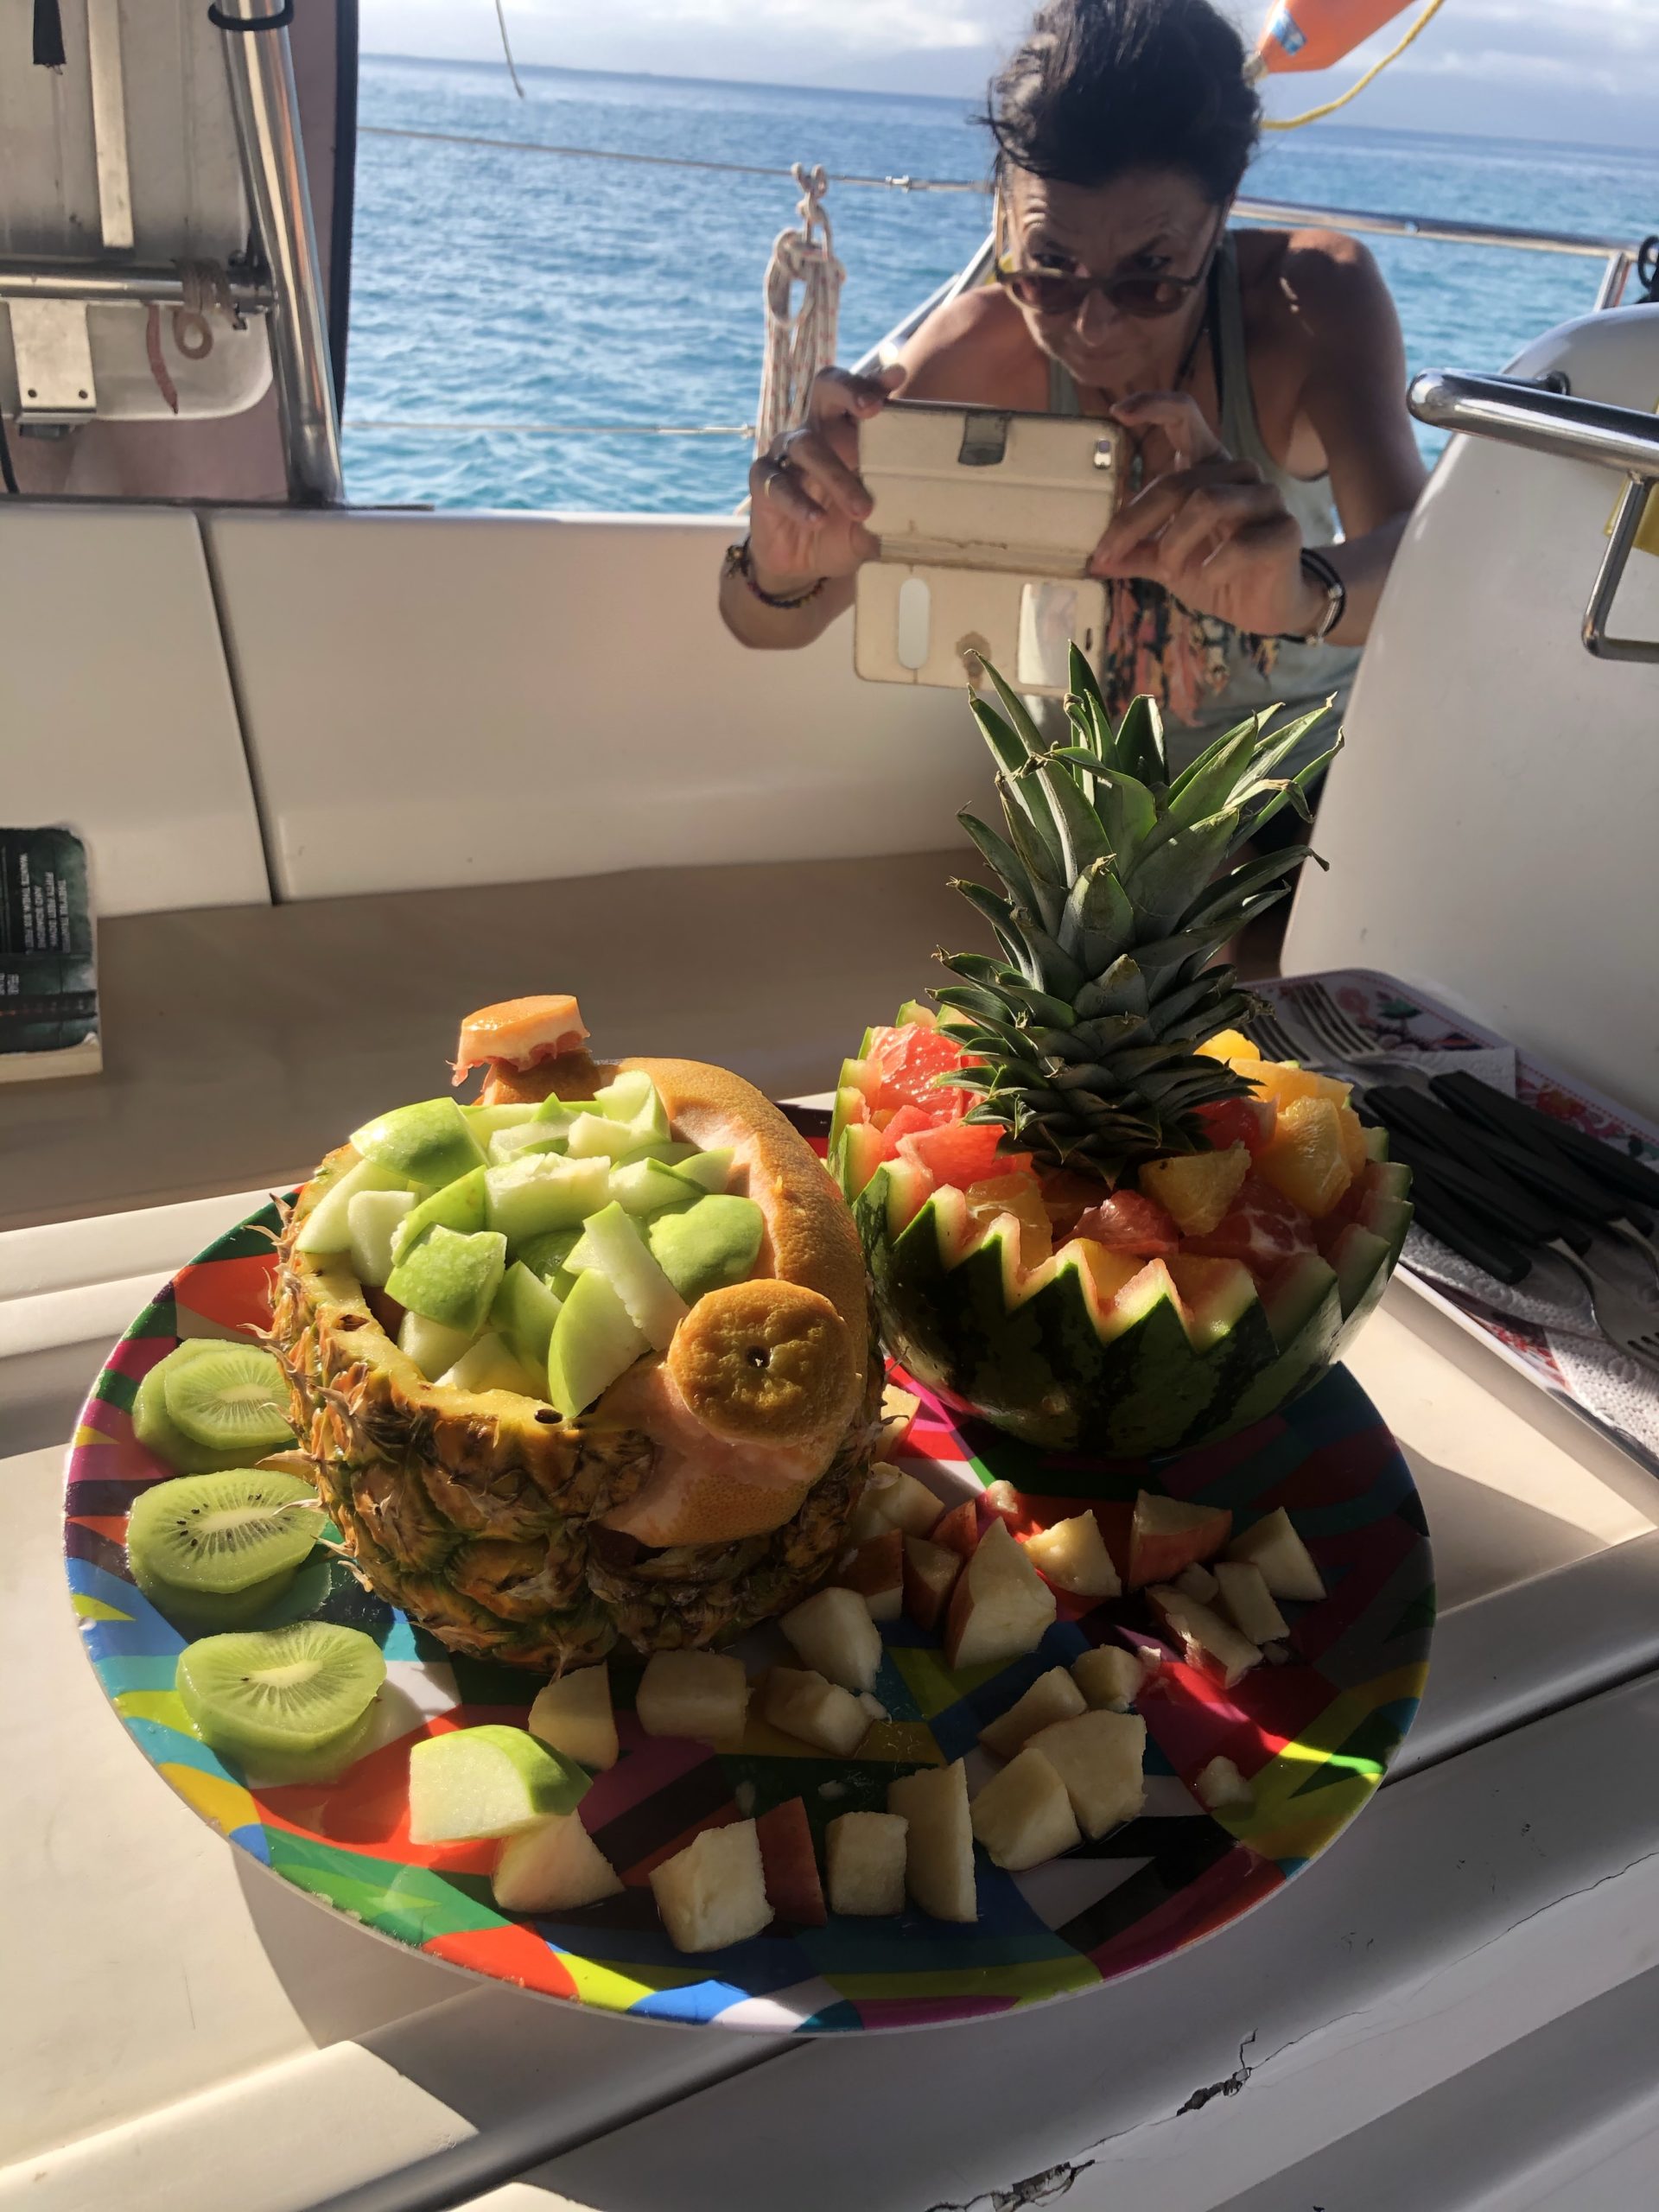
nochmal duschen, Wassertank füllen, Beiboot aufs Vorderdeck packen, Segel hissen. Knapp 200 nautische Meilen bis Cartagena liegen vor uns. Zwischen 30 und 36 Stunden.
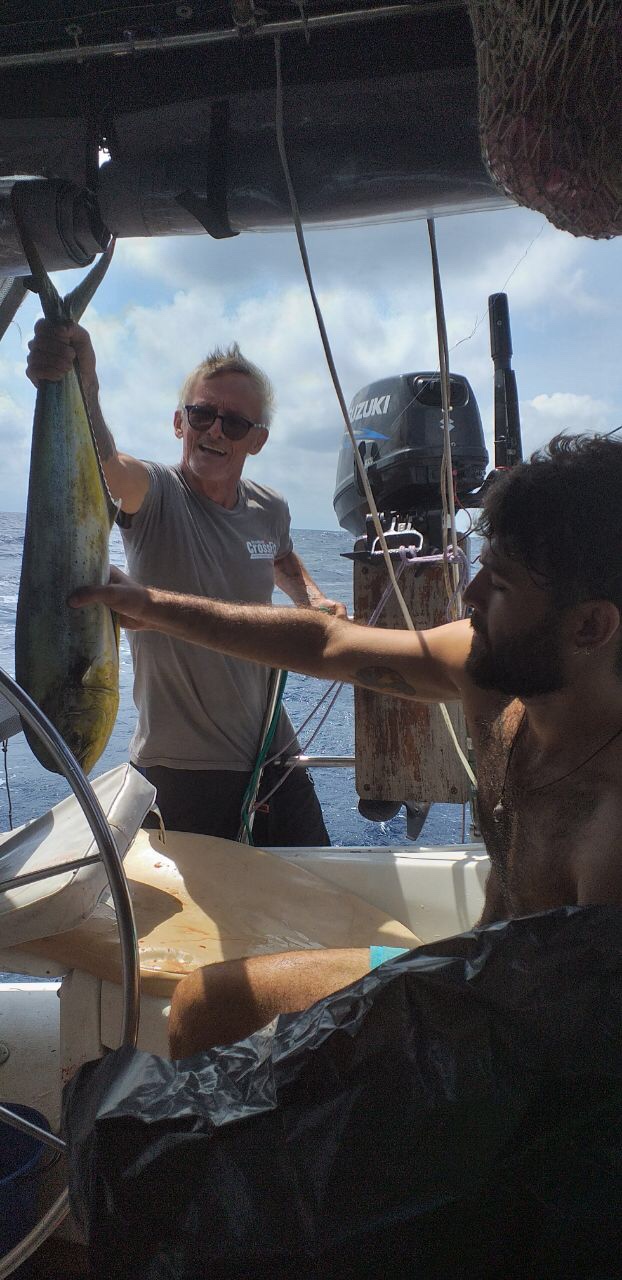
Leider ist auf der Hinreise der Autopilot kaputt gegangen. Sprich es muss die ganze Zeit gesteuert werden. Von den fünf anderen Passagieren hat aber niemand Lust, mir hingegen bereitet es große Freude, und so übernehme ich einige Schichten. Als ich zum ersten Mal steuere, wirft der Kapitän seine Angel aus und nur kurz darauf beisst ein großer Mahi-Mahi an.
Während meiner zweiten Schicht geht die Sonne unter. Was für ein wundervoller Anblick!
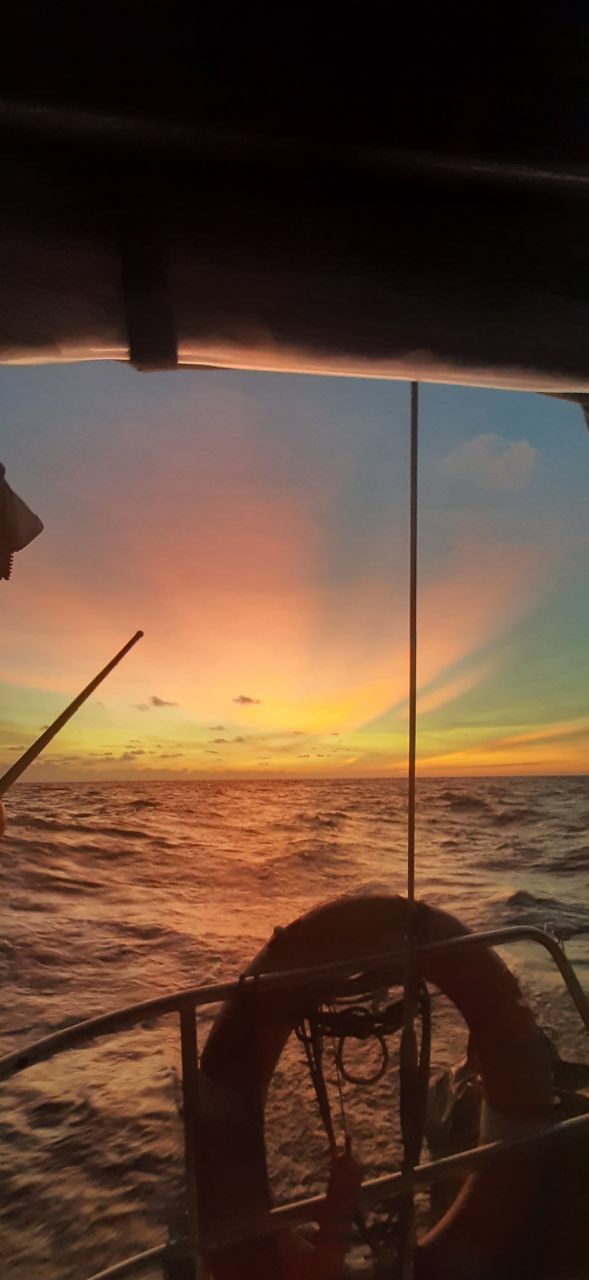
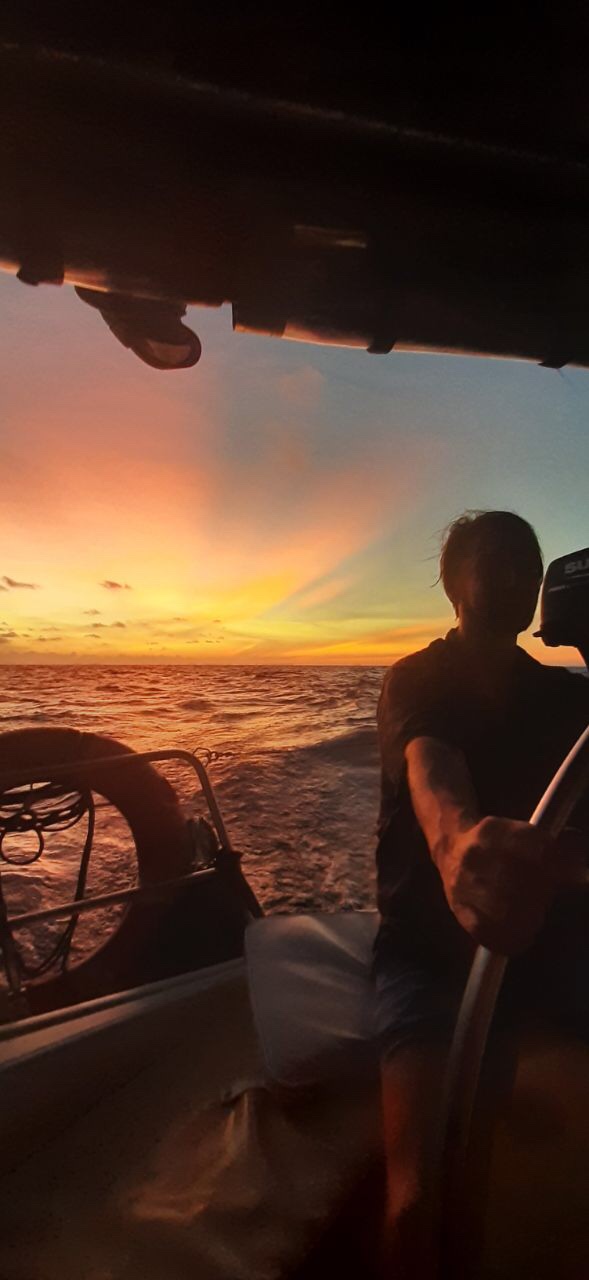
Aber auch mitten in der Nacht heißt es: alle drei Stunden aufstehen und 90 Minuten lang steuern. Eine gesunde Mischung aus „geil, aufregend, Abenteuer!“ Und „boah muss das eigentlich sein und kann ich nicht einfach in irgend einem Hotelbett liegen und schlafen?“
Als ich aufwache, sind wir schon sehr weit gekommen, und als ich von einem weiteren Nickerchen zum Mittagessen an Deck komme, segeln wir gerade an den ersten Kolumbianischen Inseln vorbei. Es sollen insgesamt nur knapp 30 Stunden werden. Für diese Richtung, in einem Januar, fast rekordverdächtig, sagt der Käptn.
Und so kommen wir dann um 16:30 in Cartagena an.
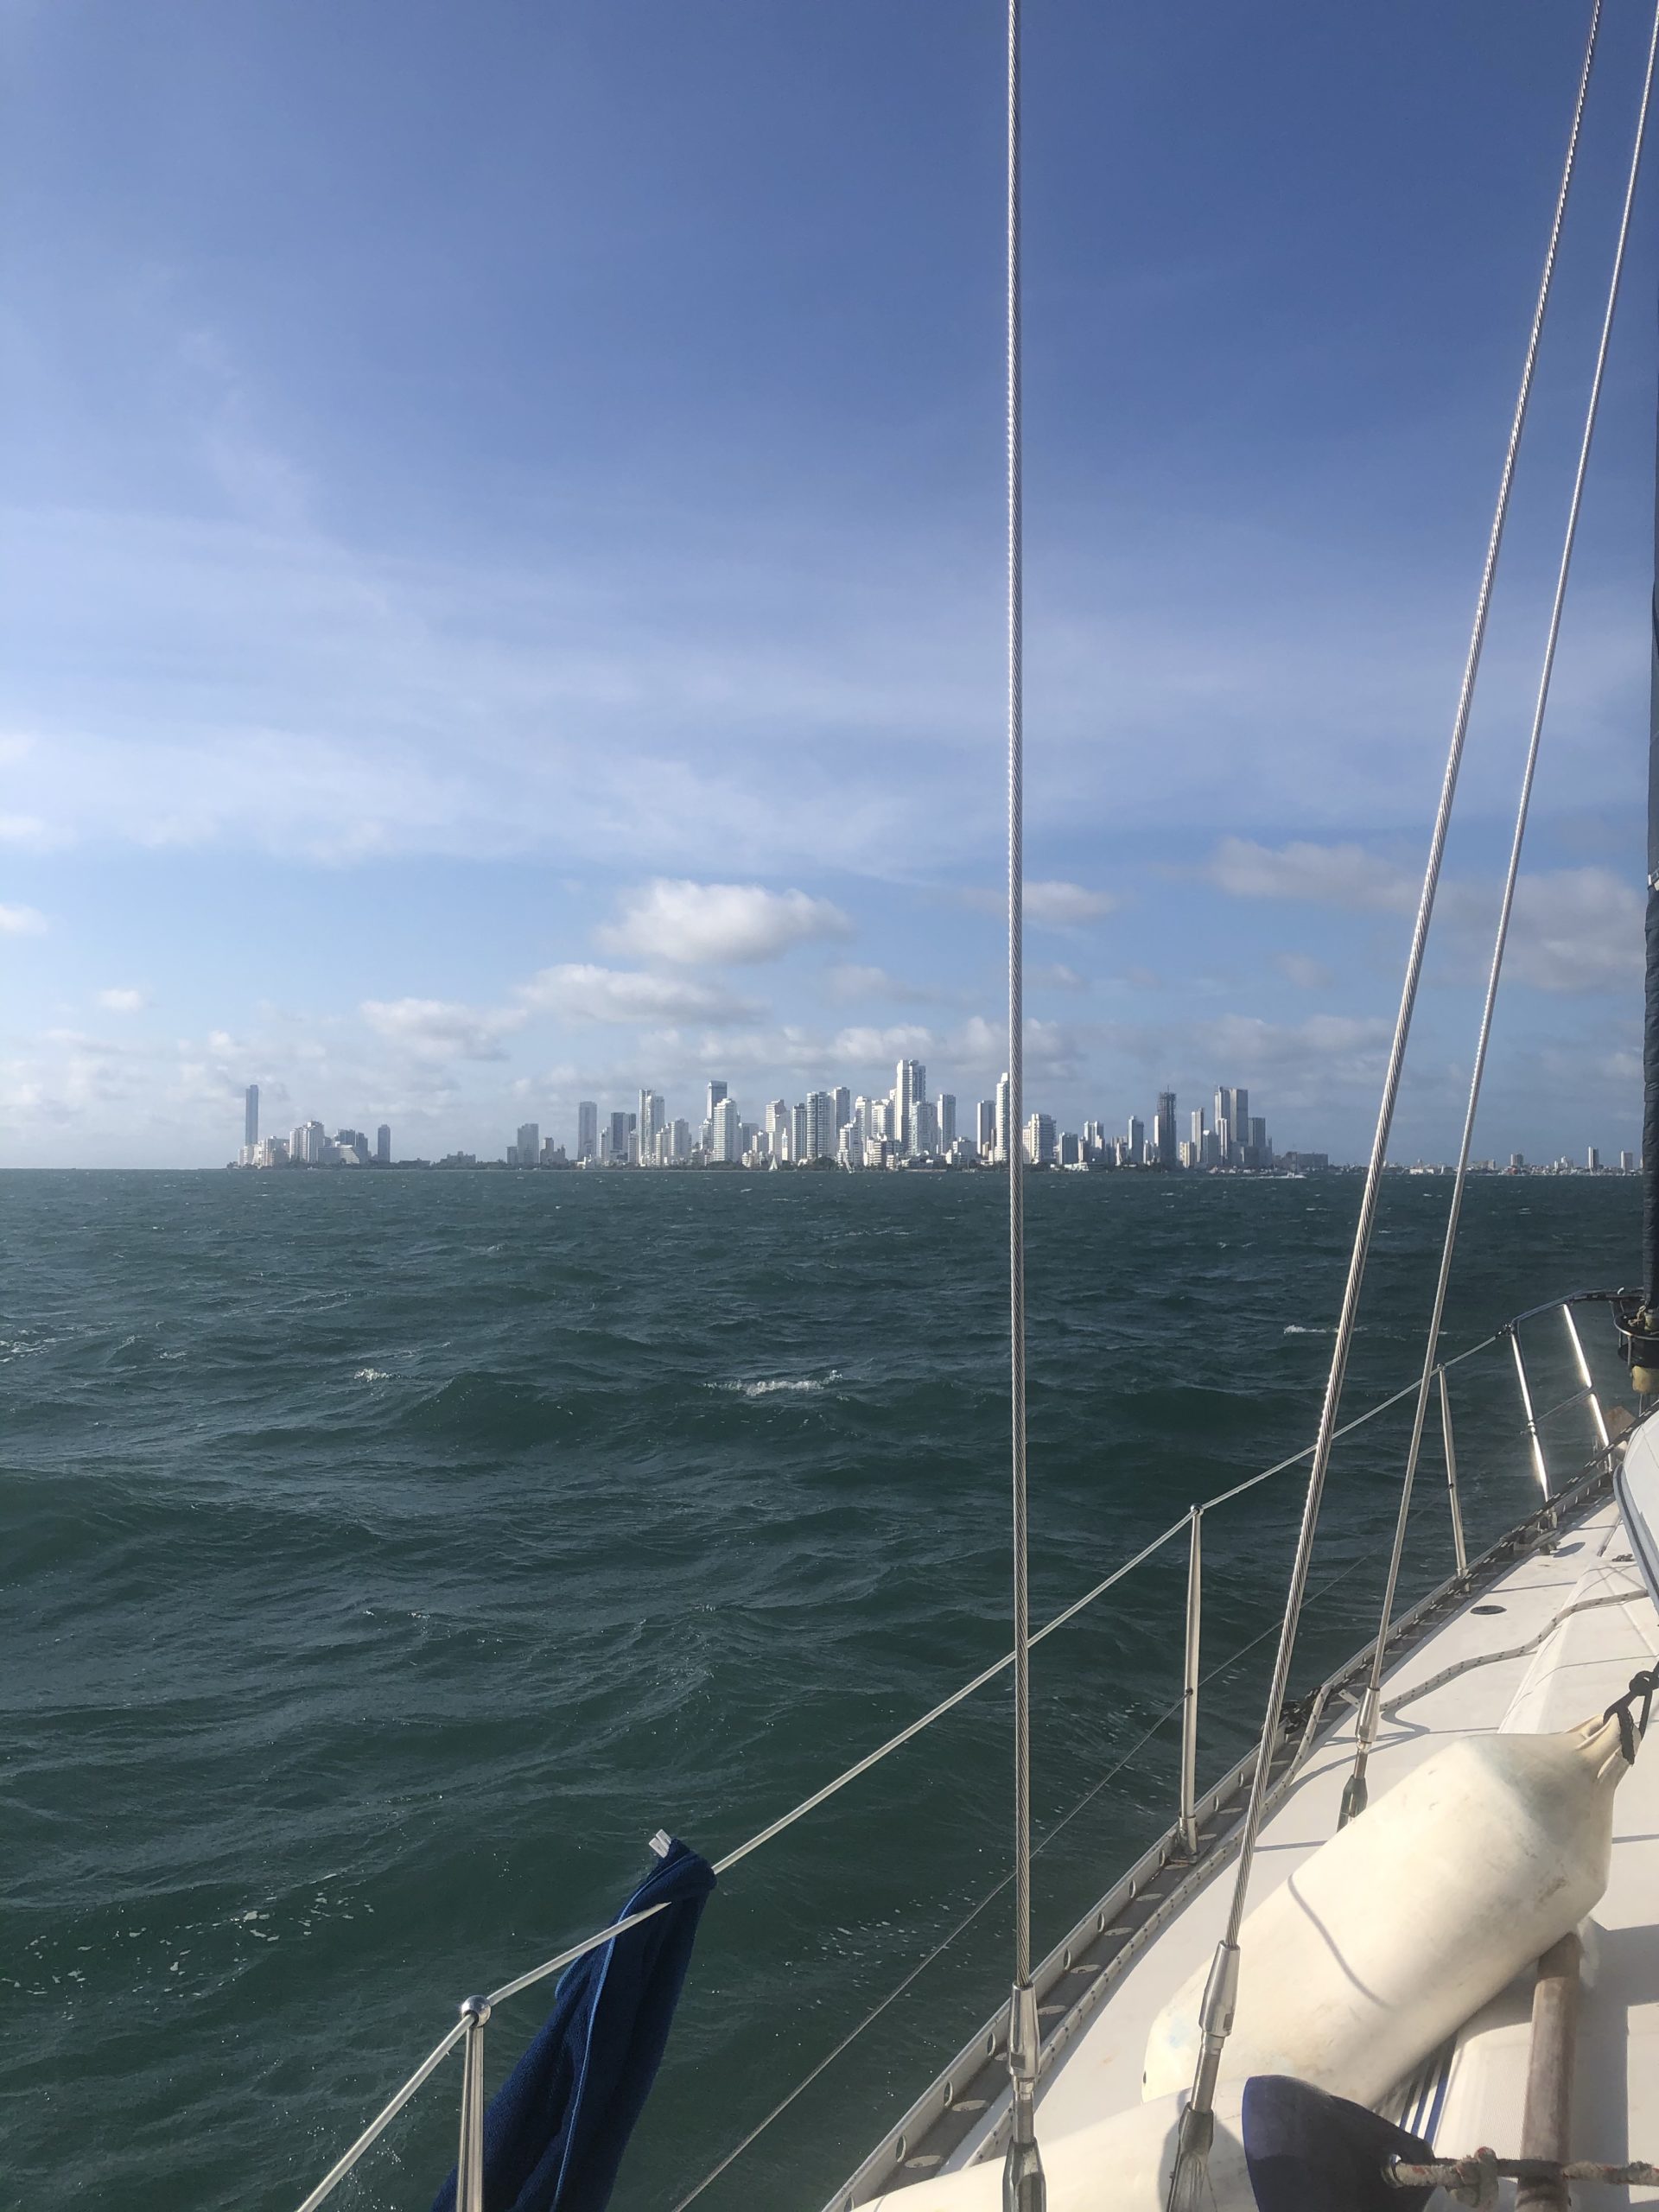
Bis wir dann auch von Bord kommen dauert es noch etwas. Erstens muss der Mahi-Mahi gegessen werden, zweitens muss das mit unserer Einreise geregelt werden, drittens können wir noch eine Nacht in der Koje verbringen und uns somit ein Hostelzimmer sparen.
Aber zuerst noch dieser Sonnenuntergang
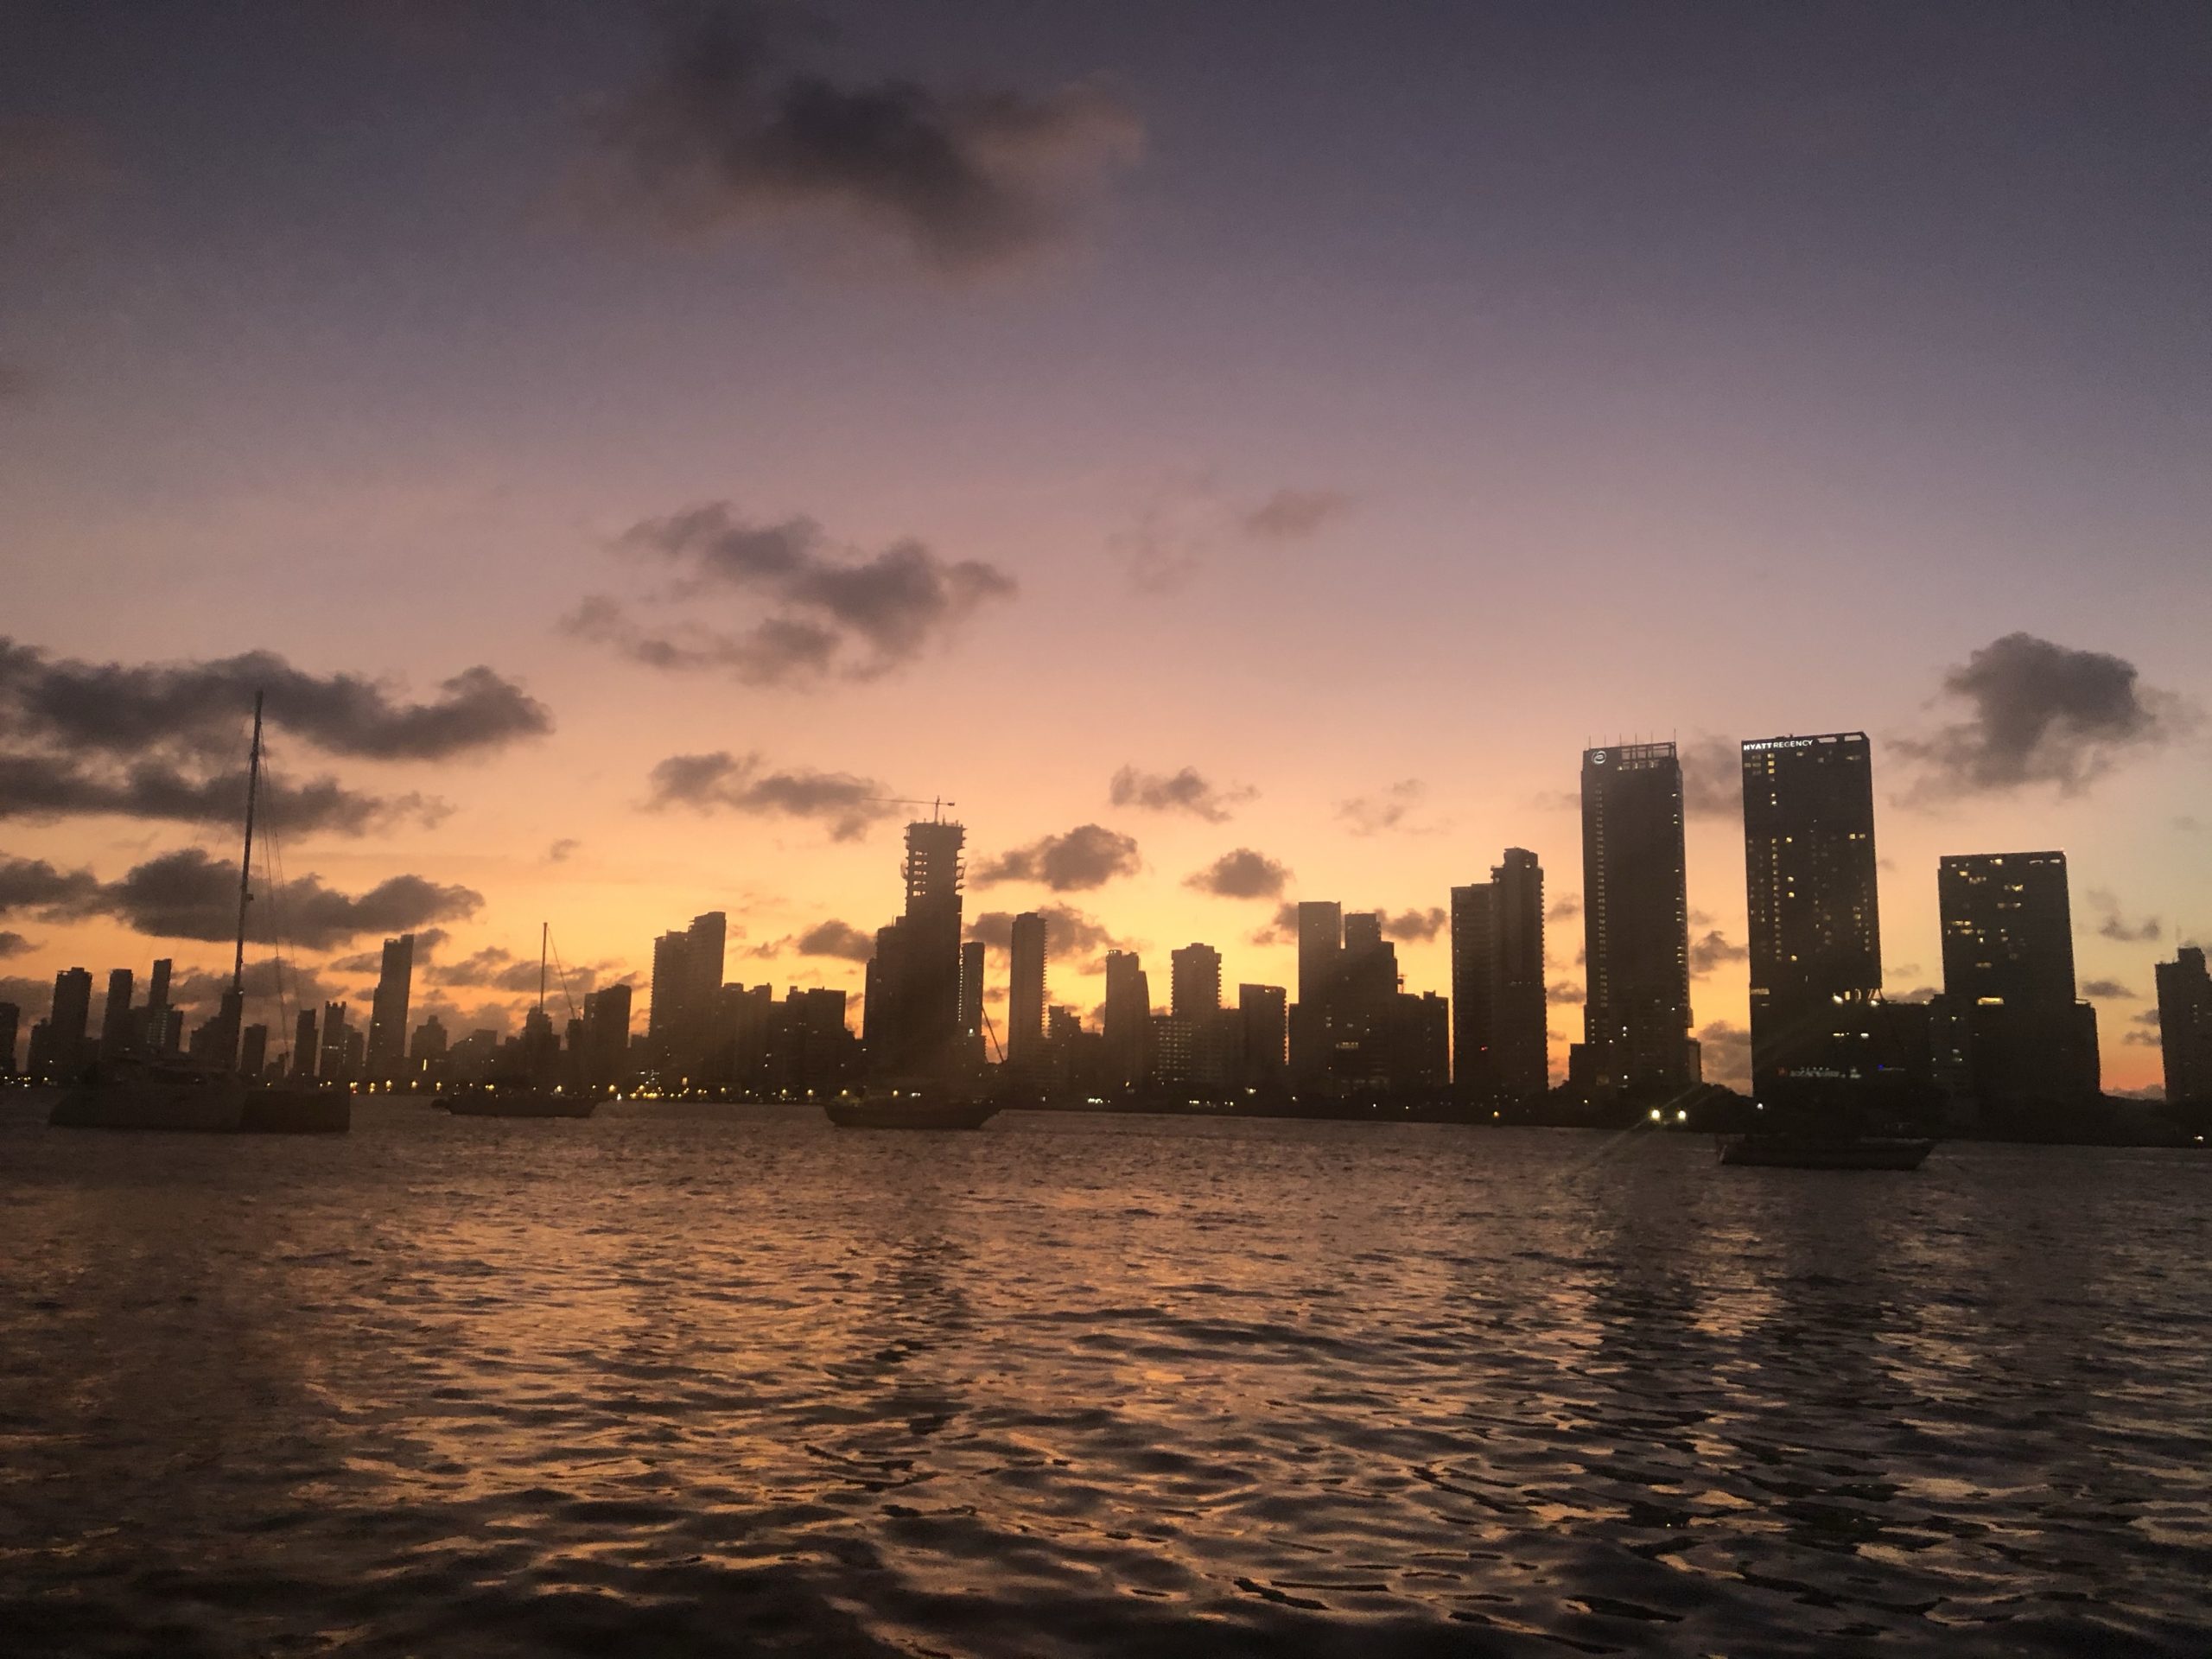
Panama City, Henrik und Kalu Yala
„Wenn du in Panama bist, musst du X kennenlernen“ Teil 2. nach zweienhalb tollen Tagen in Gamboa bei Andy und Kitty, lerne ich nun Henrik kennen, der mich in der Albrook Mall abholt, dem grössten Shoppingcenter der Amerikas (USA eingeschlossen). Ein absurd grosses Ding, in dem ich mich verlaufe und extrem unwohl fühle.
Wir gehen essen, die Stadt von der anderen Seite der Bucht fotografieren.
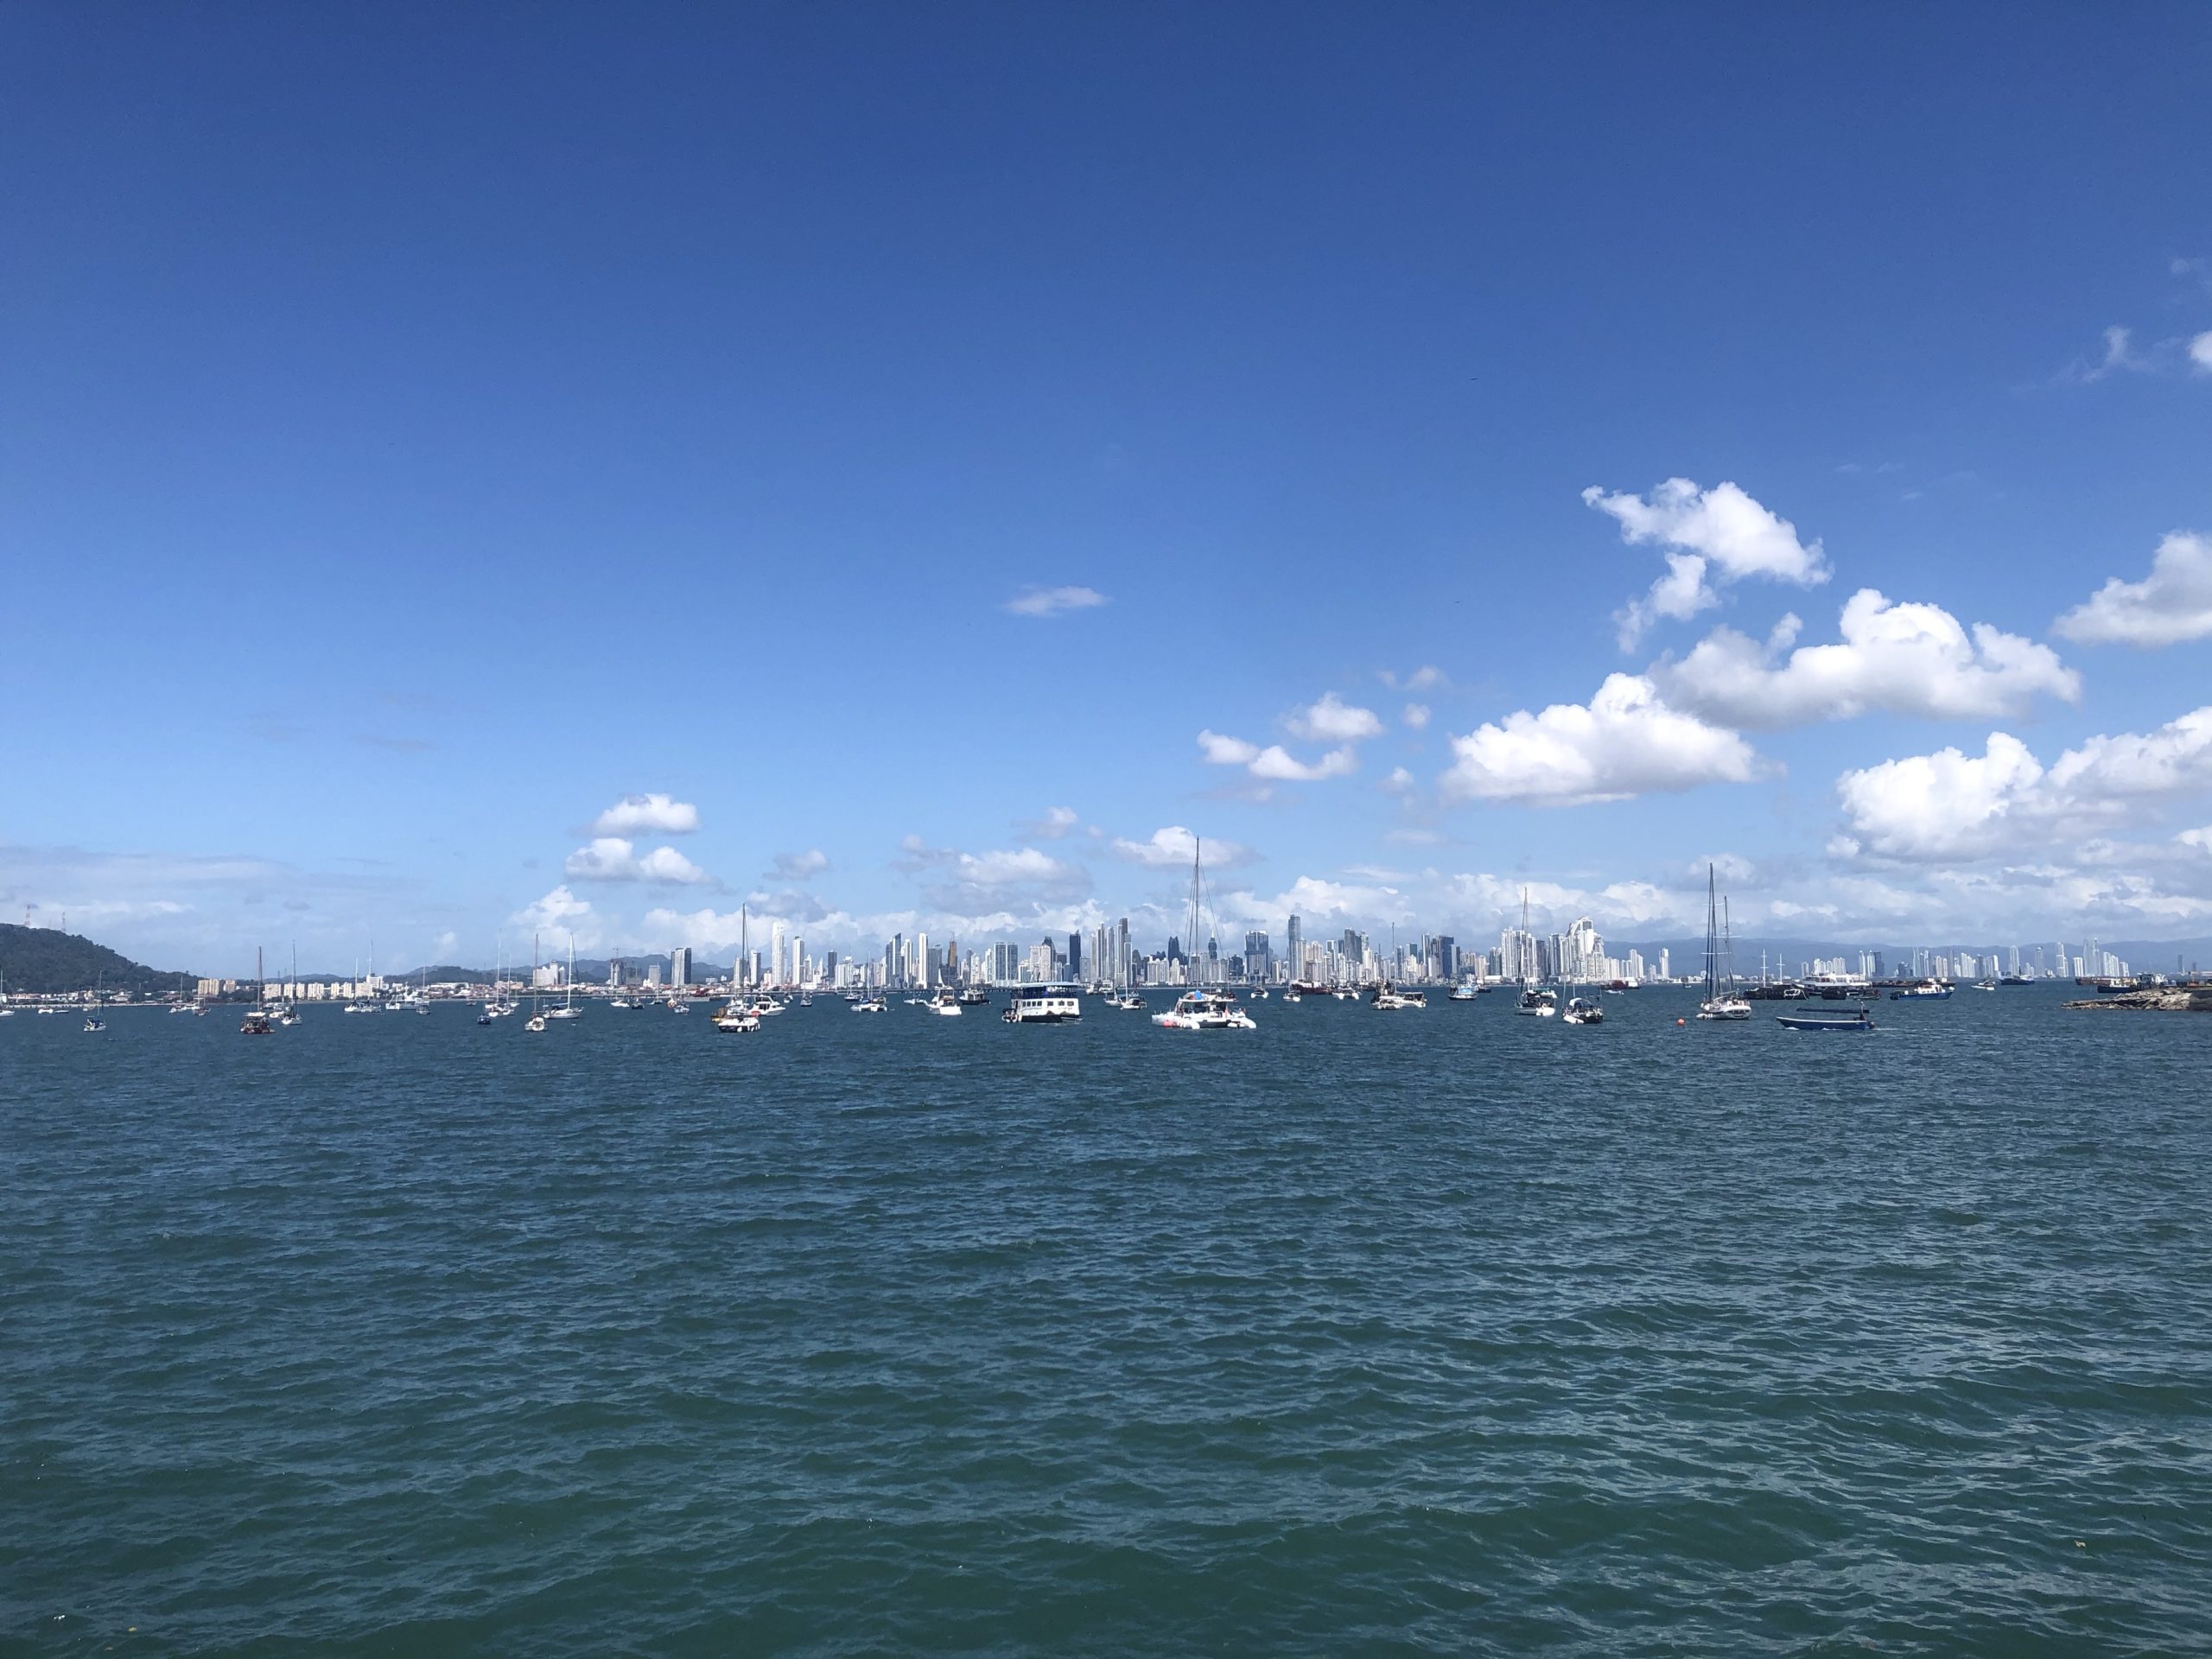
Dann kurz zum Museum für Biodiversität, einem Frank Gehry-Bau, aber nur für einen Kaffee und eine kleine Kostenlose Ausstellung im Erdgeschoss. Der Rest soll dann doch nicht so sehr spannend sein.
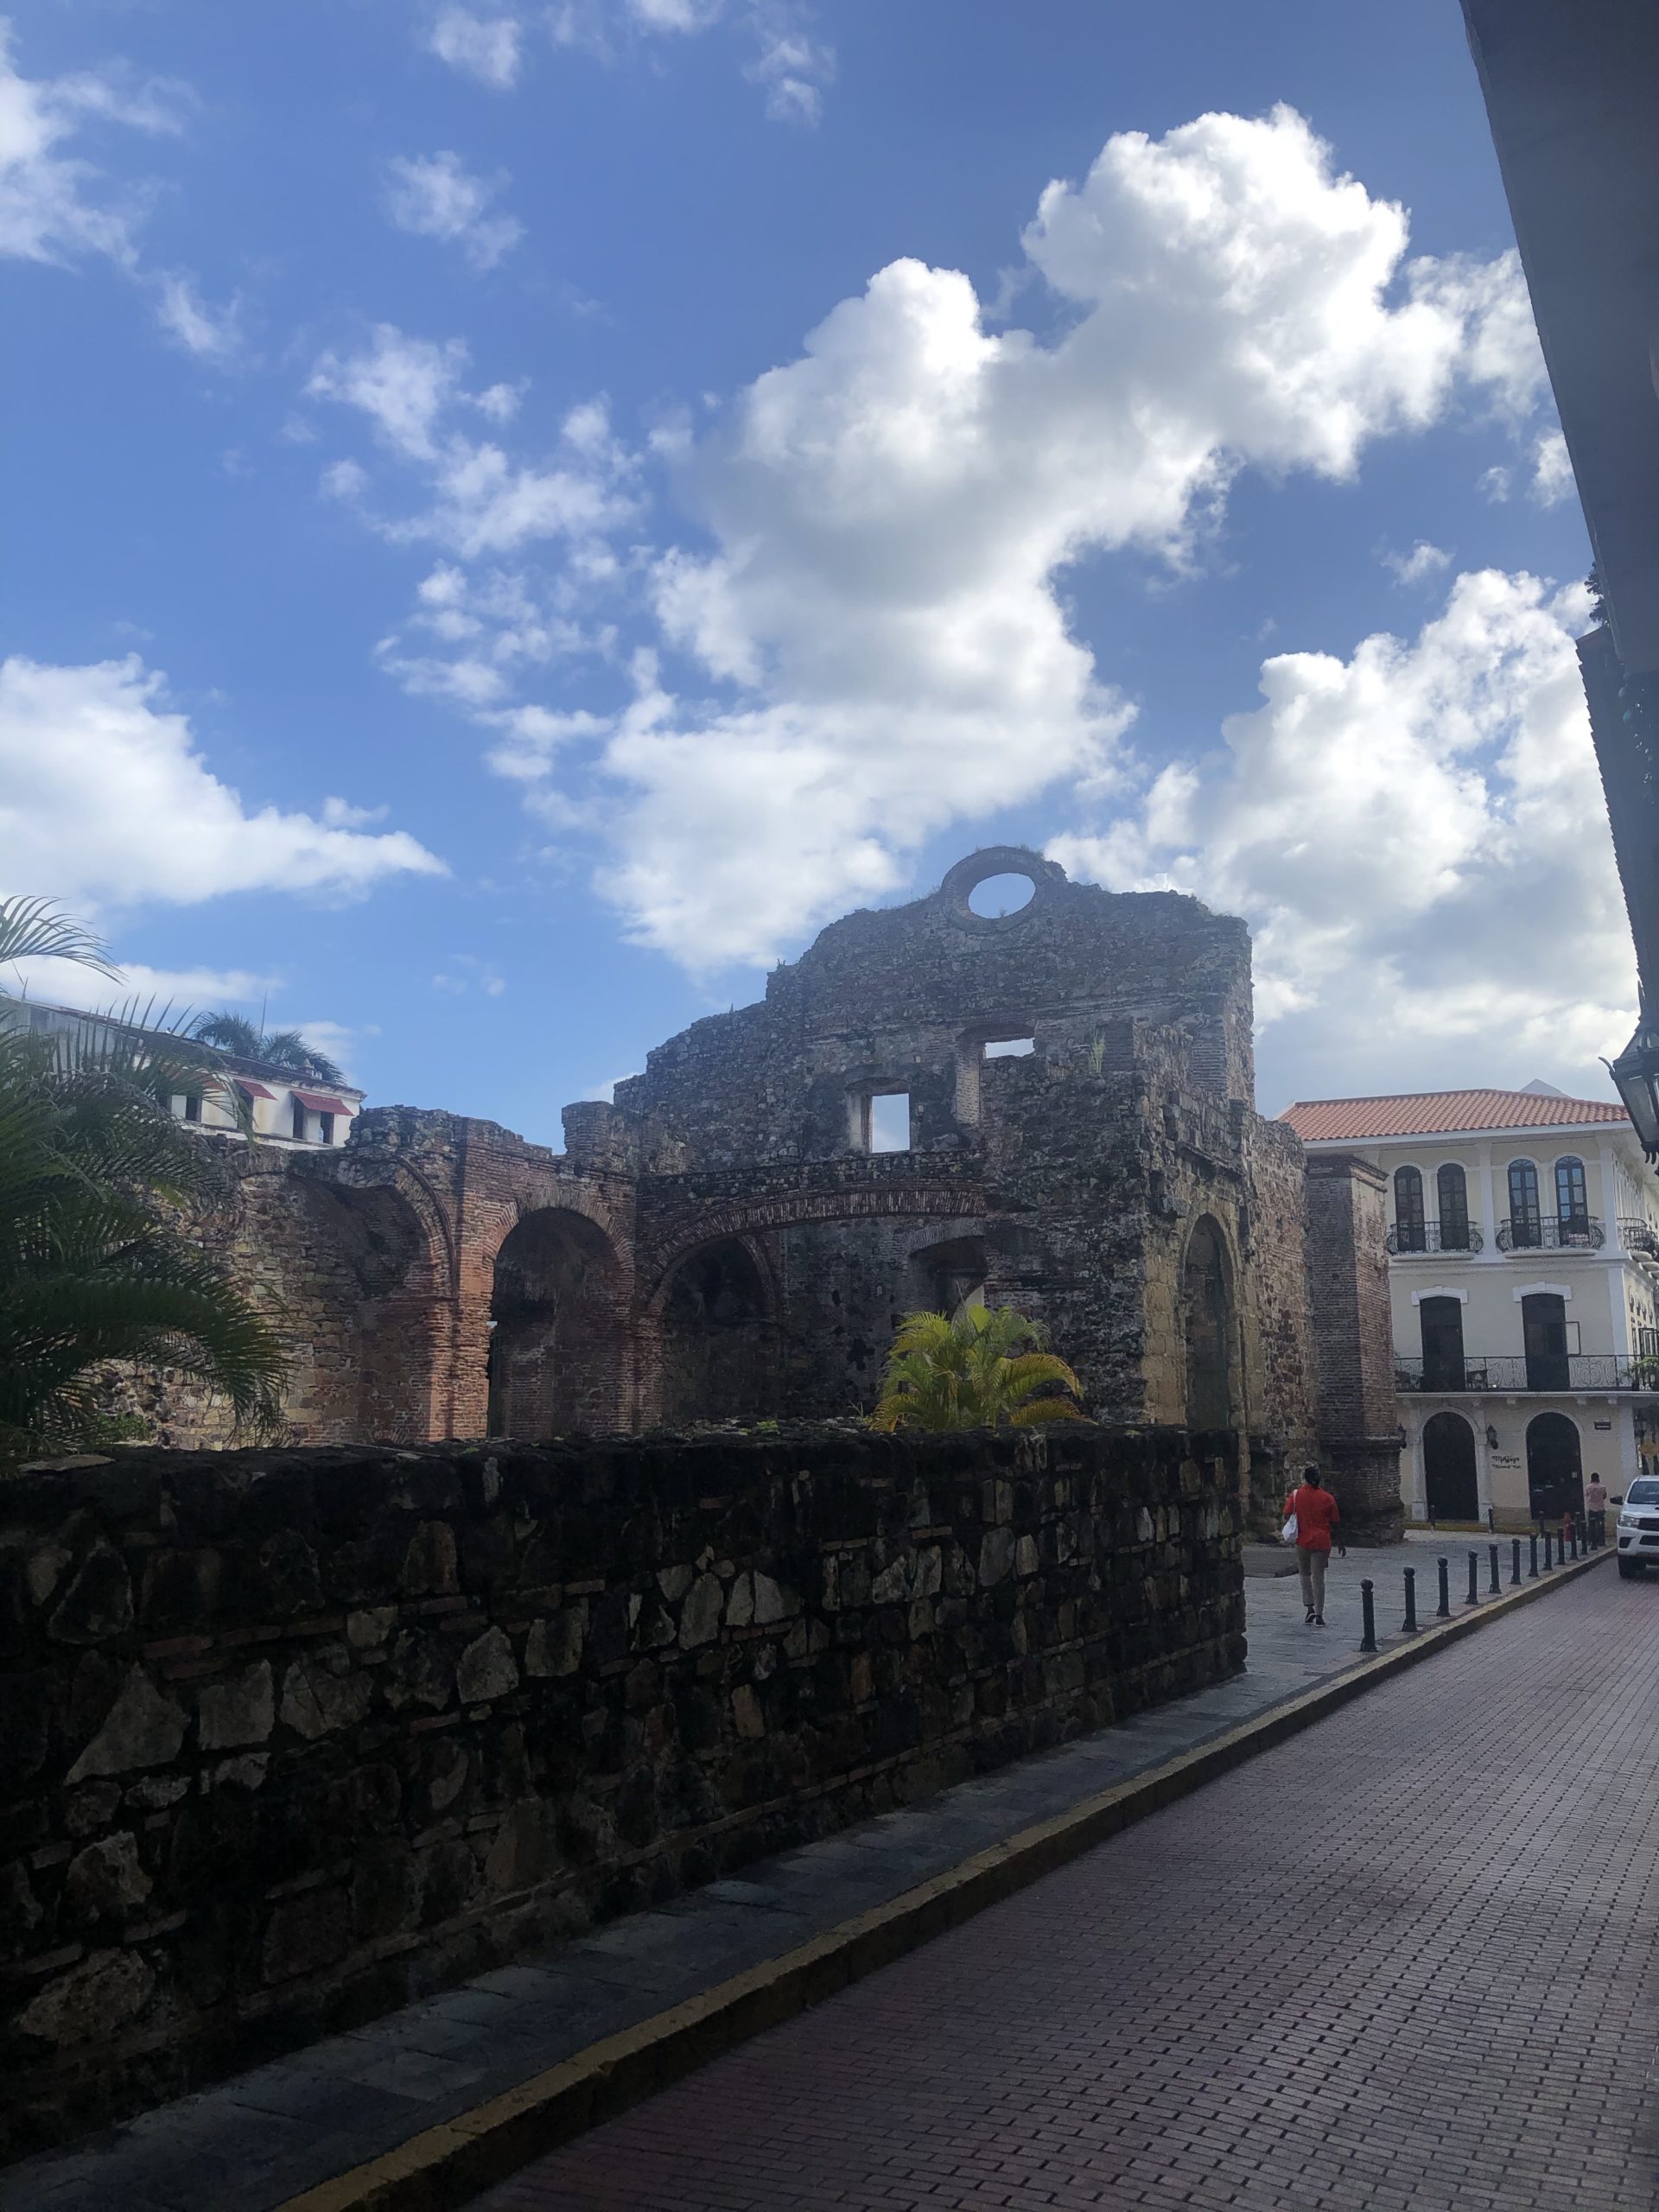
Anschließend nach Casco Viejo, dem alten Stadtkern von Panama City, voller aufregender Kolonialbauten statt moderner Hochhäuser. Hat Flair, allerdings auch nur so ein bisschen, weil zu touristisch und glattpoliert. 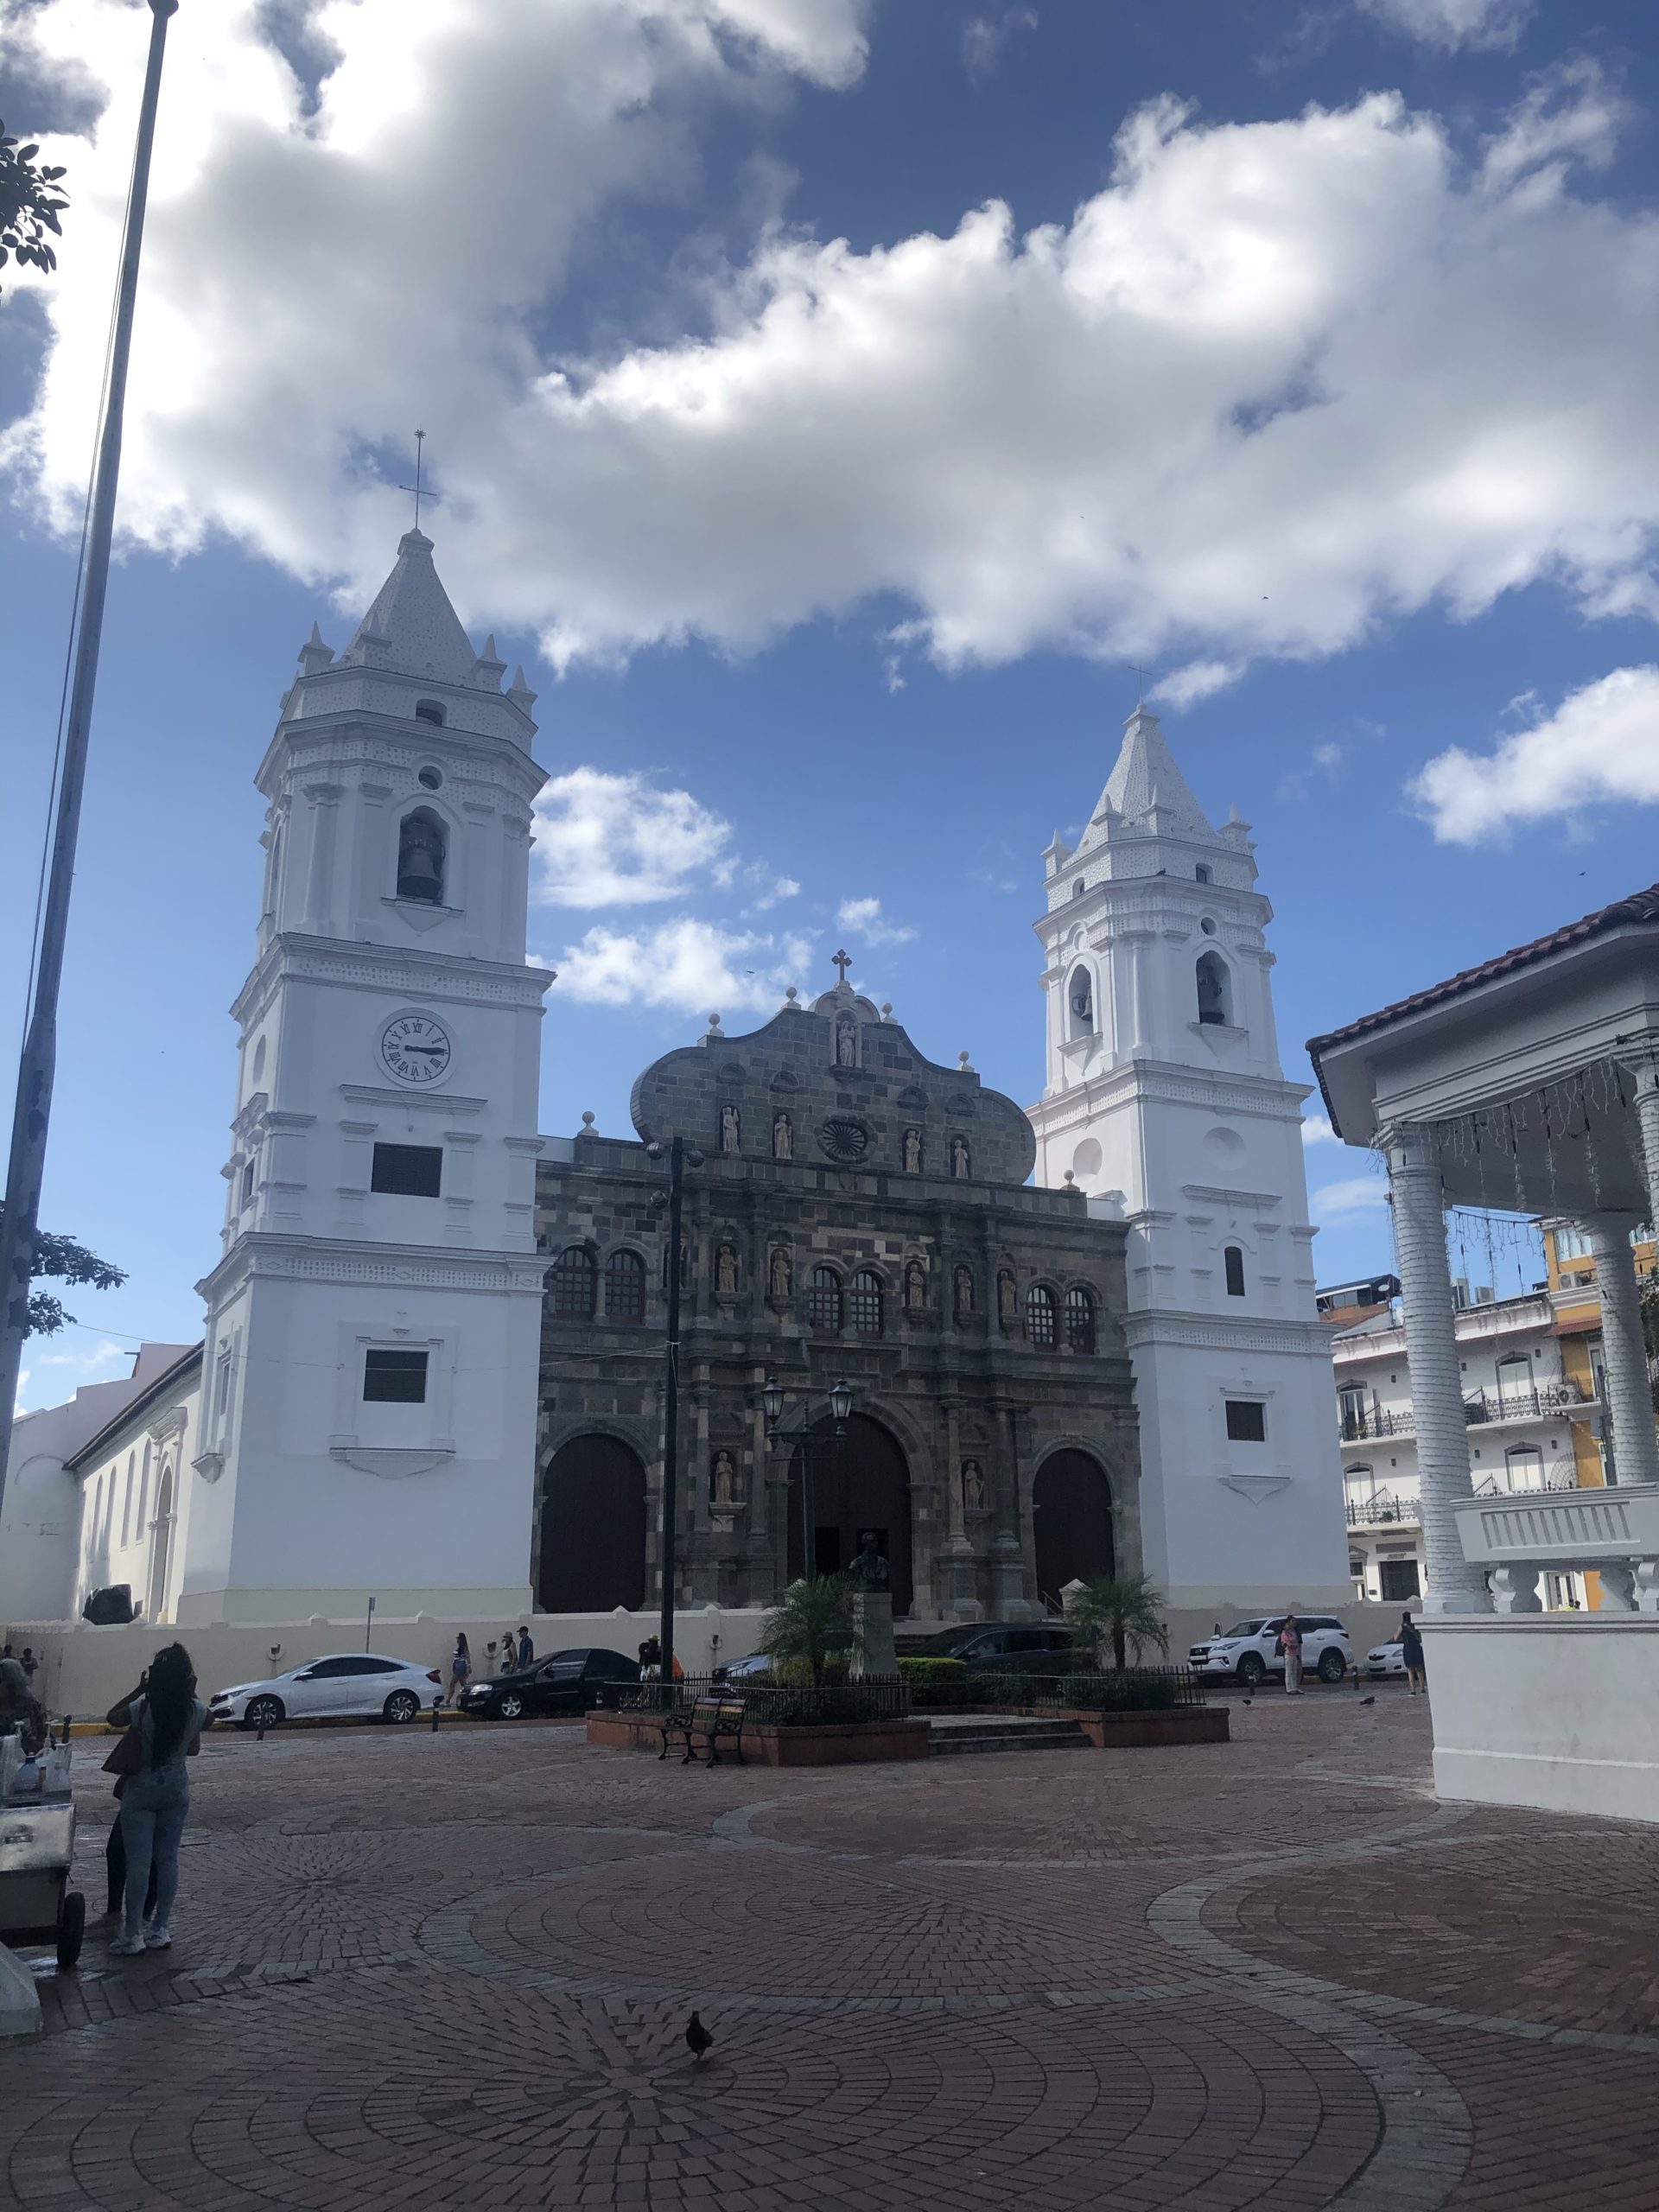
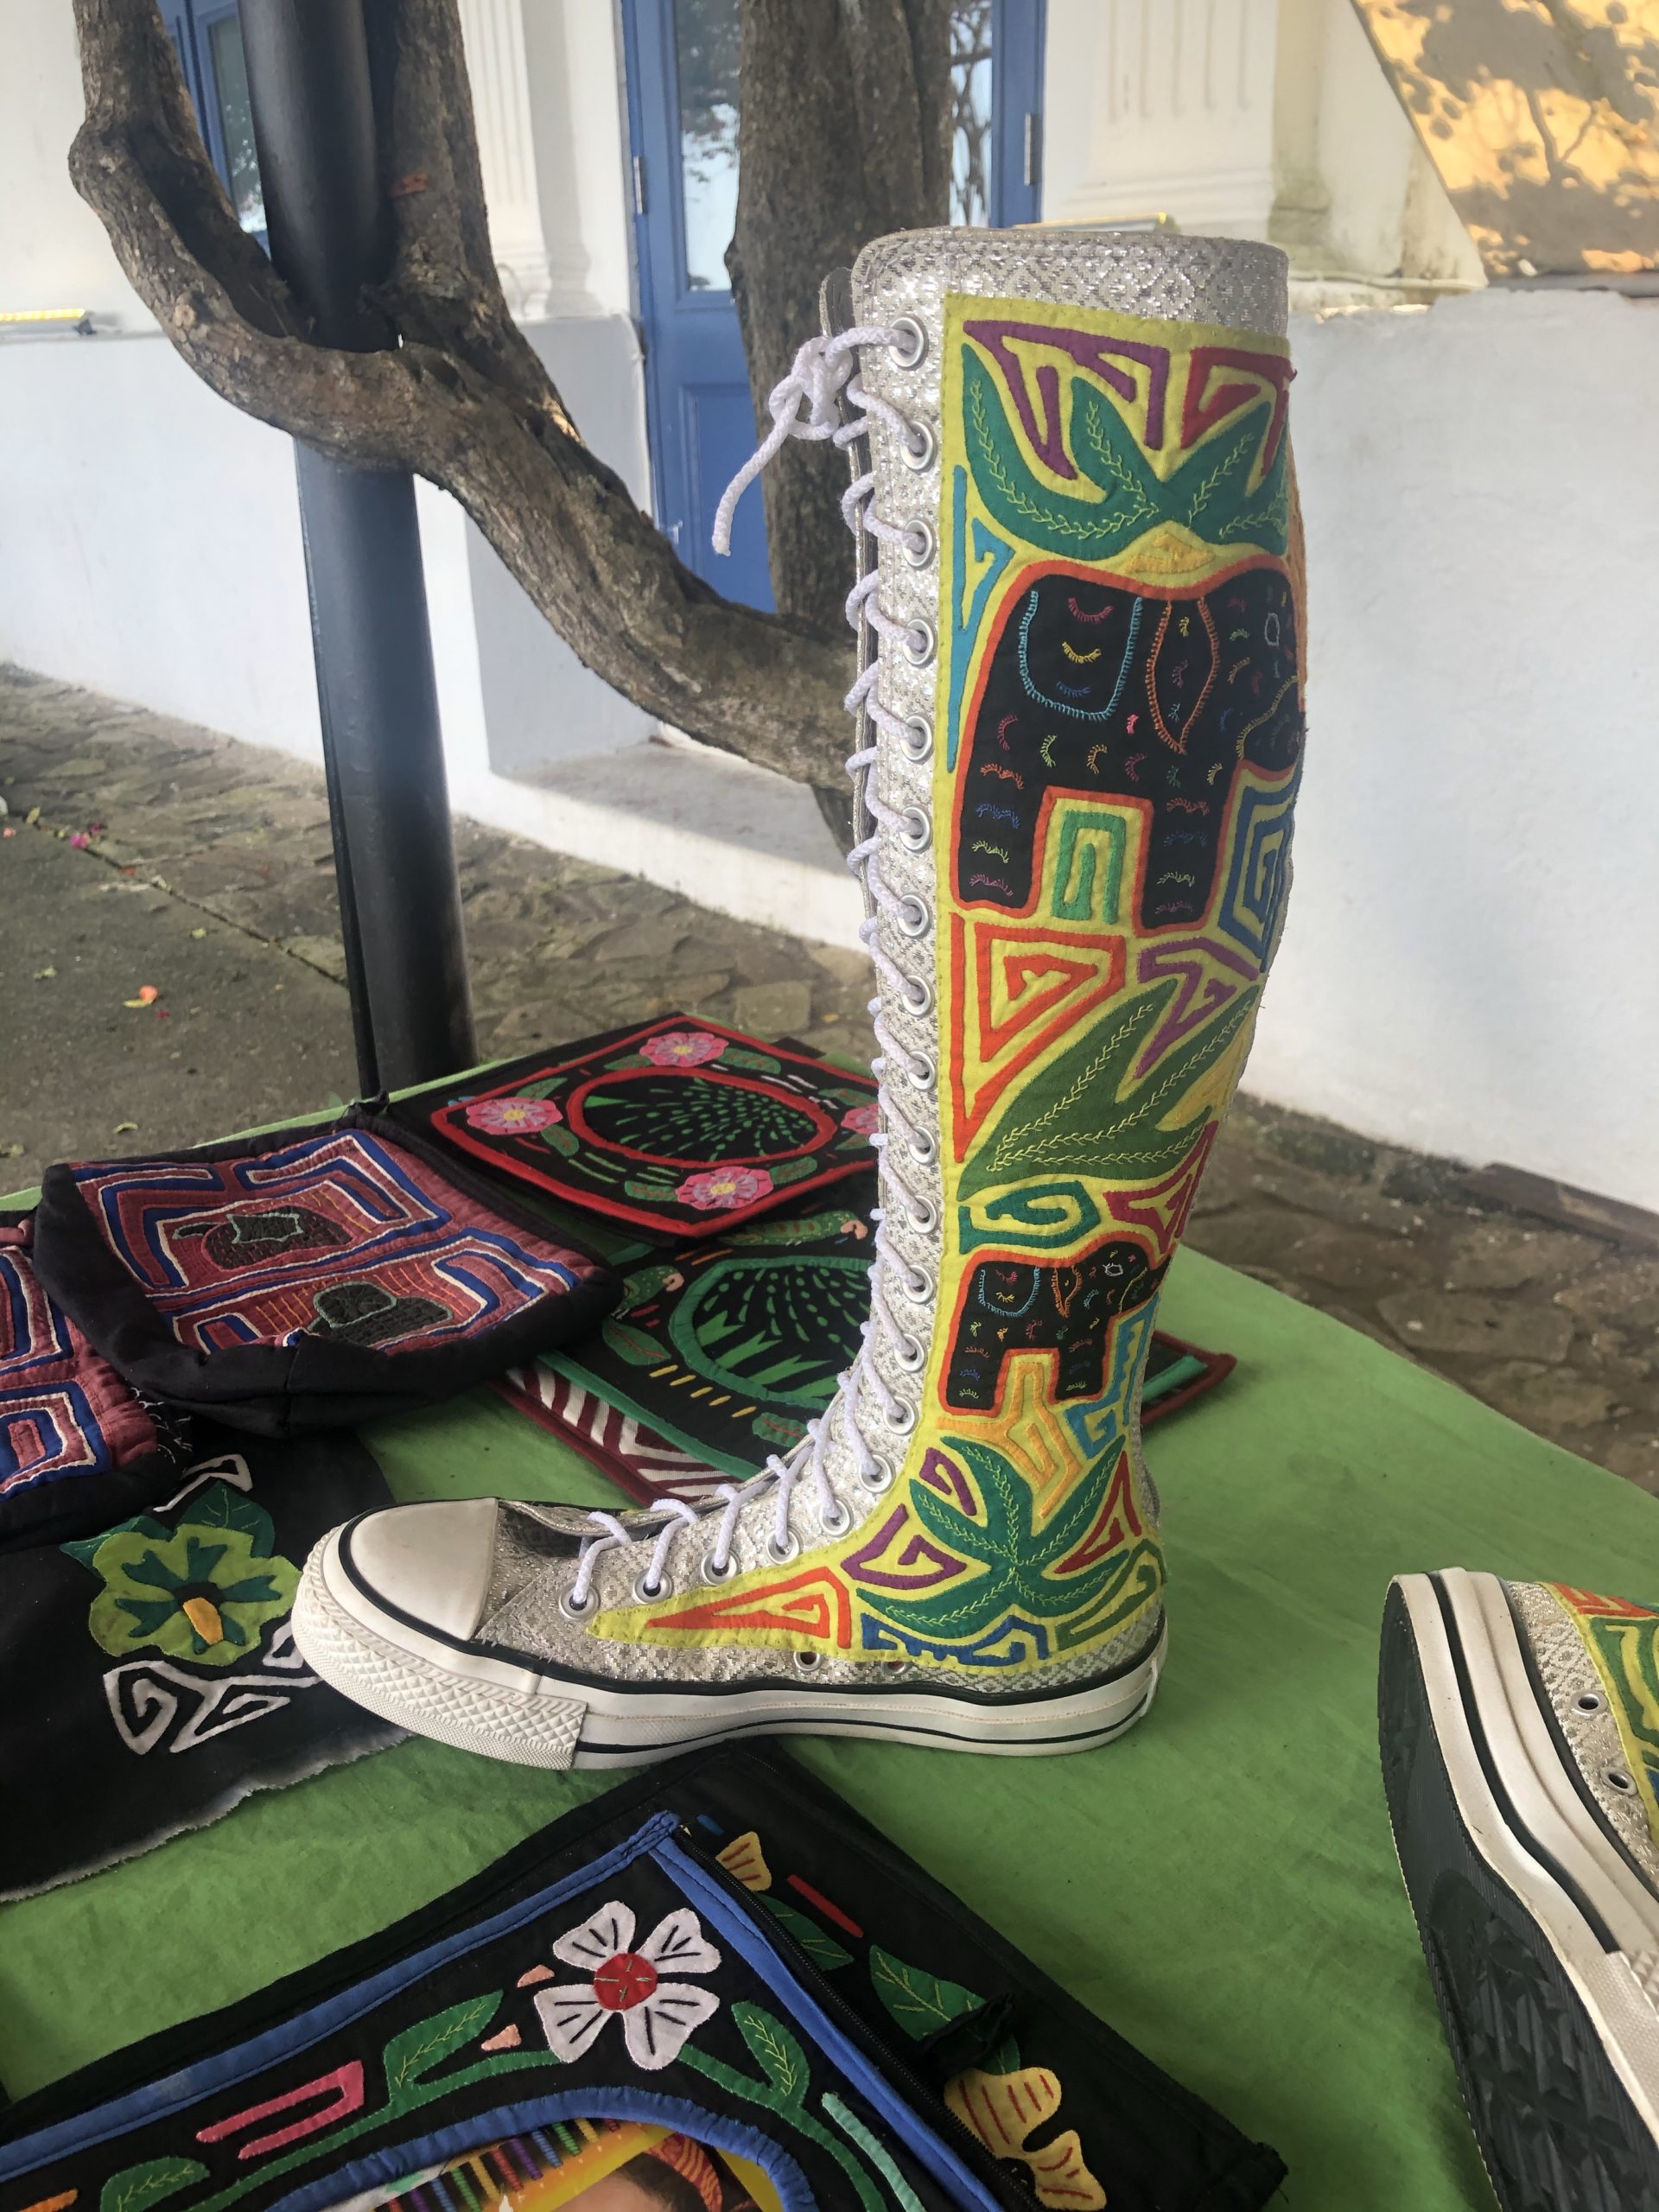
Wir begegnen noch einem Fahrradfahrer auf seinem Weg von Patagonien nach Alaska und sehen diese Schuhe zum Verkauf.
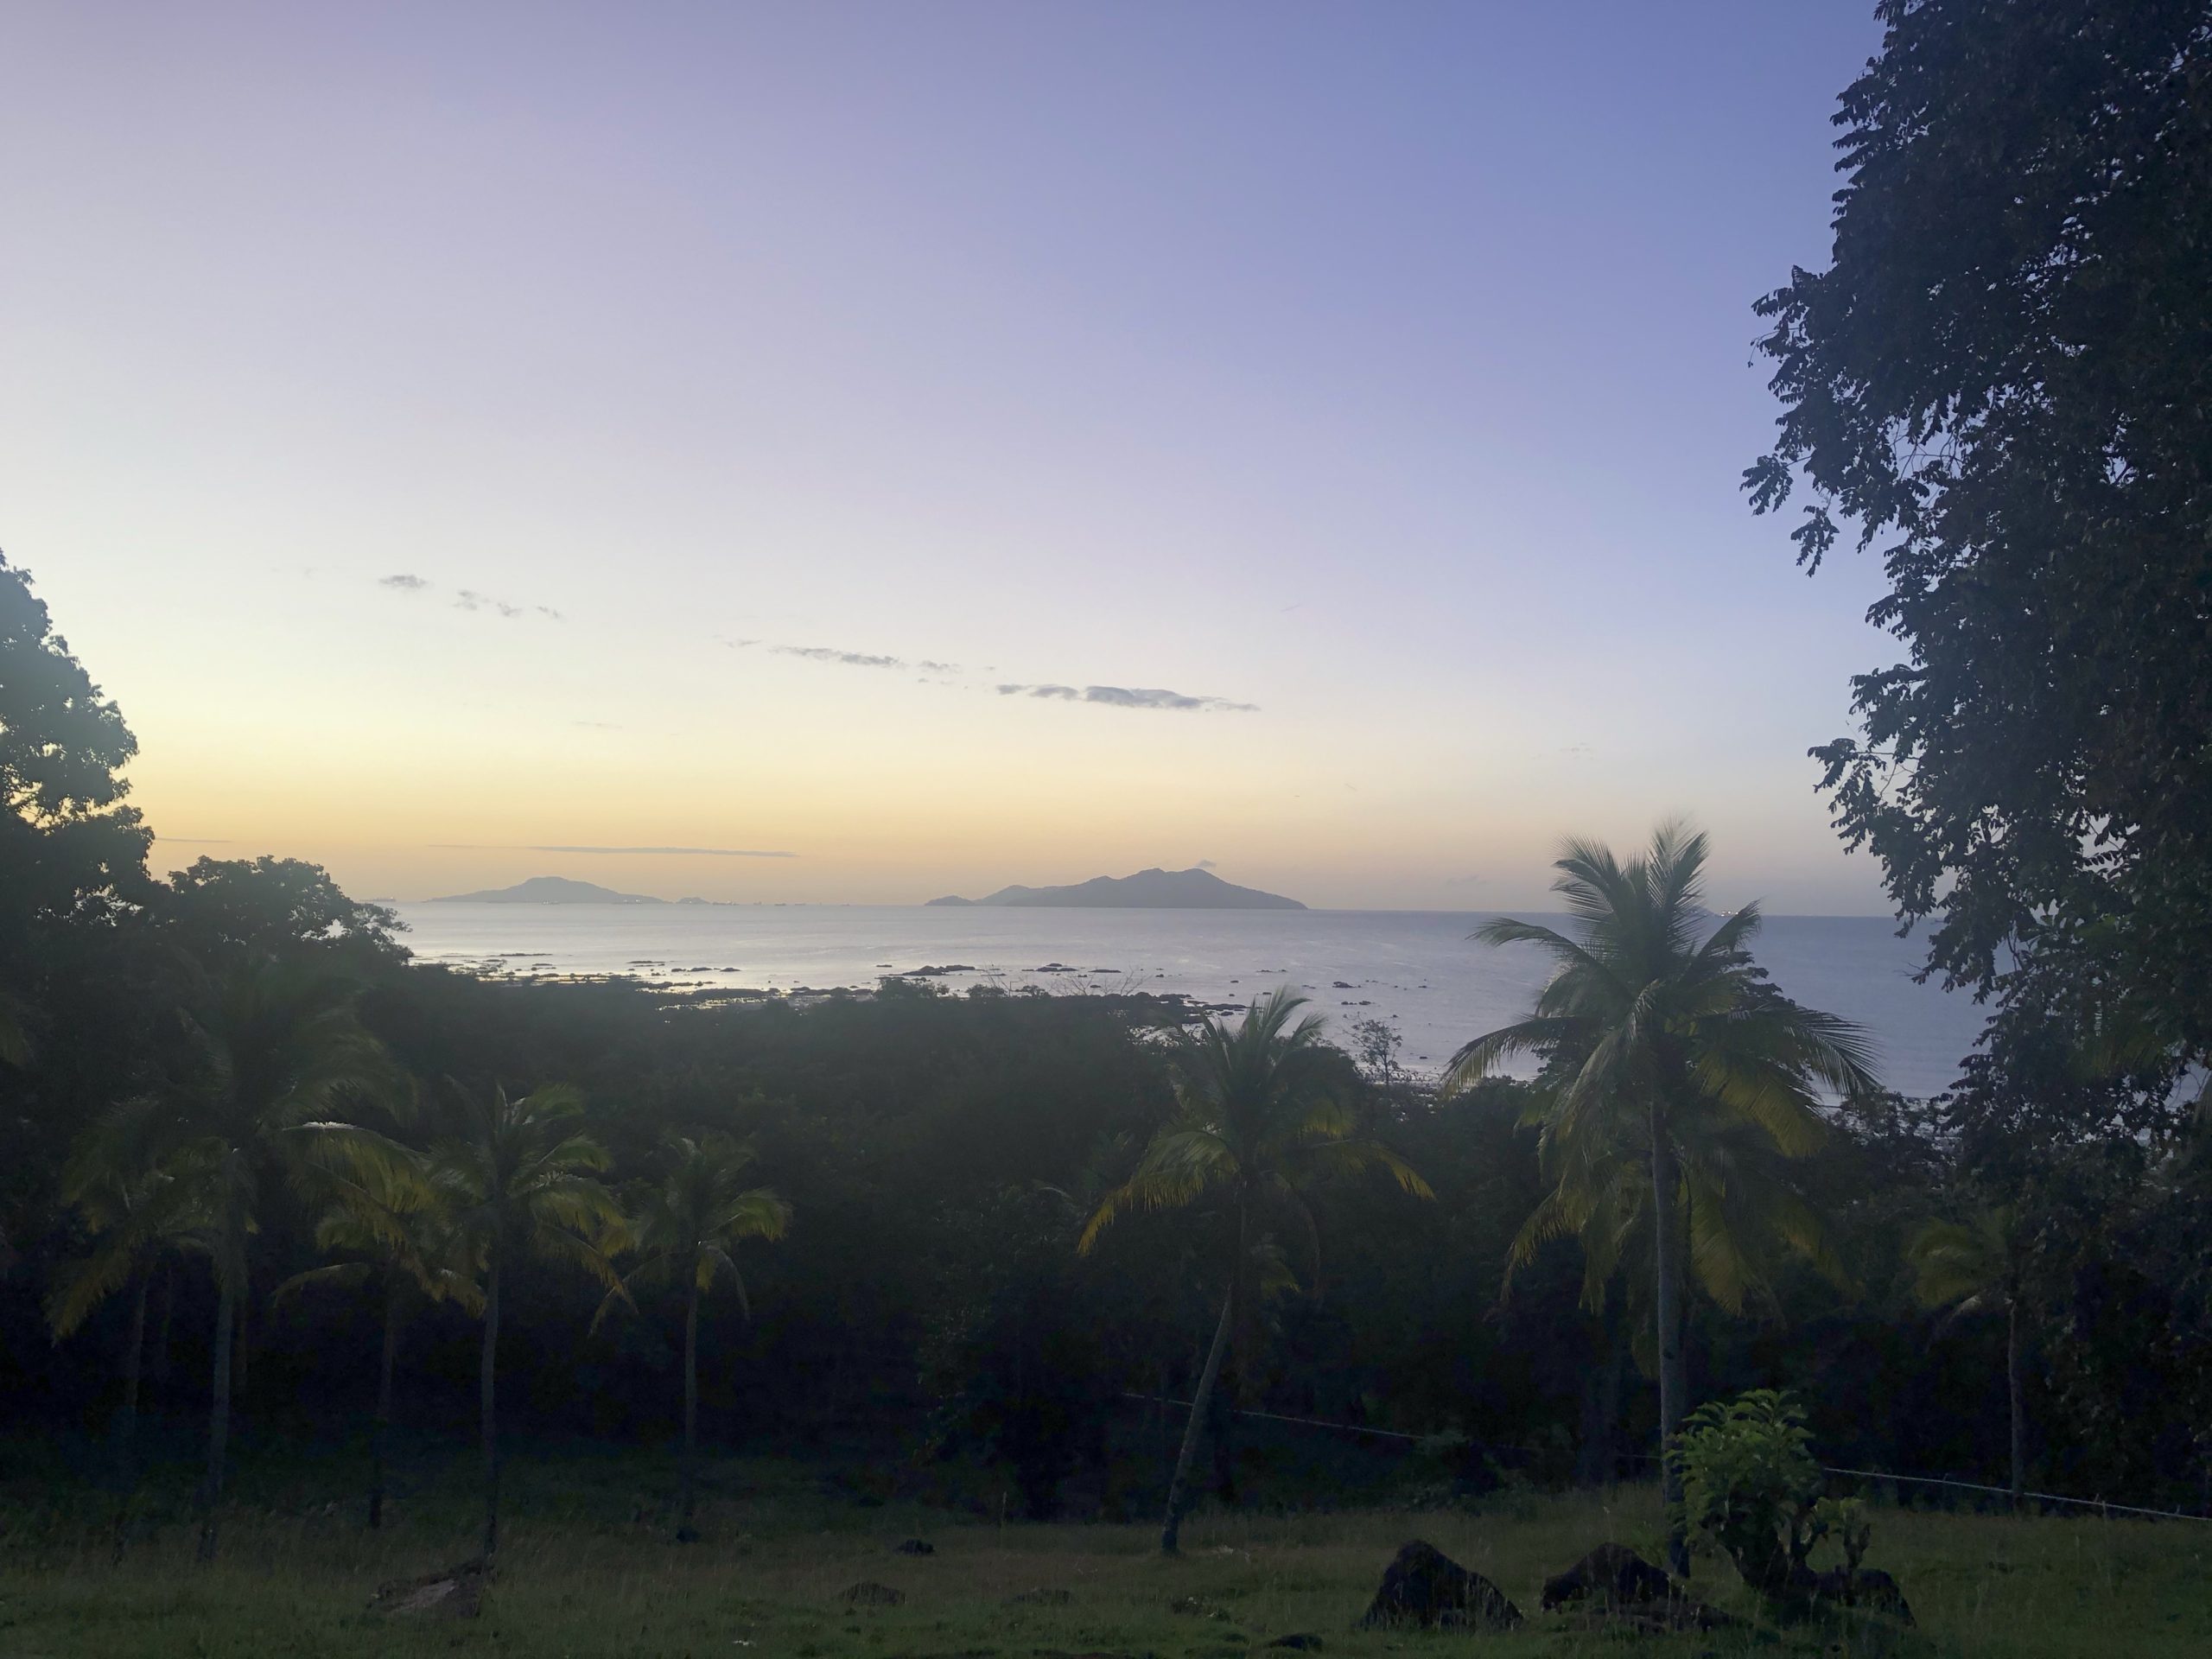
 Dann geht es an den Strand, in dessen Nähe Henrik wohnt.
Oder zumindest ein Ort, an dem Henrik wohnt. Er teilt sich nämlich sein Leben zwischen Veracruz (bei Panama City), Schweden, Medellin (da wohnt seine Frau die meiste Zeit) und dem Dschungel auf. Früher im Auftrag der Uno für Wald- und Biodiversitätsangelegenheiten unterwegs hat er es sich nun zur Aufgabe gemacht, Panama zu erhalten. Zumindest einen Teil, und so ist er unter anderem Besitzer eines zweier Waldstücke (200 und 700 Hektar) und einer Bergspitze. Er kennt sich hervorragend in Panamanischem Land-Besitzrecht aus und hat erst kürzlich vor dem obersten Gerichtshof gewonnen und damit verhindert, dass seine Bergspitze einem Steinbruch weichen muss.
Und auch sonst ist er auf Mission. Waldschutz, sagt er, ist Diplomatenarbeit. Viel mit den Leuten vor Ort reden, die Gesetzeslage erklären aber auch Leute auf seine Seite ziehen, um Übeltäter zur Strecke zu bringen. „Ich bin Catsitter“ sagt er, und meint damit dass die Pumas und Jaguare hier am Leben bleiben müssen. Bedroht durch Waldrodung (Für Rinderweiden) und Jäger (für traditionelle chinesische Medizin).
Aber langsam kommt Bewegung in die Sache. Die Gesetze wurden verschärft, es gibt neue Konzepte. „Mit den Leuten reden hilft immer noch am meisten“.
Und so fahren wir nach einer wundervoll ruhigen Nacht in einer Villa am Meer, auf die Henrik nebenher gerade aufpasst, und einem noch tolleren Sonnenaufgang in die Berge.
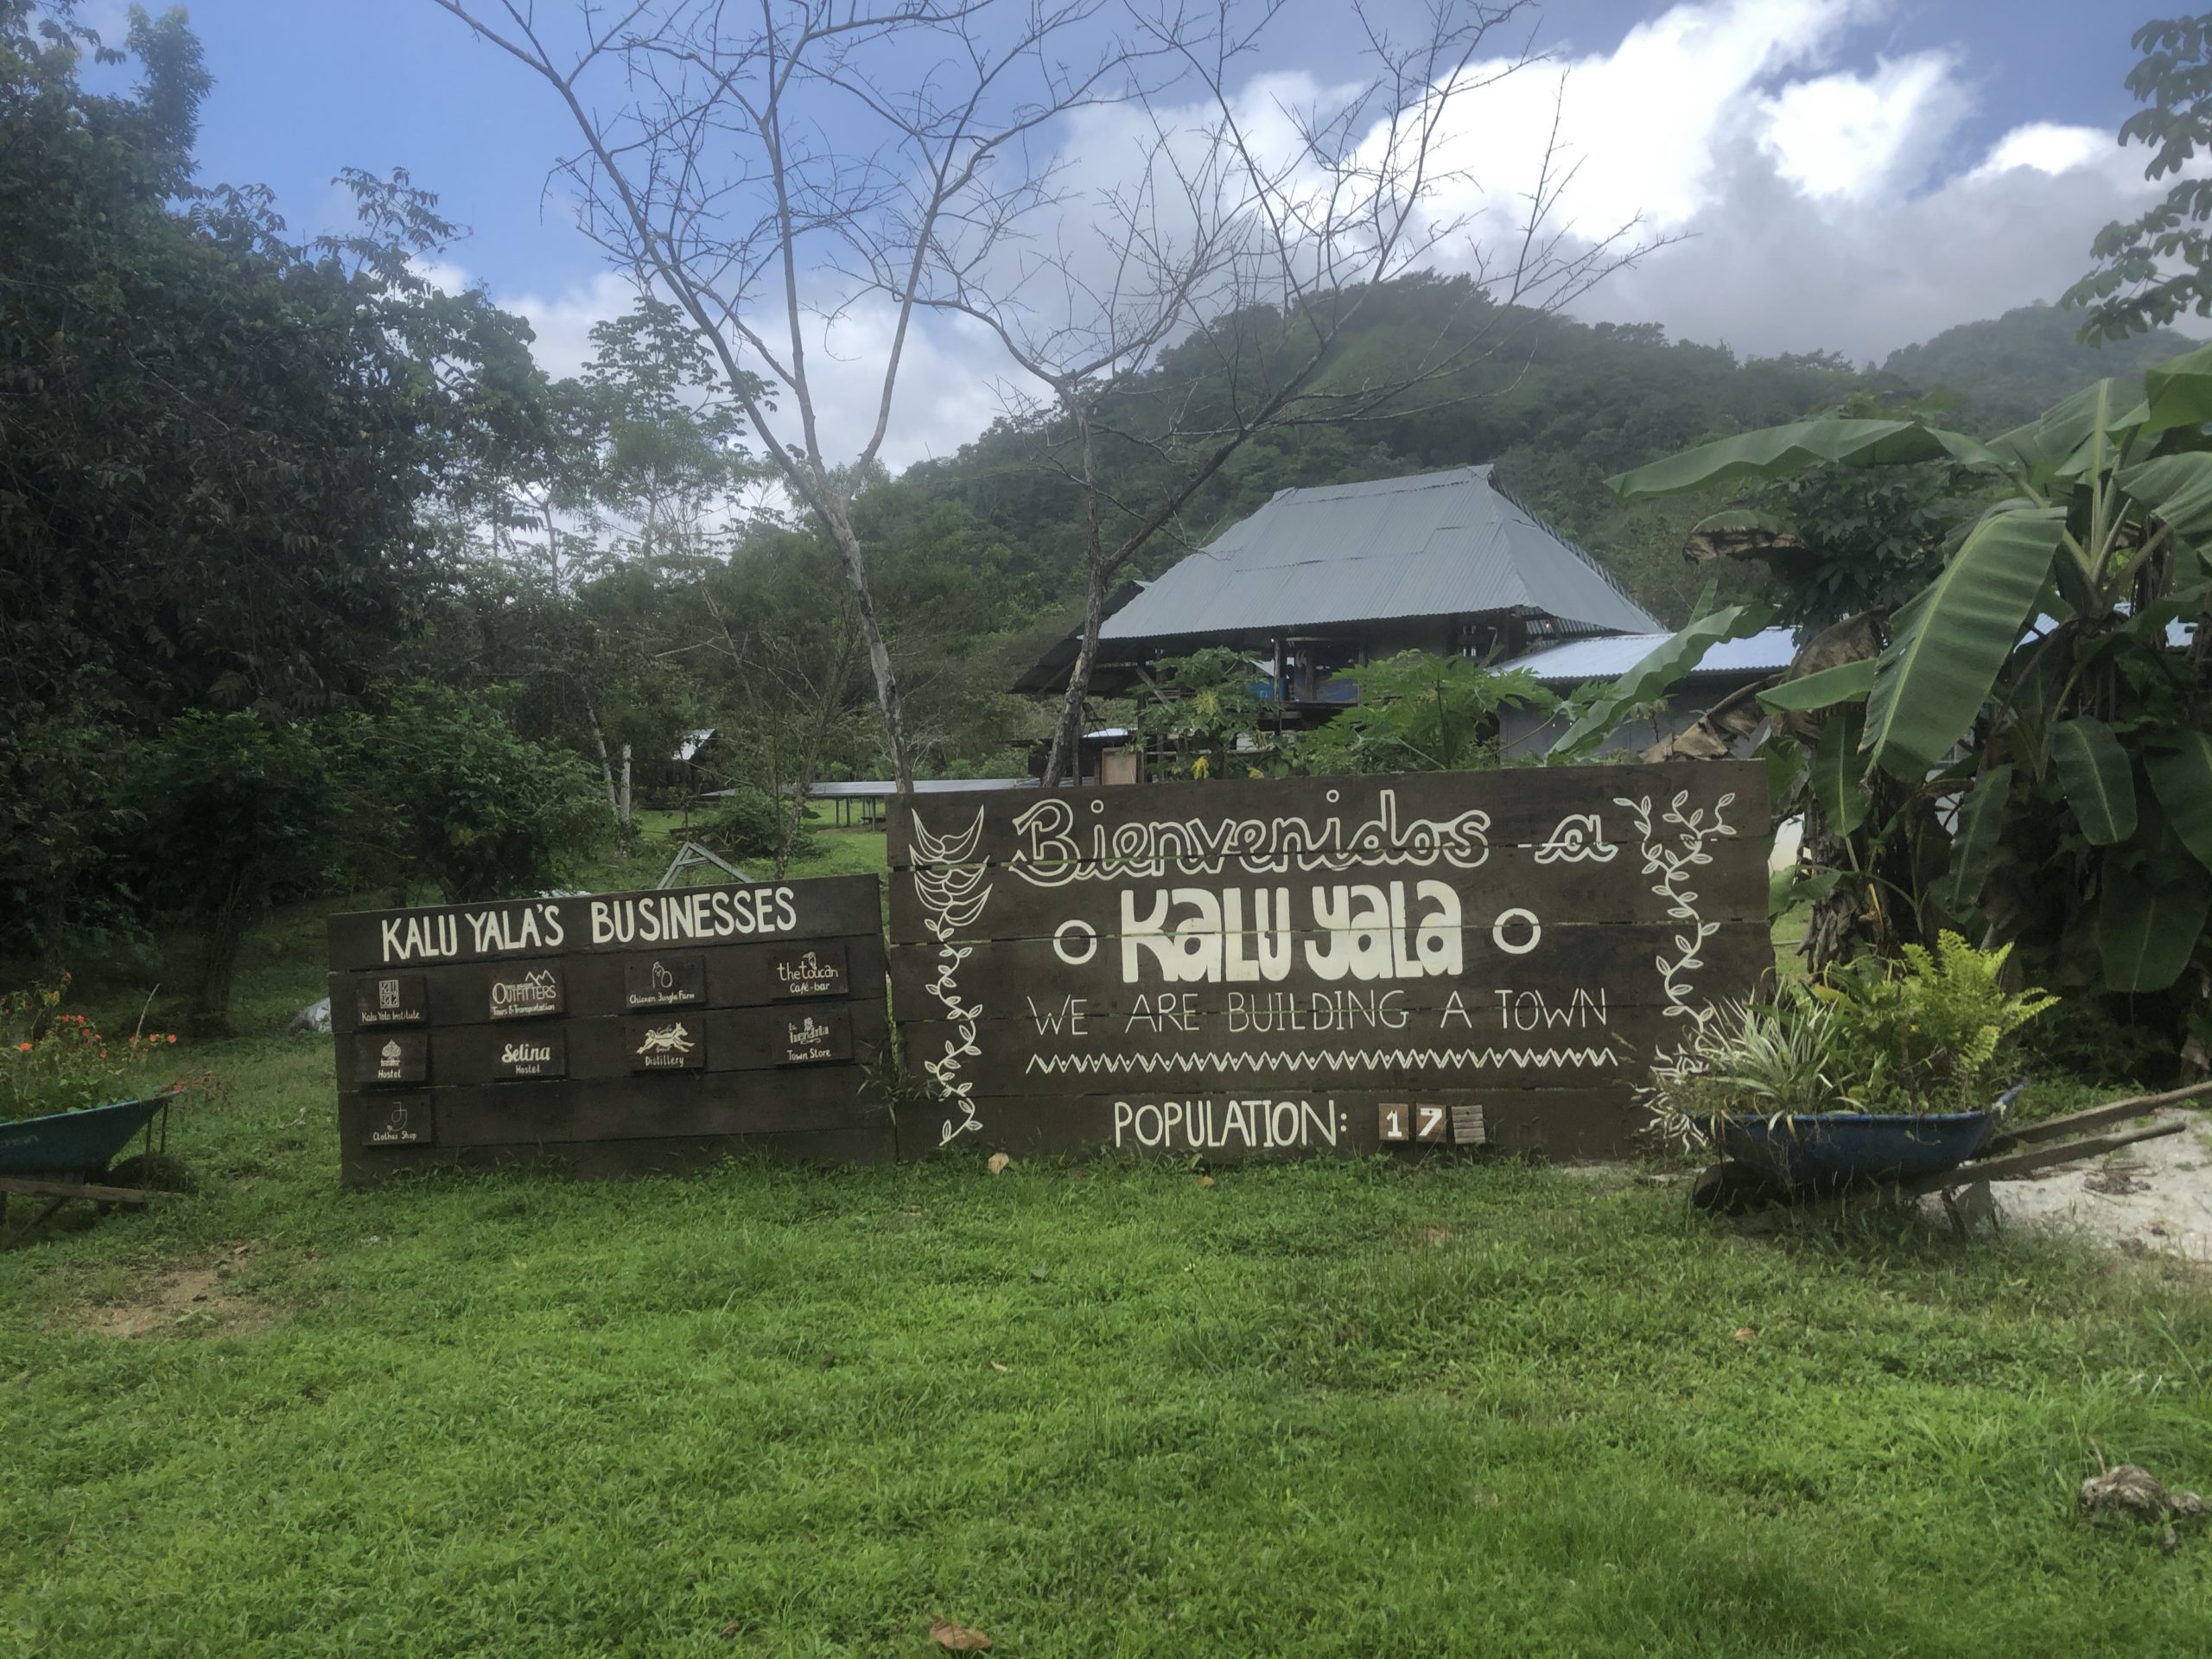
Kalu Yala ist ein Ökodorf nur unweit von Henriks 200-Hektar-Waldstück. Ein Ort an dem junge Student*innen forschen und Backpacker wandern können. Ein Renaturierungsprojekt wo auf ehemals gerodetem Land wieder Bäume wachsen. Wo Obst und Gemüse angebaut wird, wo abends an der Bar Bier getrunken und nachmittags in Hängematten abgehangen, oder eben gearbeitet wird.
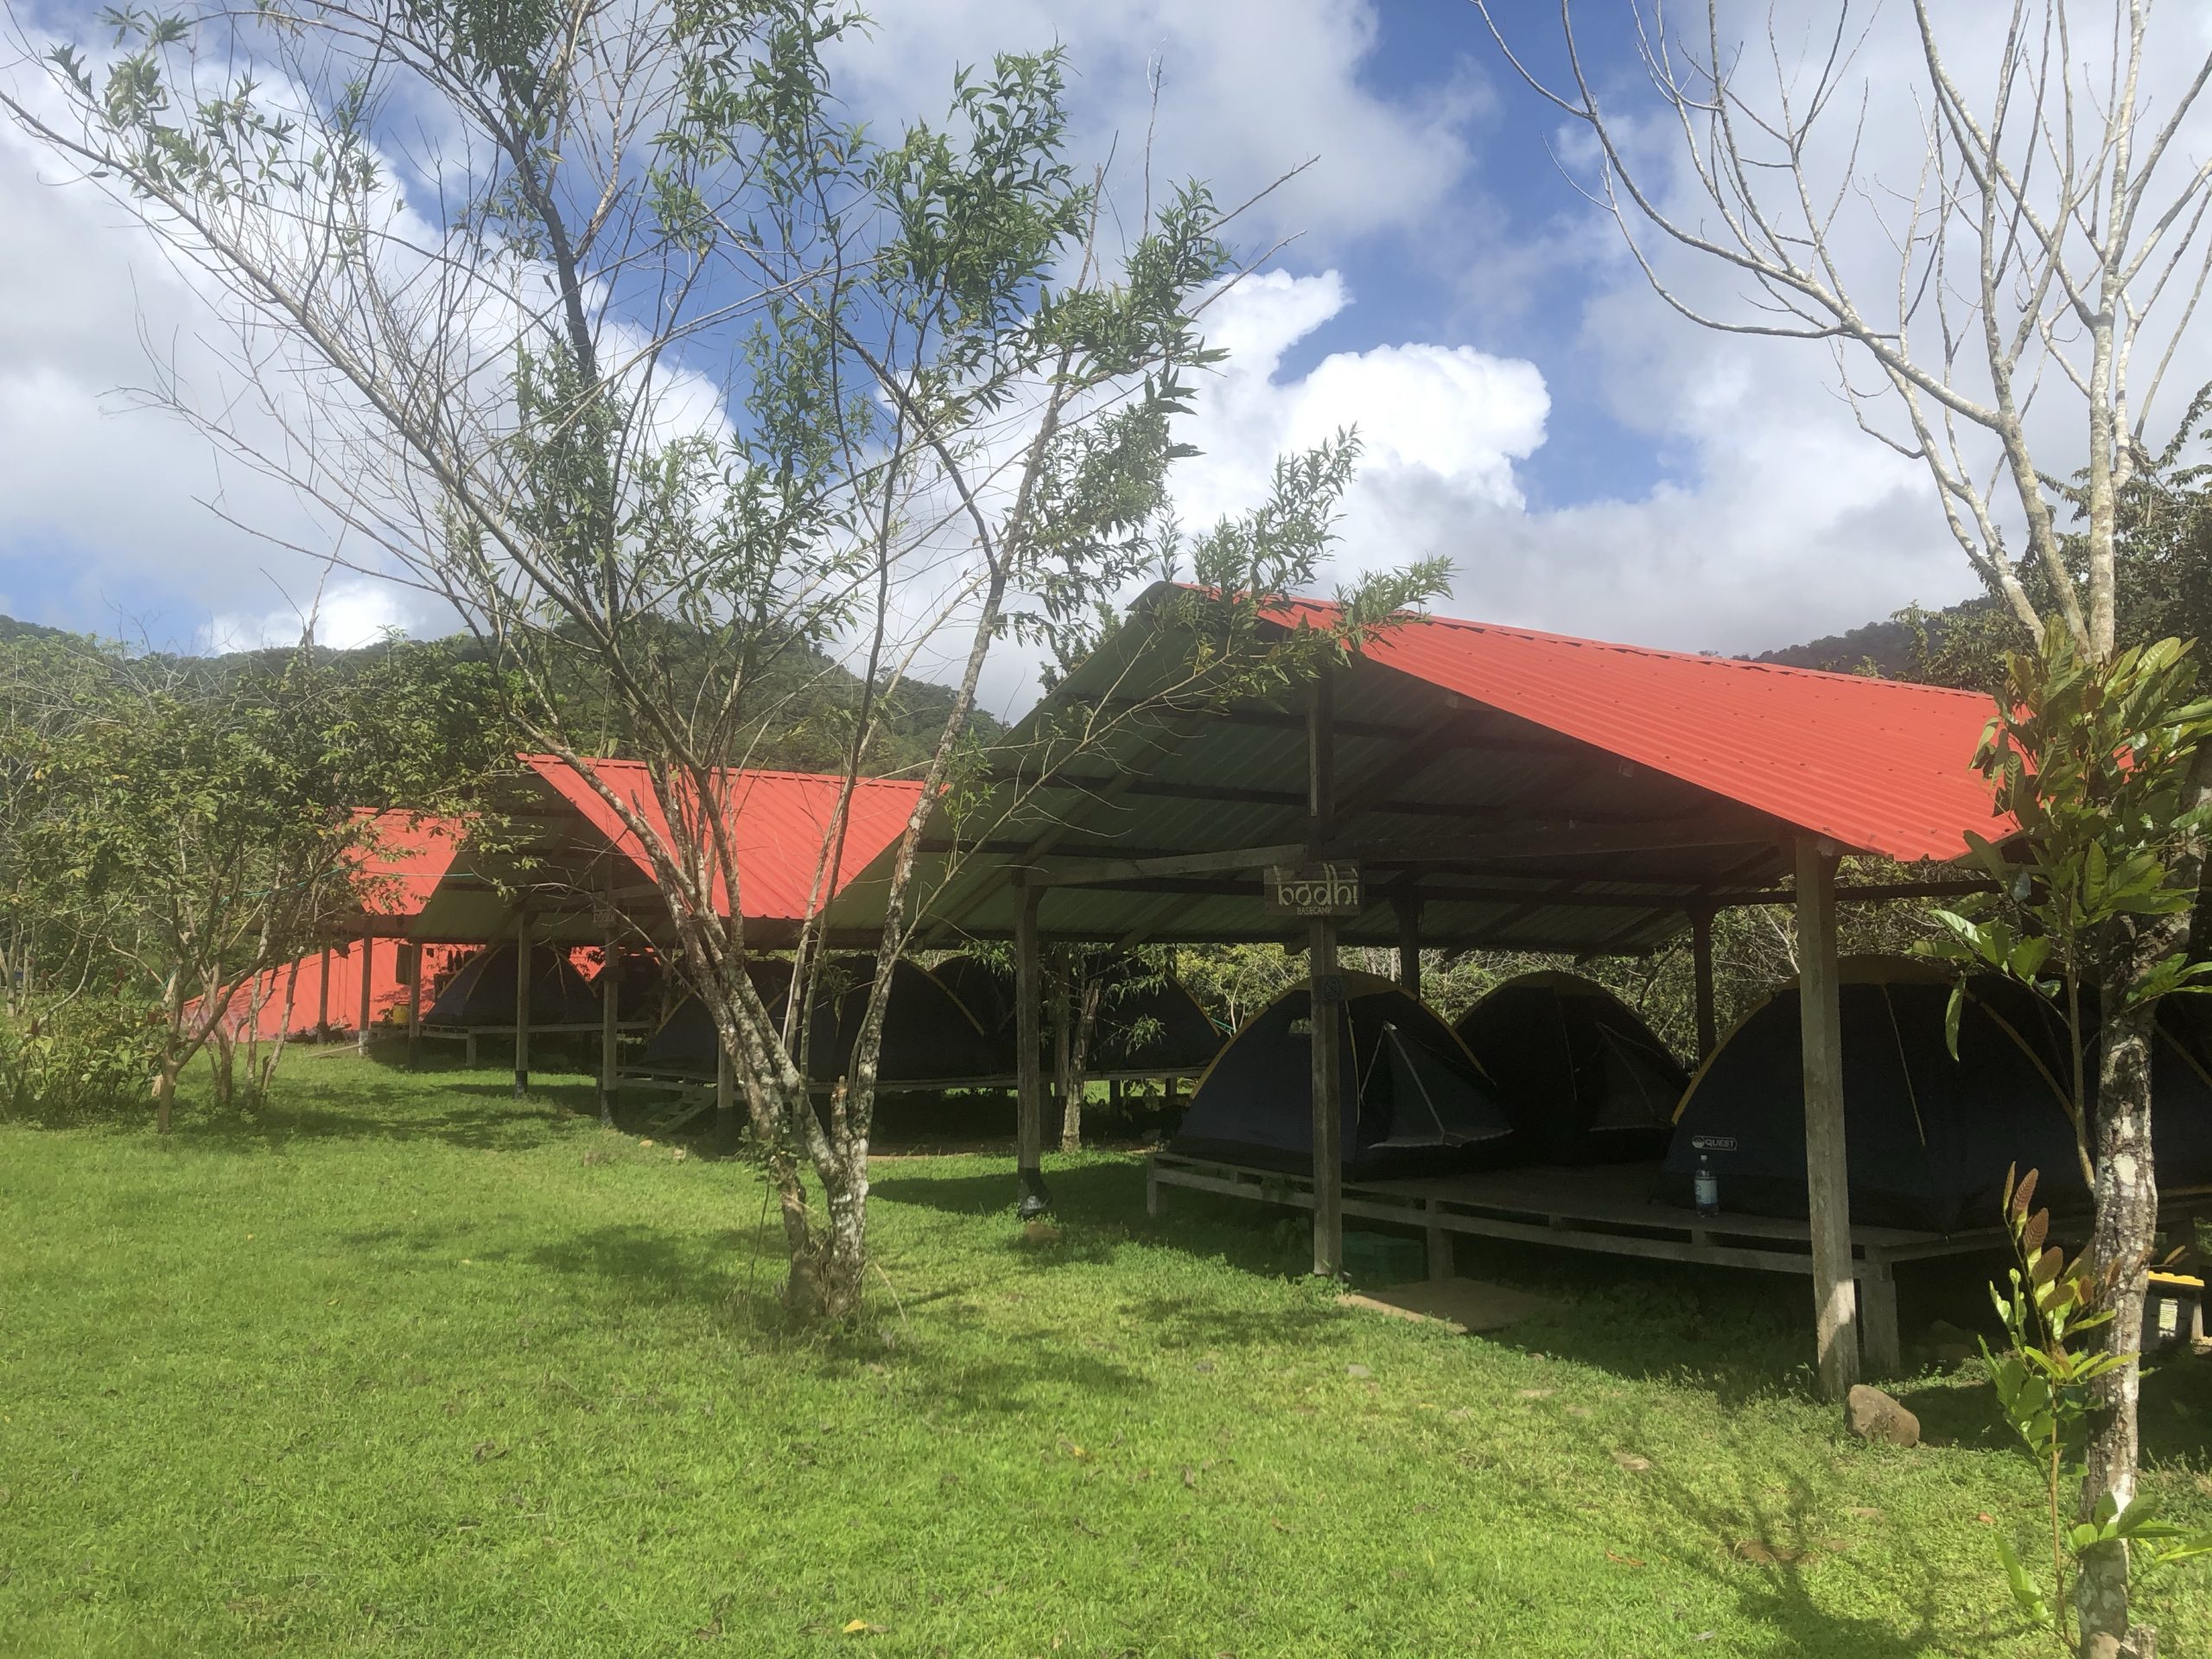
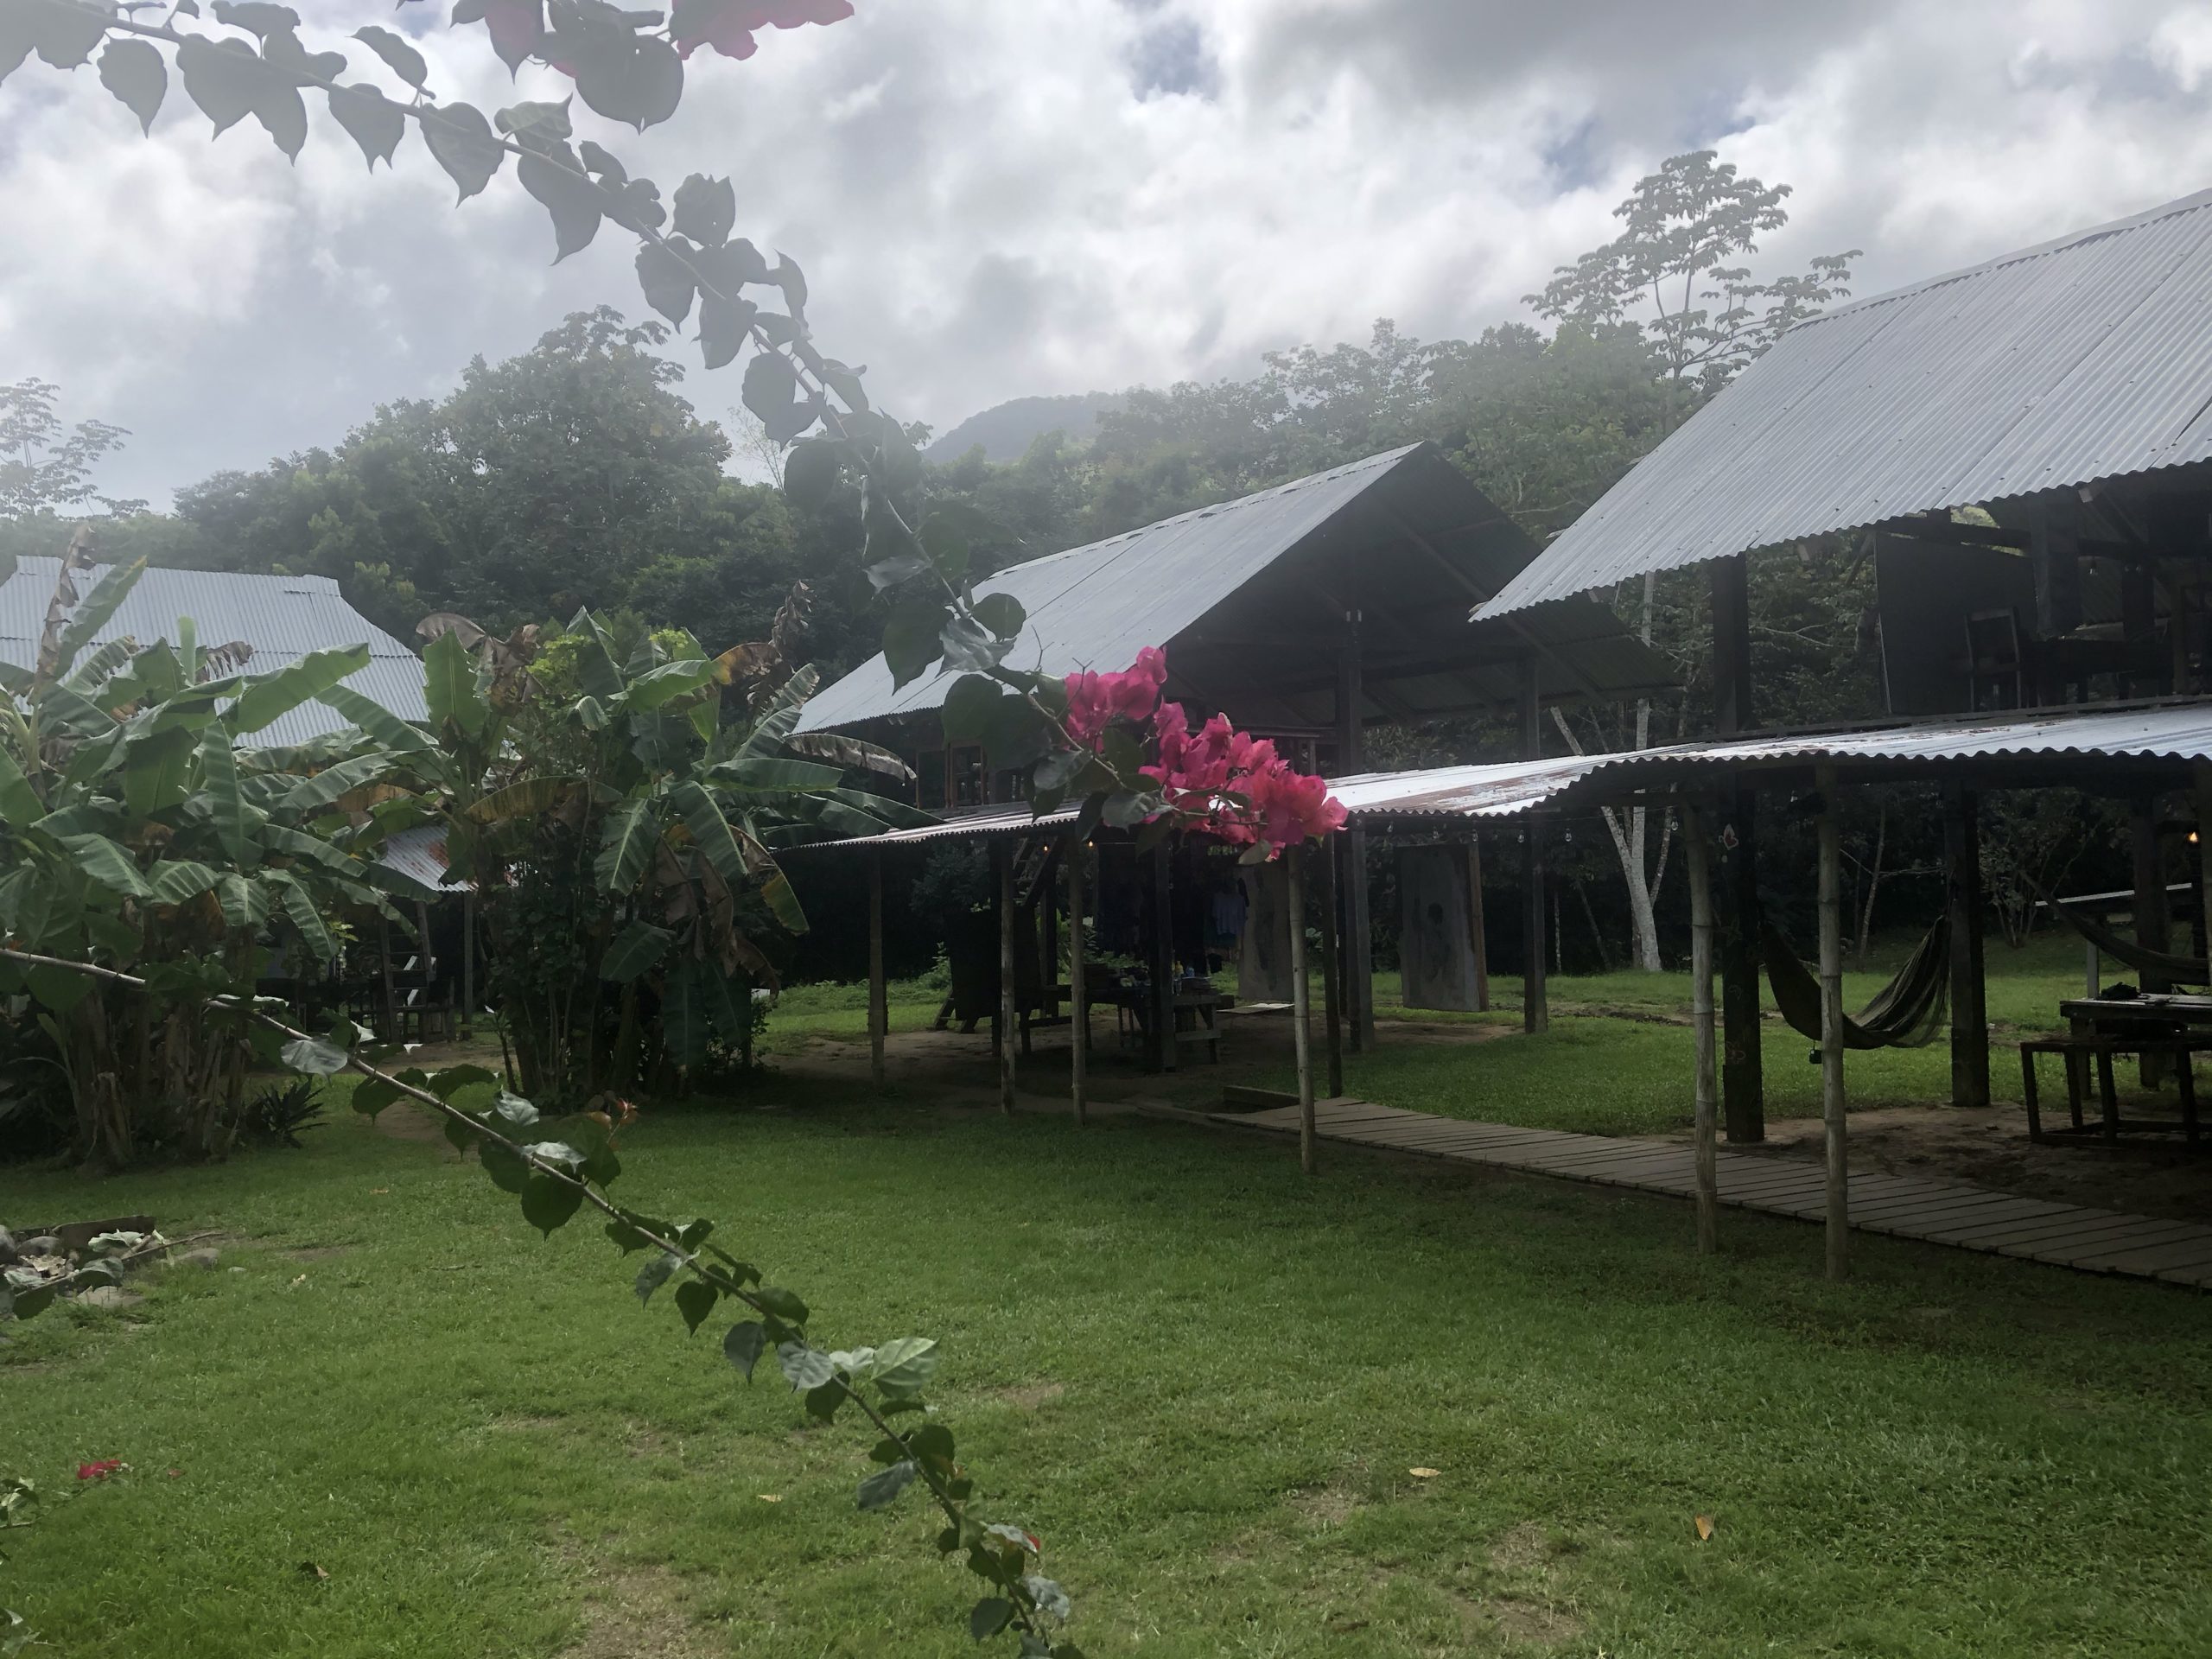
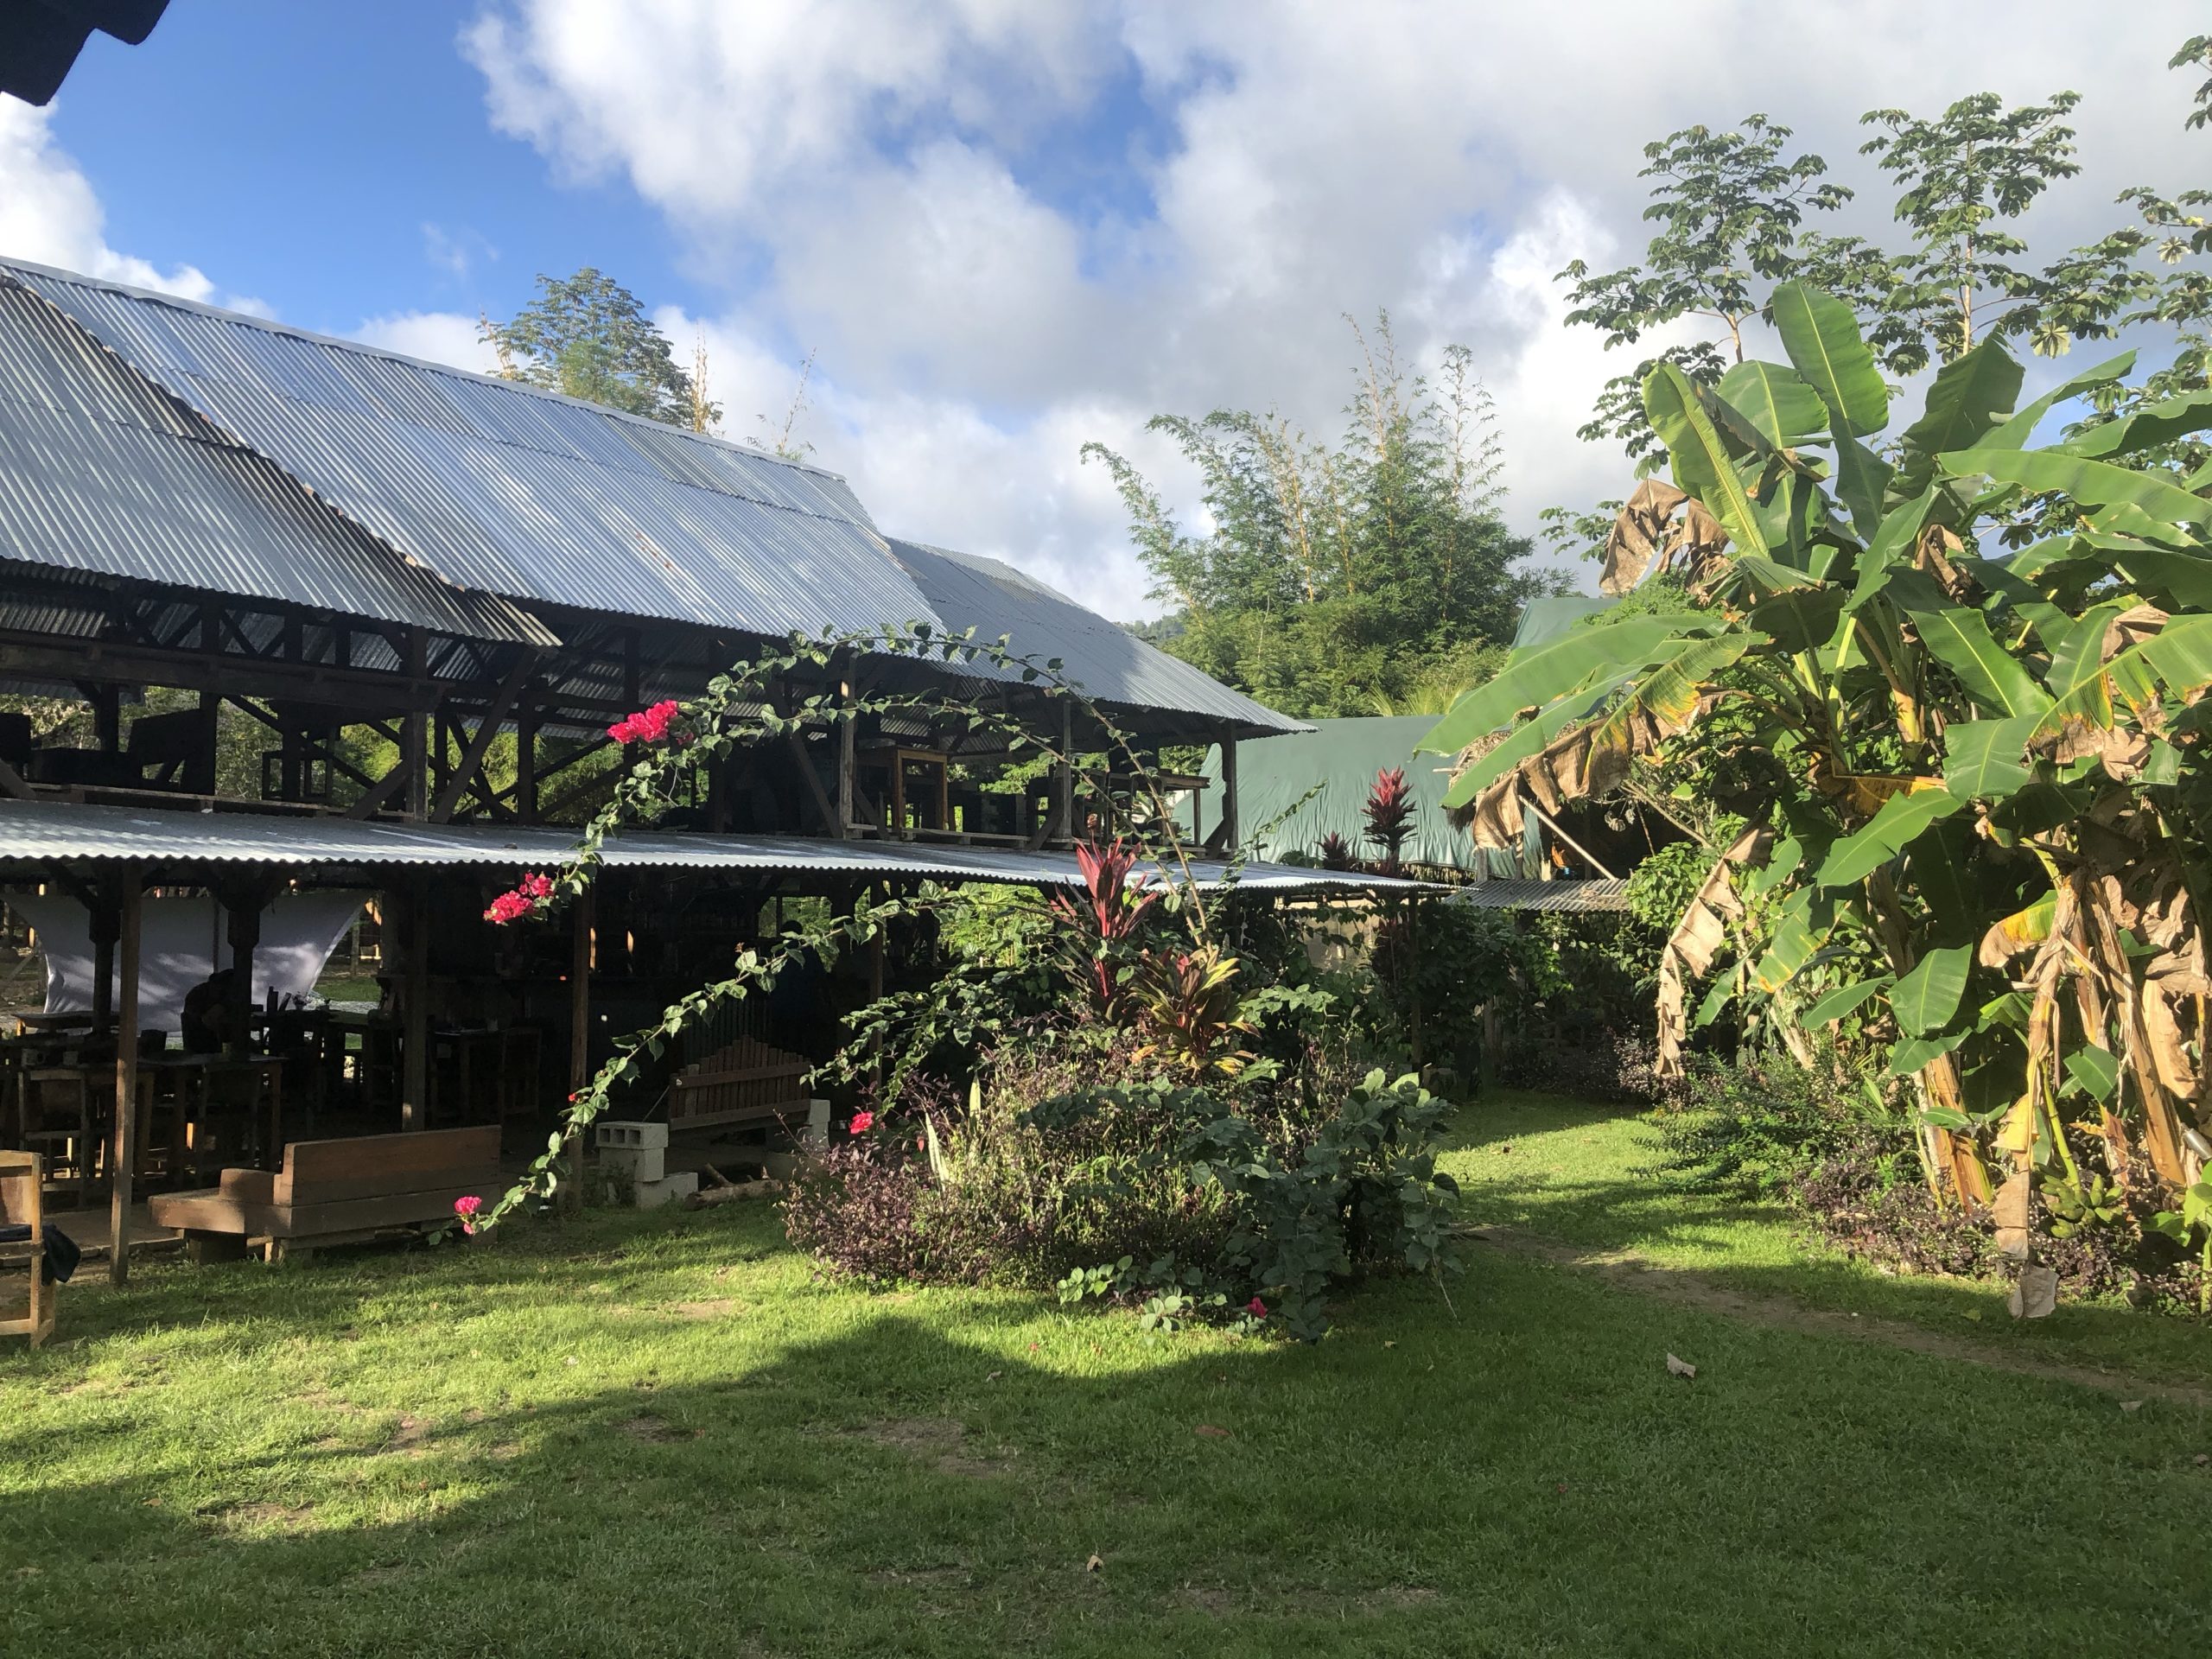
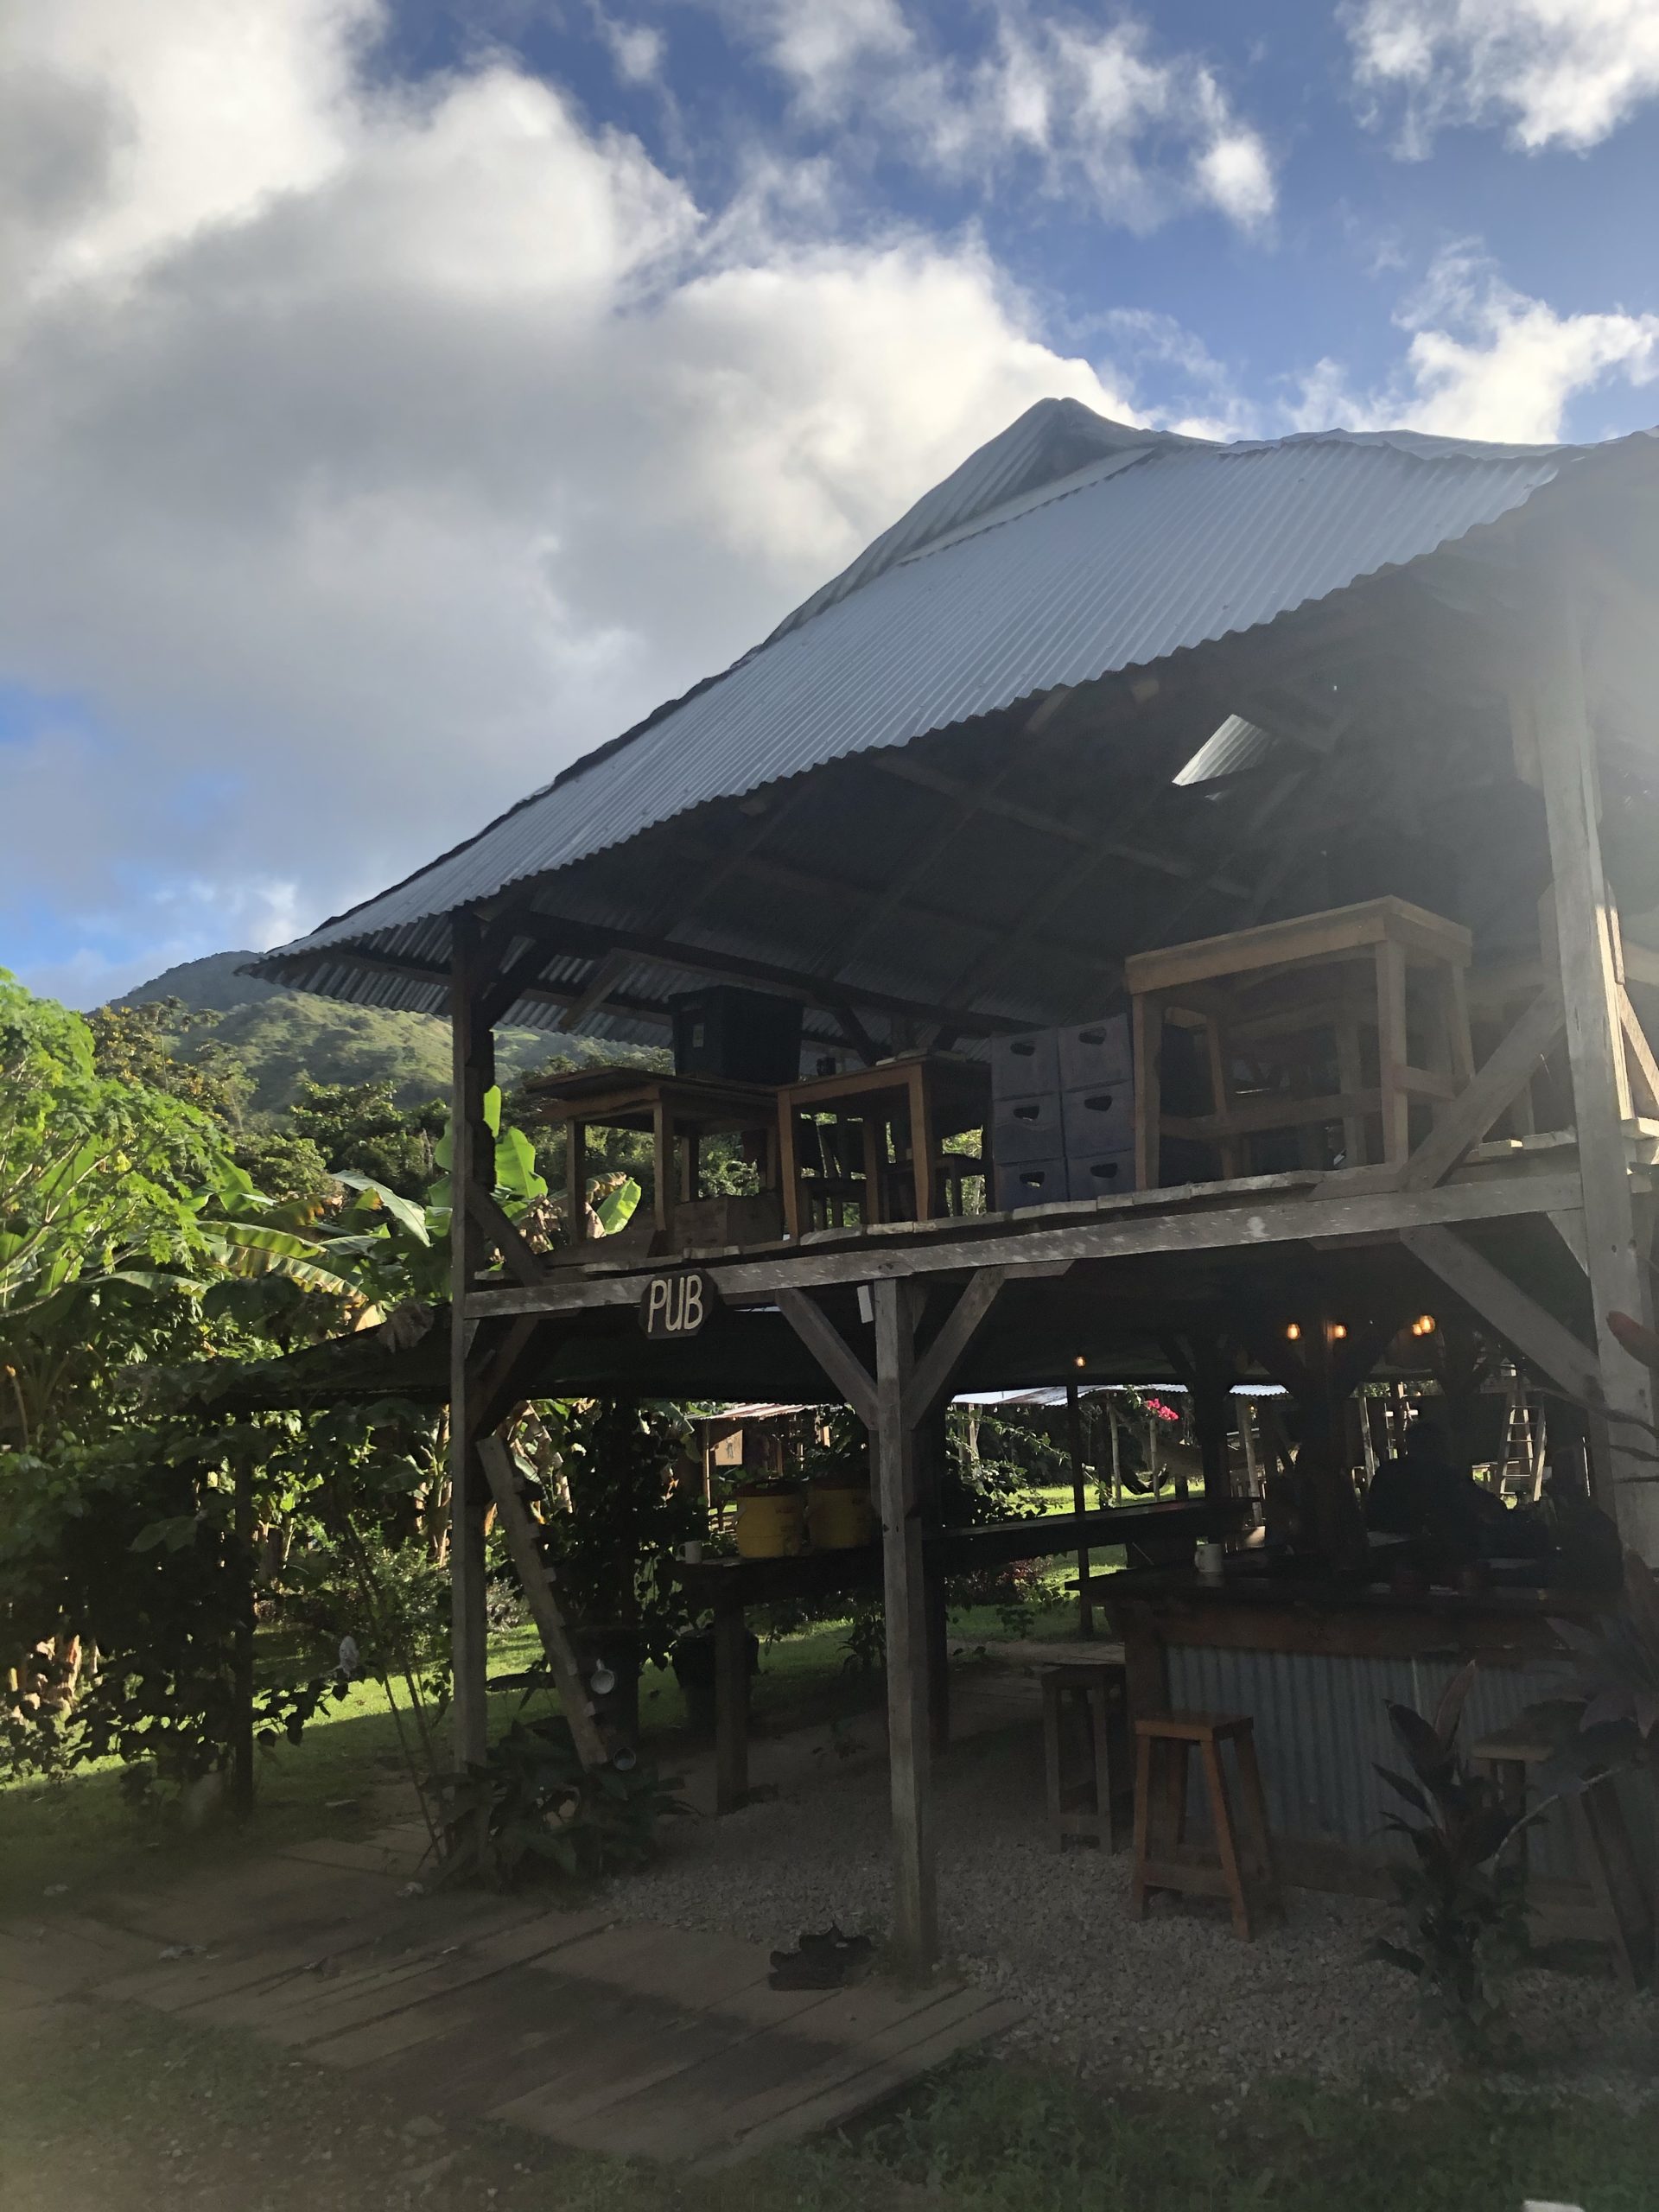
Eigentlich wollten Henrik und ich auf den Berg. Sehen ob alles in Ordnung ist. Drohne steigen lassen und gucken, ob es Rodungen gab. Aber es kommt anders.
Berichte von Schüssen in letzter Zeit bedeuten, dass er zu den Nachbarn muss. Reden. Rausfinden wer hier ohne Genehmigung auf Jagd geht. Viel Kaffee trinken, mit Leuten reden, beiläufig Infos kriegen. Weiterforschen und die kürzlich gegründete Eco-Police informieren.
Ich hingegen gehe mit einem holländischen Touristen einen Bachlauf entlang wandern, bis wir schliesslich zu einem kleinen Naturpool kommen.
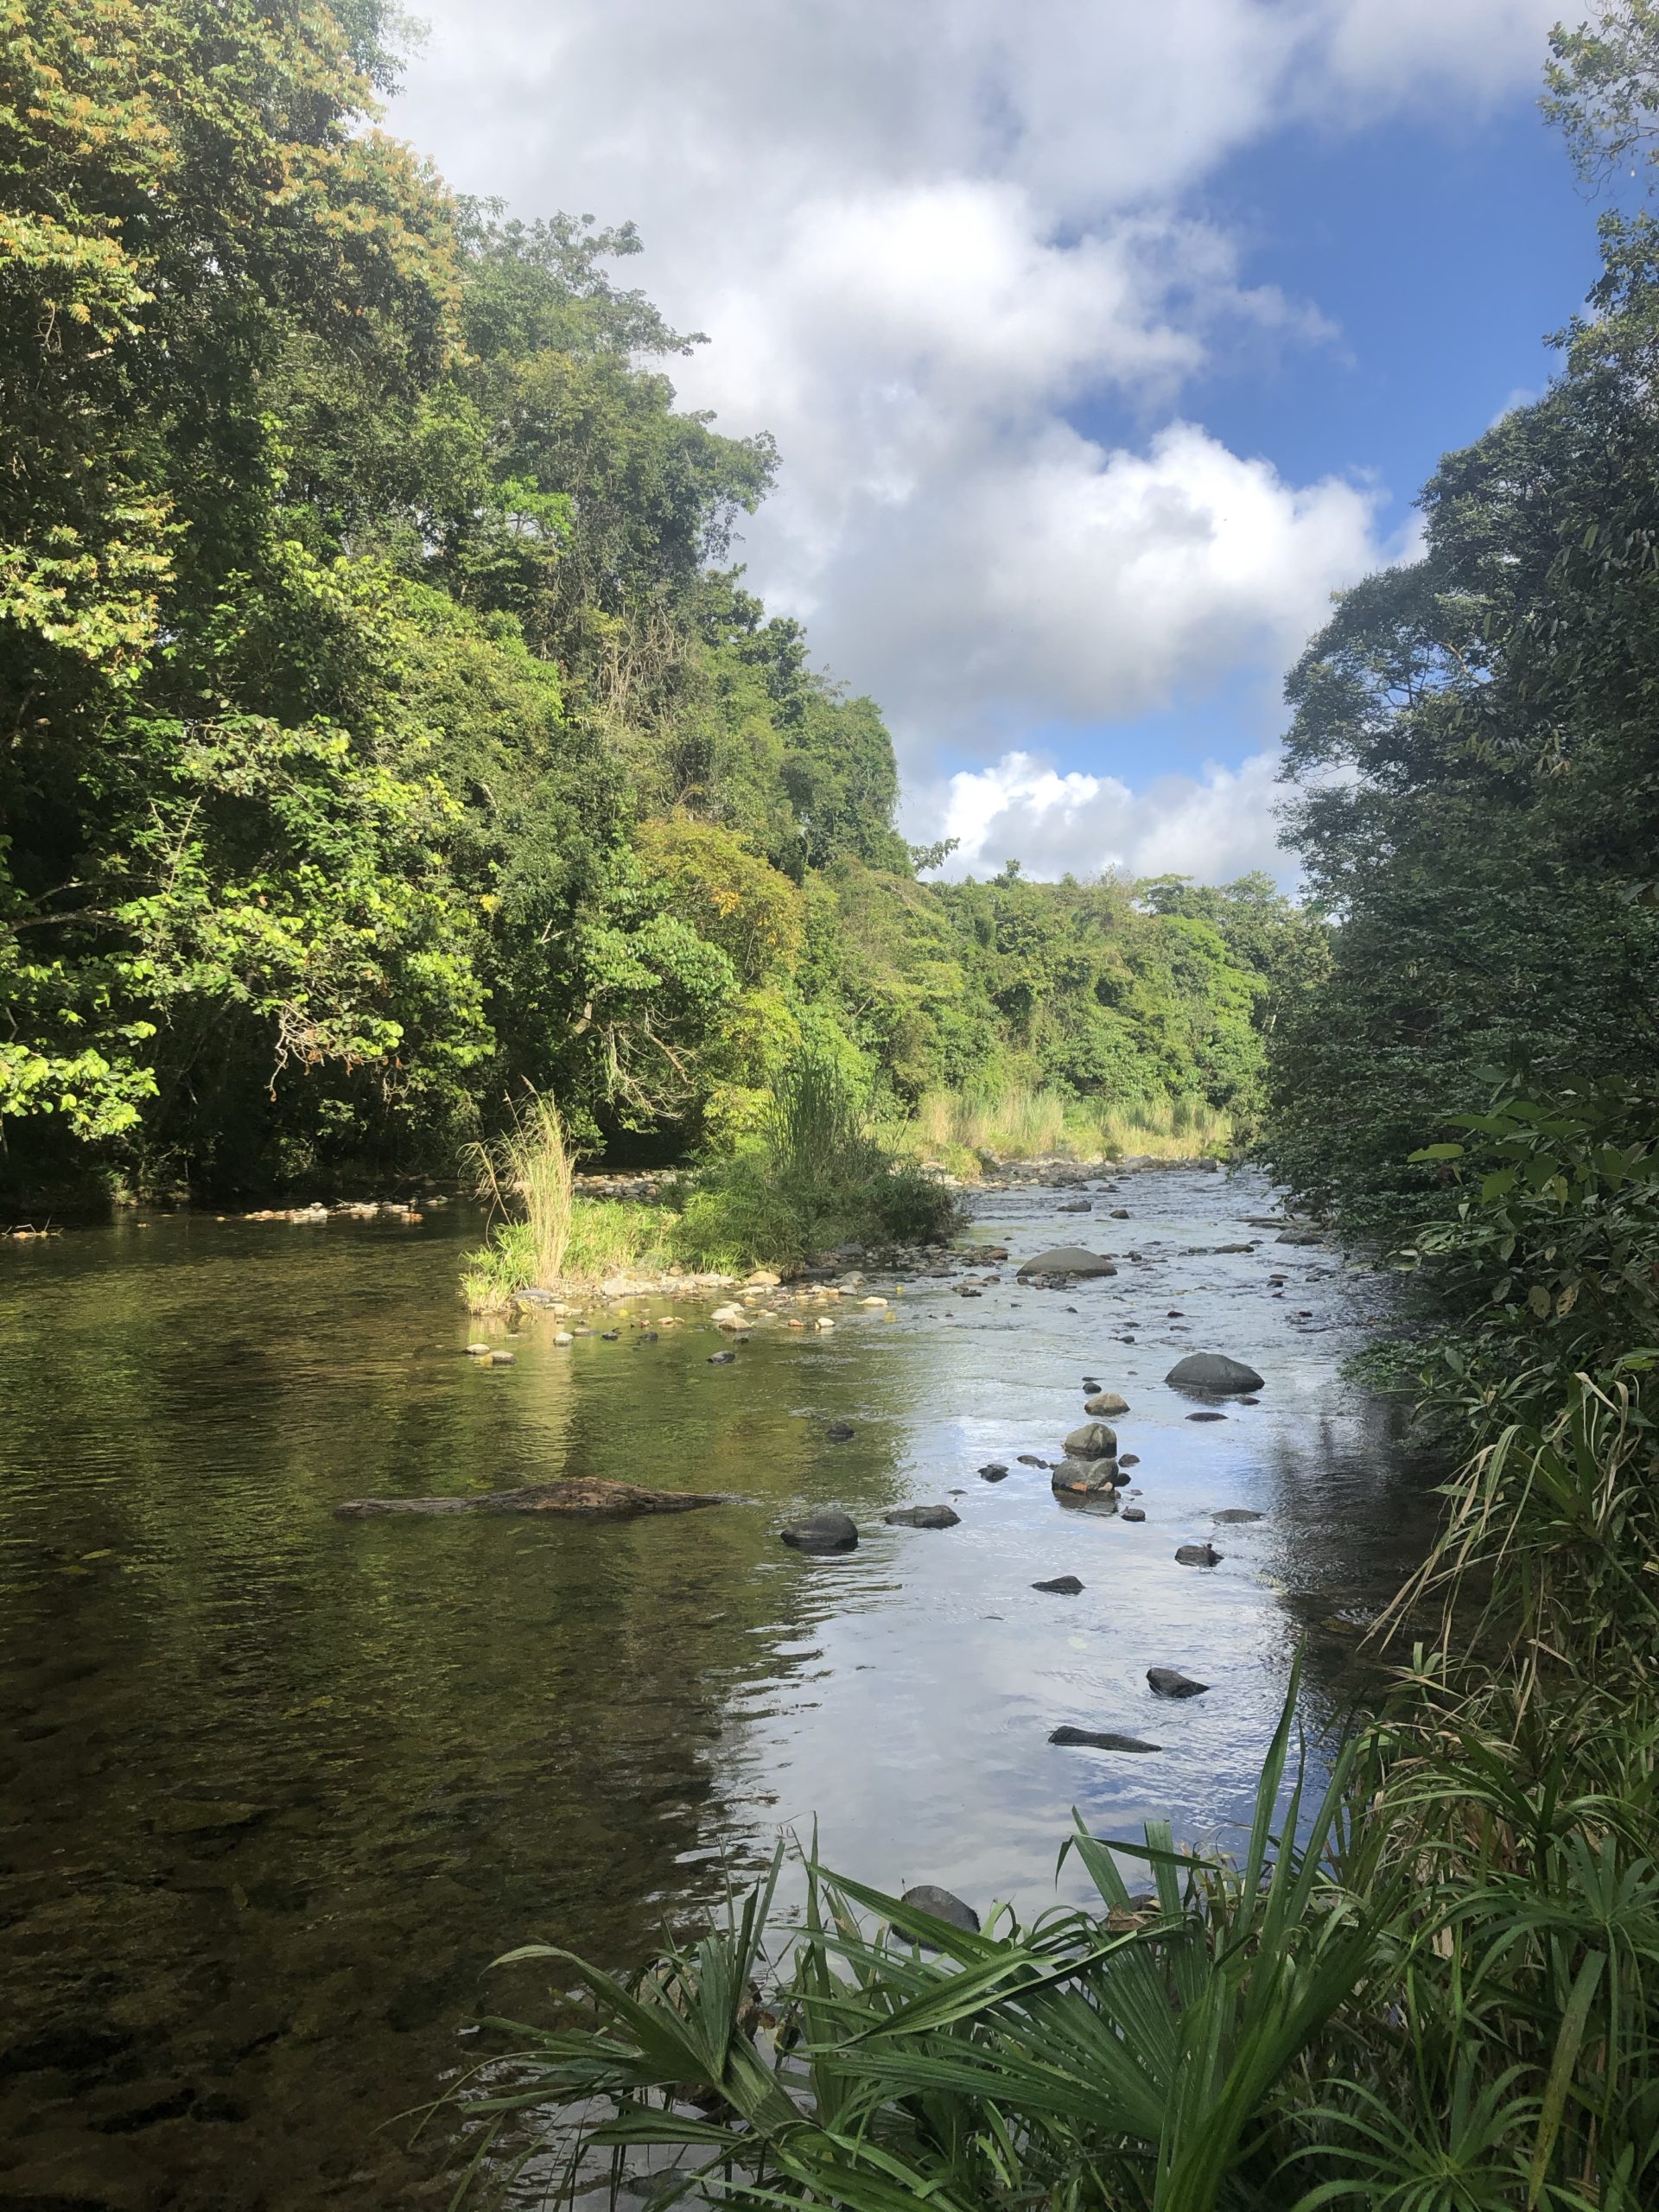
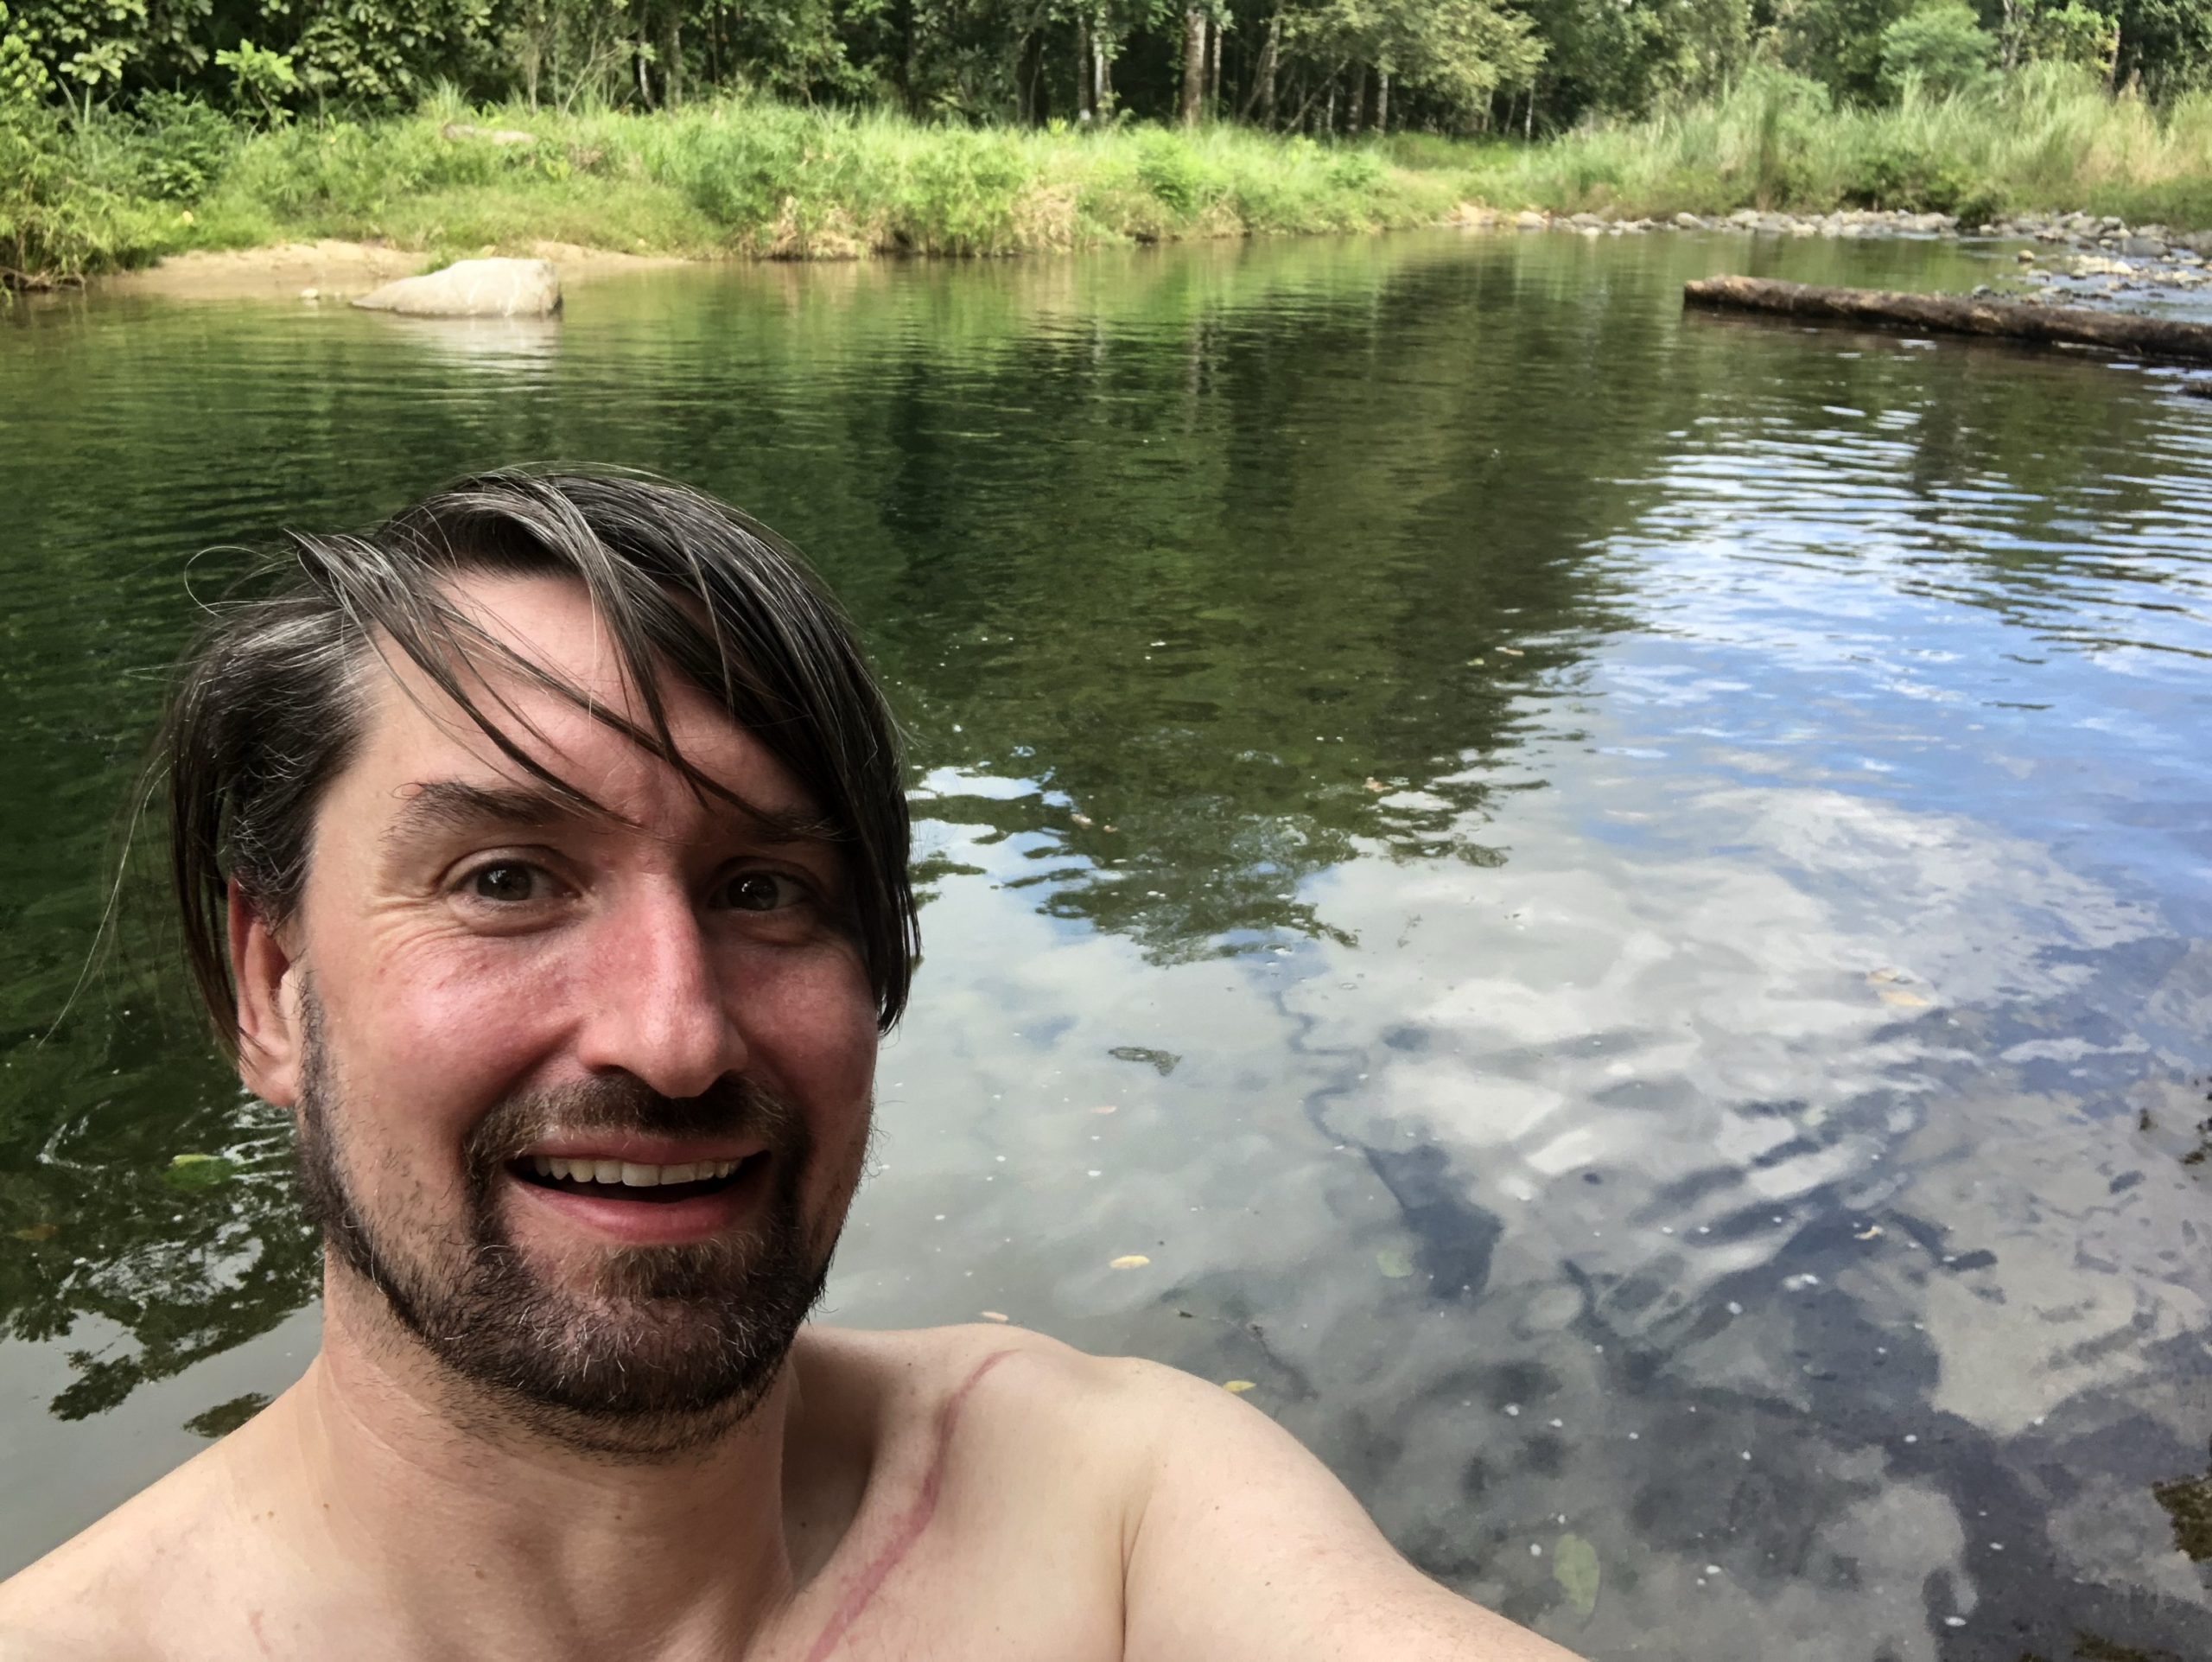
Ansonsten: Chillen. Das Leben hier ist so entspannt, dass ich recht traurig darüber bin, gleich wieder abreisen zu müssen, aber ich hatte bereits Pläne gemacht.
Als wir am nächsten Morgen abfahrberit sind, muss Henrik leider absagen. „Der Hauptverantwortliche für die Jagd ist im Dorf. Ich muss mit ihm sprechen, bitte nimm den Bus“, erklärt er mir. „Ich muss ihm zeigen dass er keine Berechtigung für die Jagd hat und mit ihm eine Vereinbarung schließen.“. Gesagt, getan. Als ich nachmittags am nächsten Ort ankomme schreibt er mir „es lief grossartig! Wir haben eine Stunde lang gesprochen und er wird die Grenzen respektieren und mir helfen, entsprechende Beschilderung aufzustellen“. Die hohe Kunst der Diplomatie.
